How To Give Beasts Nicknames In Hogwarts Legacy
Author: Jason
Jan 25,2025

Hogwarts Legacy: A Guide to Nicknaming Your Rescued Beasts
Hogwarts Legacy continues to delight players with its hidden depths and features. For those seeking deeper immersion, the ability to rename rescued beasts adds a personal touch. This guide provides a step-by-step walkthrough for this often-overlooked feature.
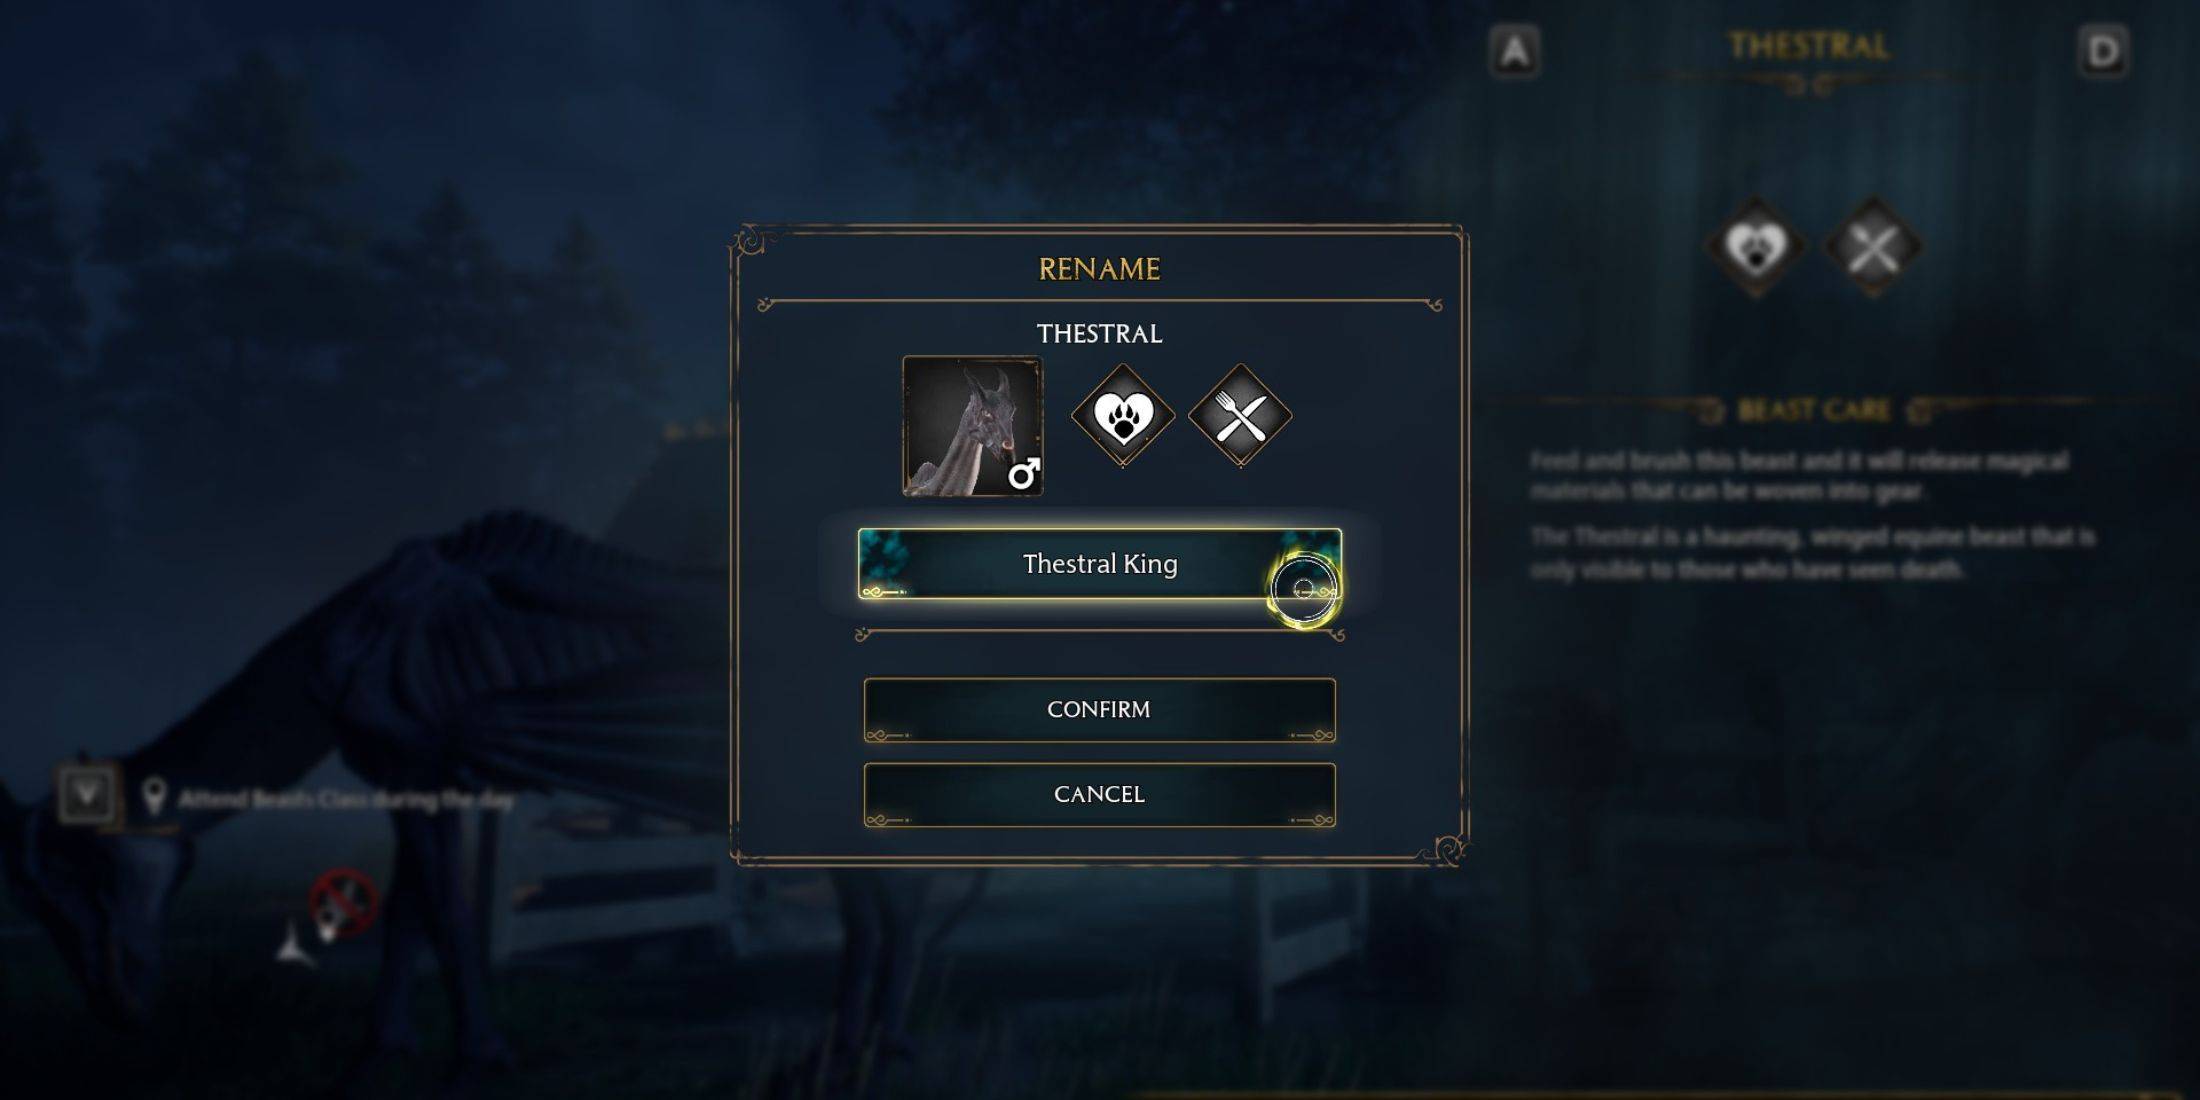
Renaming Your Beasts in Hogwarts Legacy
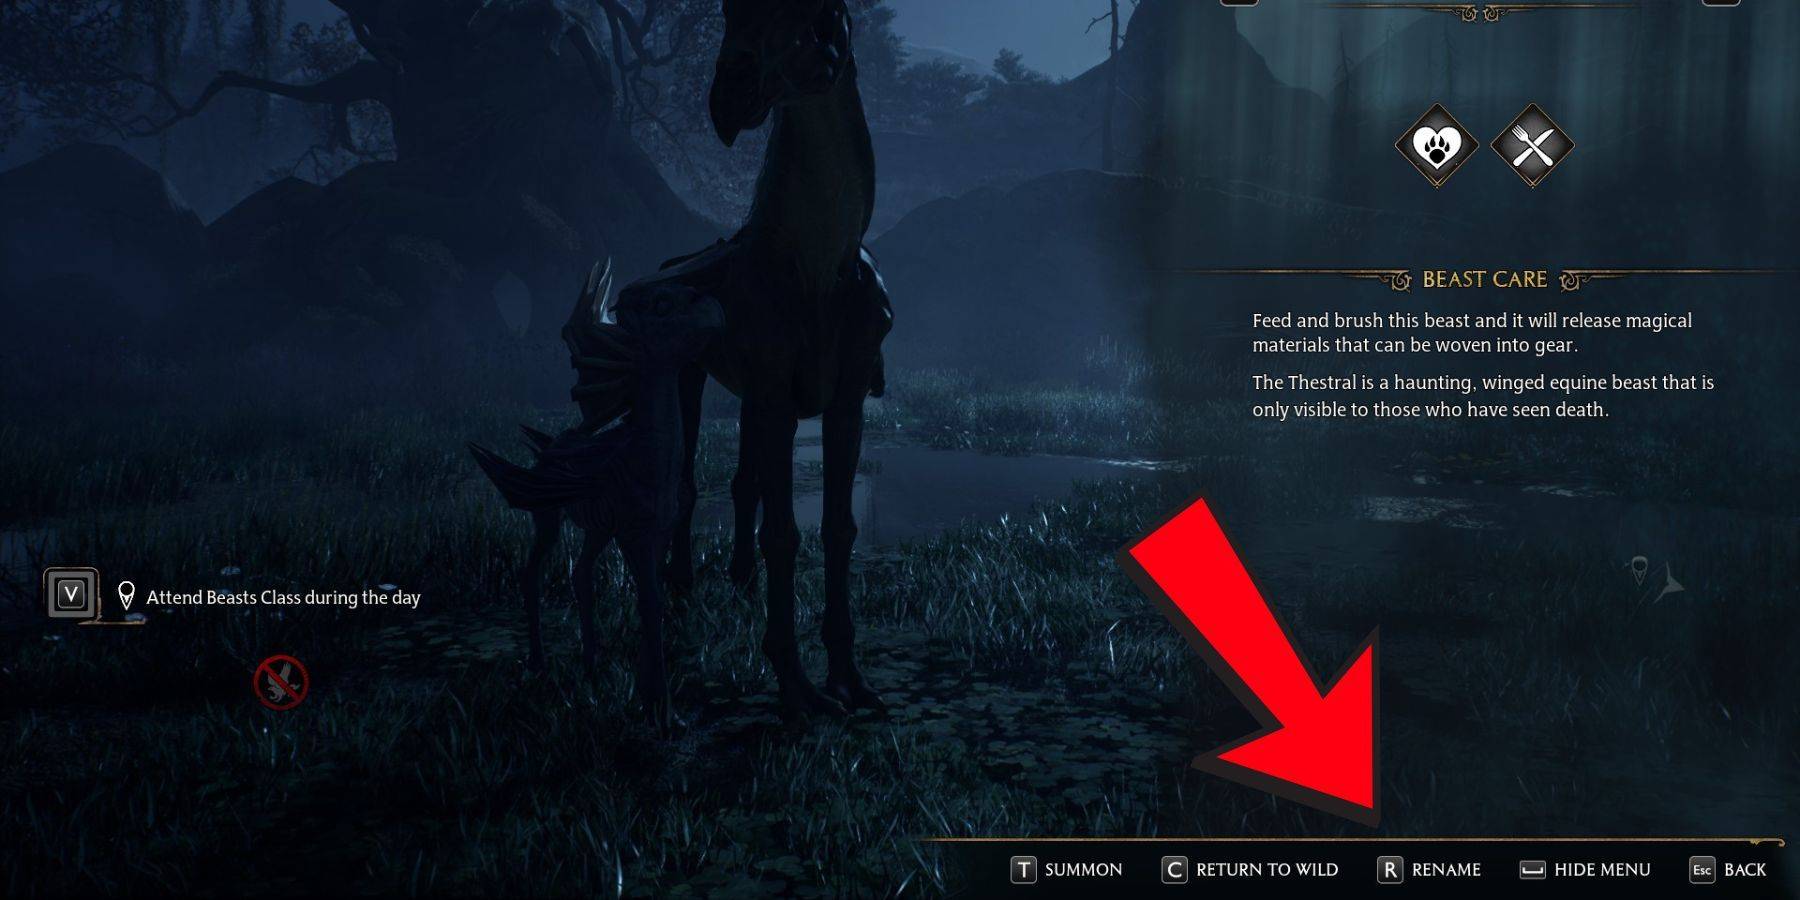
Follow these steps to give your rescued beasts personalized nicknames:
Benefits of Renaming Beasts
Renaming your beasts offers significant advantages, particularly for managing a large collection, especially rare ones. The ability to rename repeatedly allows for flexible organization and a stronger sense of connection with your creatures. This adds another layer of customization, enhancing the overall gameplay experience.