DQ3 Remake: Unveil Zoma's Citadel
Author: Jason
Jan 24,2025

Conquer Zoma's Citadel in Dragon Quest 3 Remake: A Comprehensive Guide
This guide provides a complete walkthrough of Zoma's Citadel in Dragon Quest 3 Remake, including treasure locations and boss strategies. This challenging dungeon is the culmination of your journey, testing your party's skills and requiring strategic use of everything learned.
Reaching Zoma's Citadel

After defeating Baramos, you'll enter Alefgard's darkened world. To reach Zoma's Citadel, you must obtain the Rainbow Drop:
Combine these items to create the Rainbow Drop and access the Rainbow Bridge leading to the Citadel.
Zoma's Citadel Walkthrough
1F:
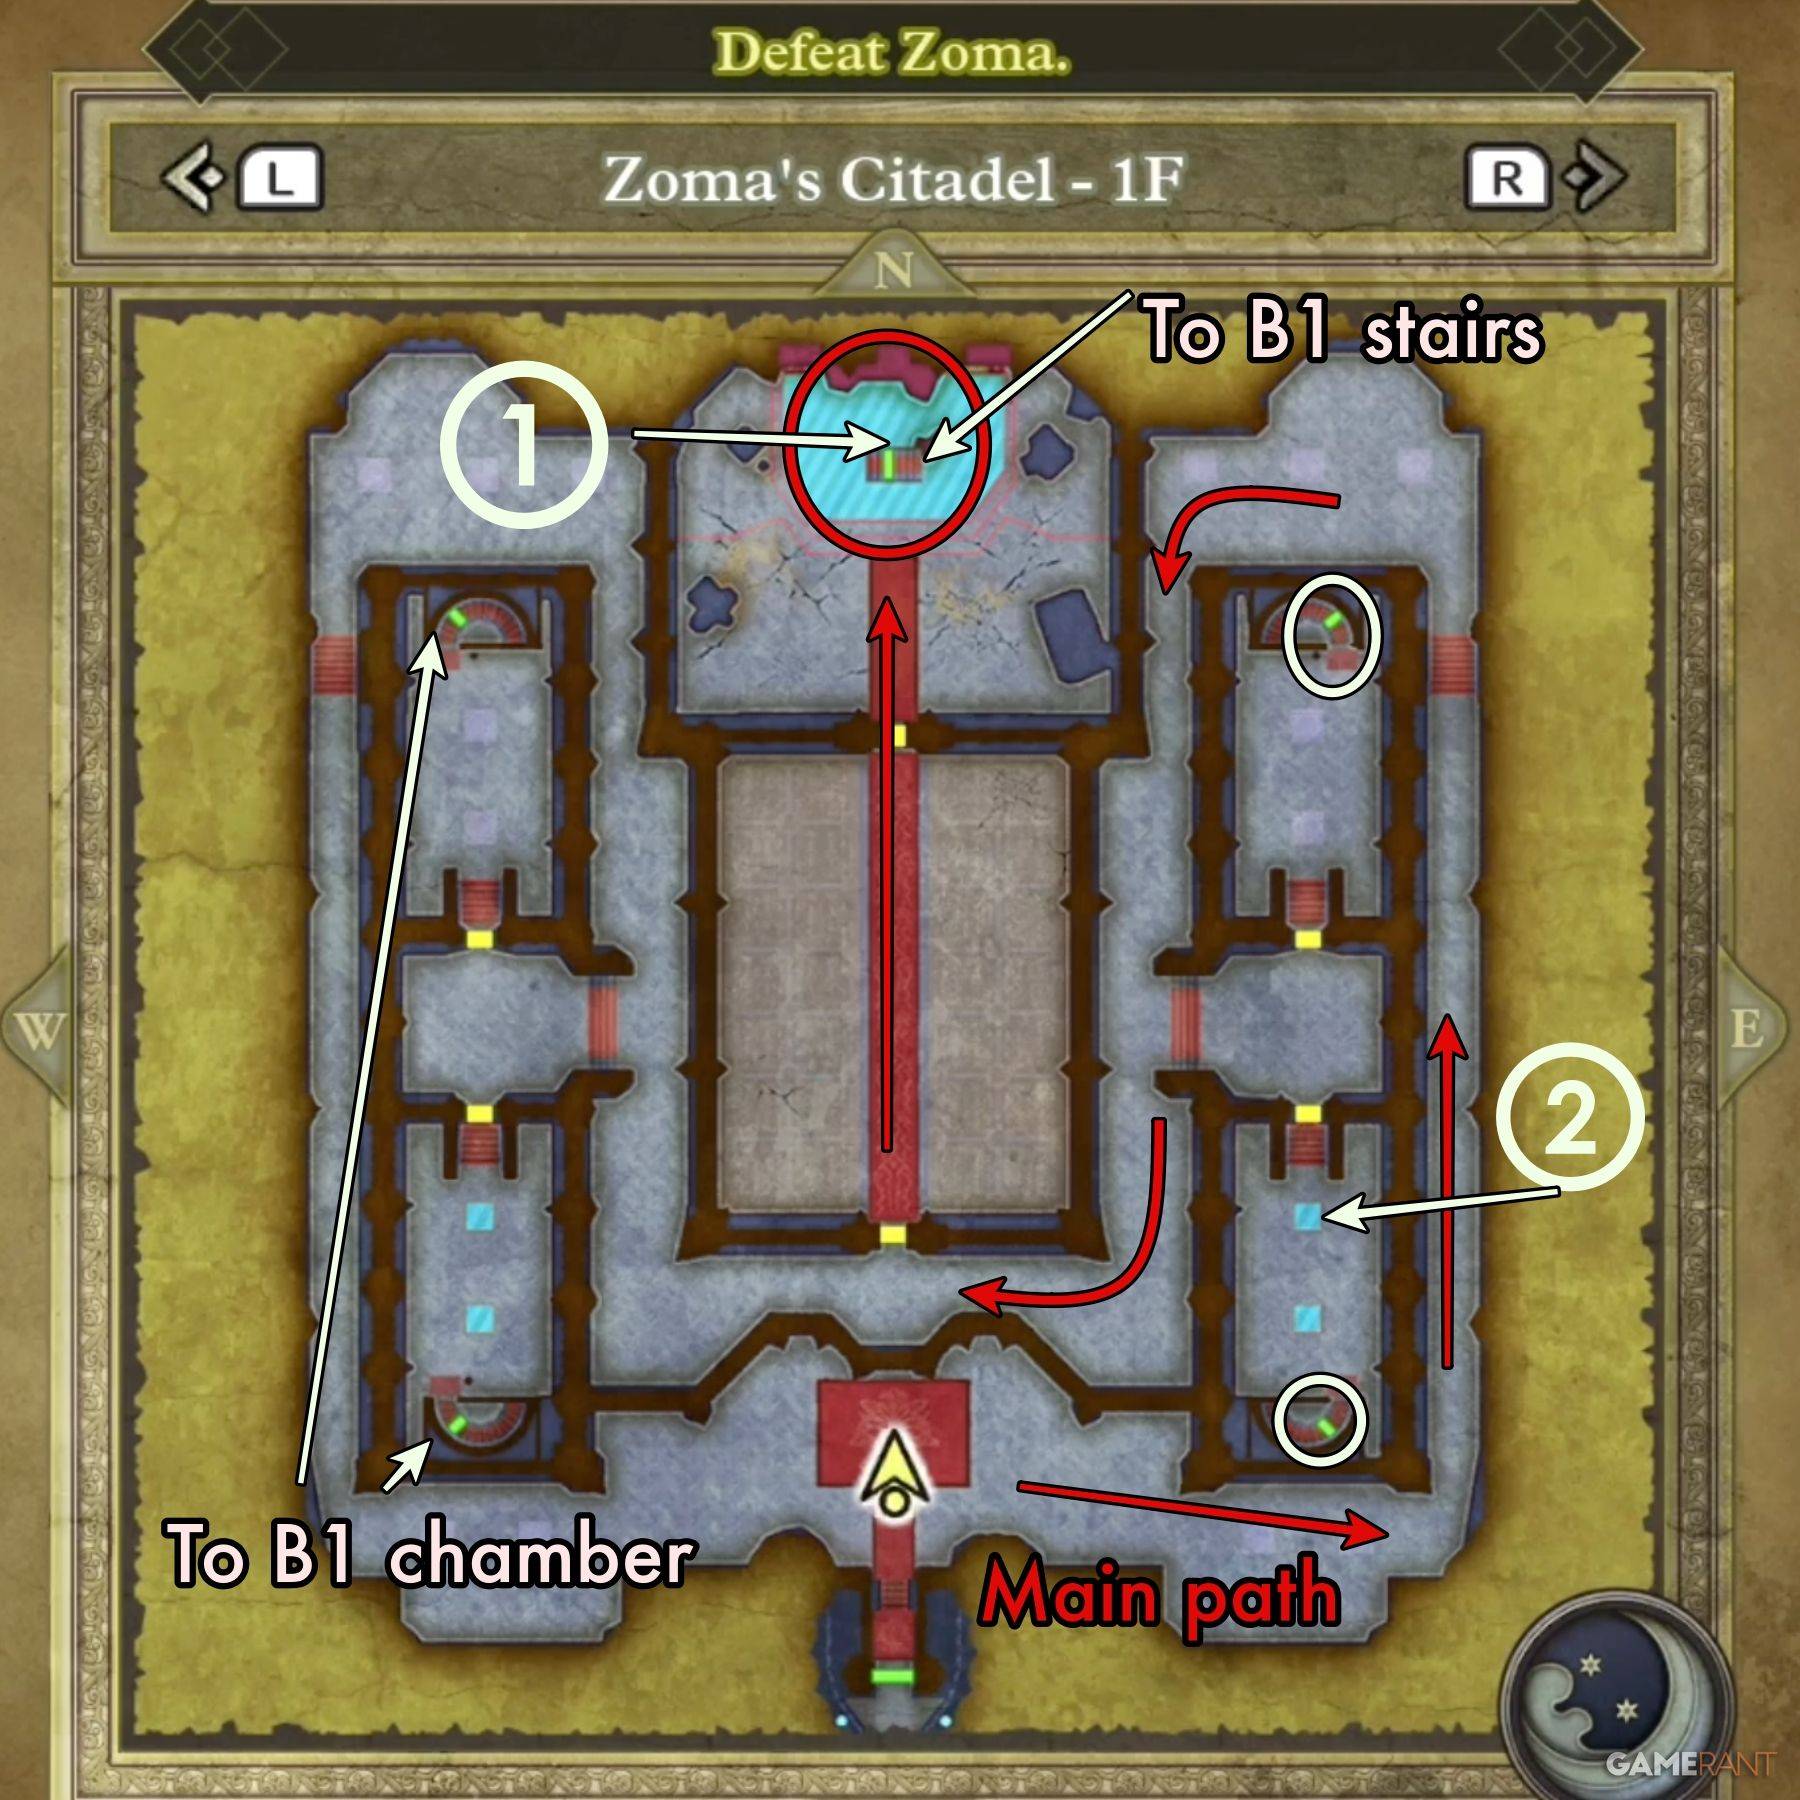
Navigate the chamber, heading east or west to reach the throne. Activating the throne reveals a hidden passage. Living Statues guard the central chamber.
B1:
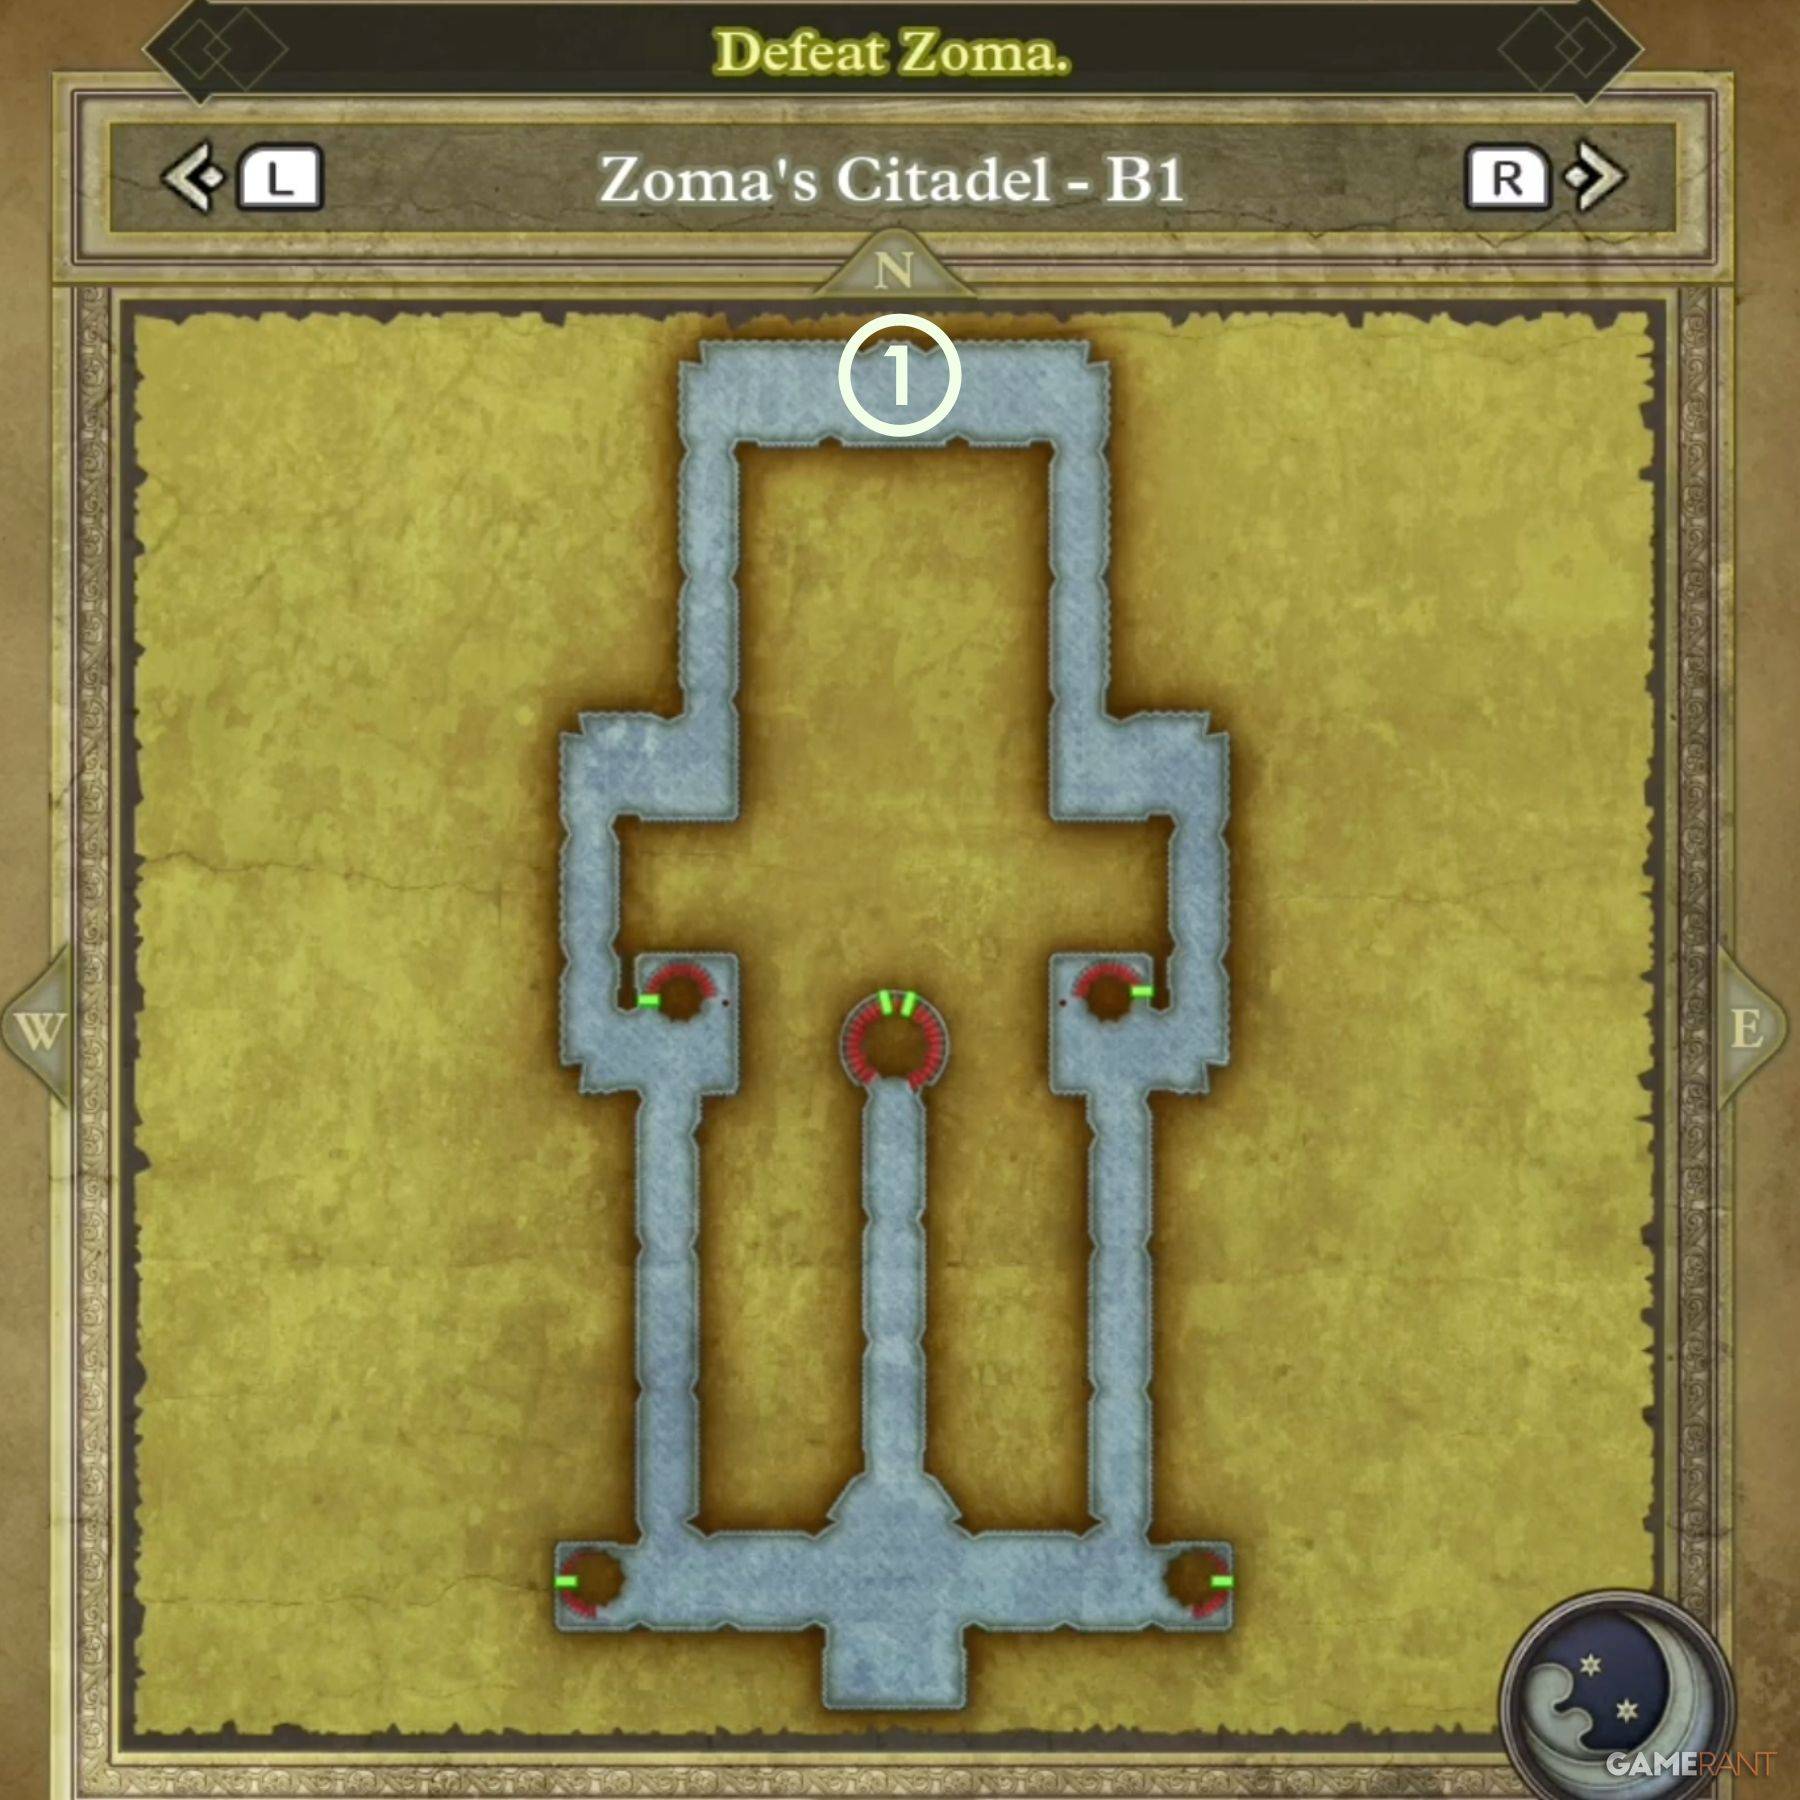
This level is primarily a passage to B2, unless you use the alternate staircases on 1F, leading to an isolated chamber.
B2:
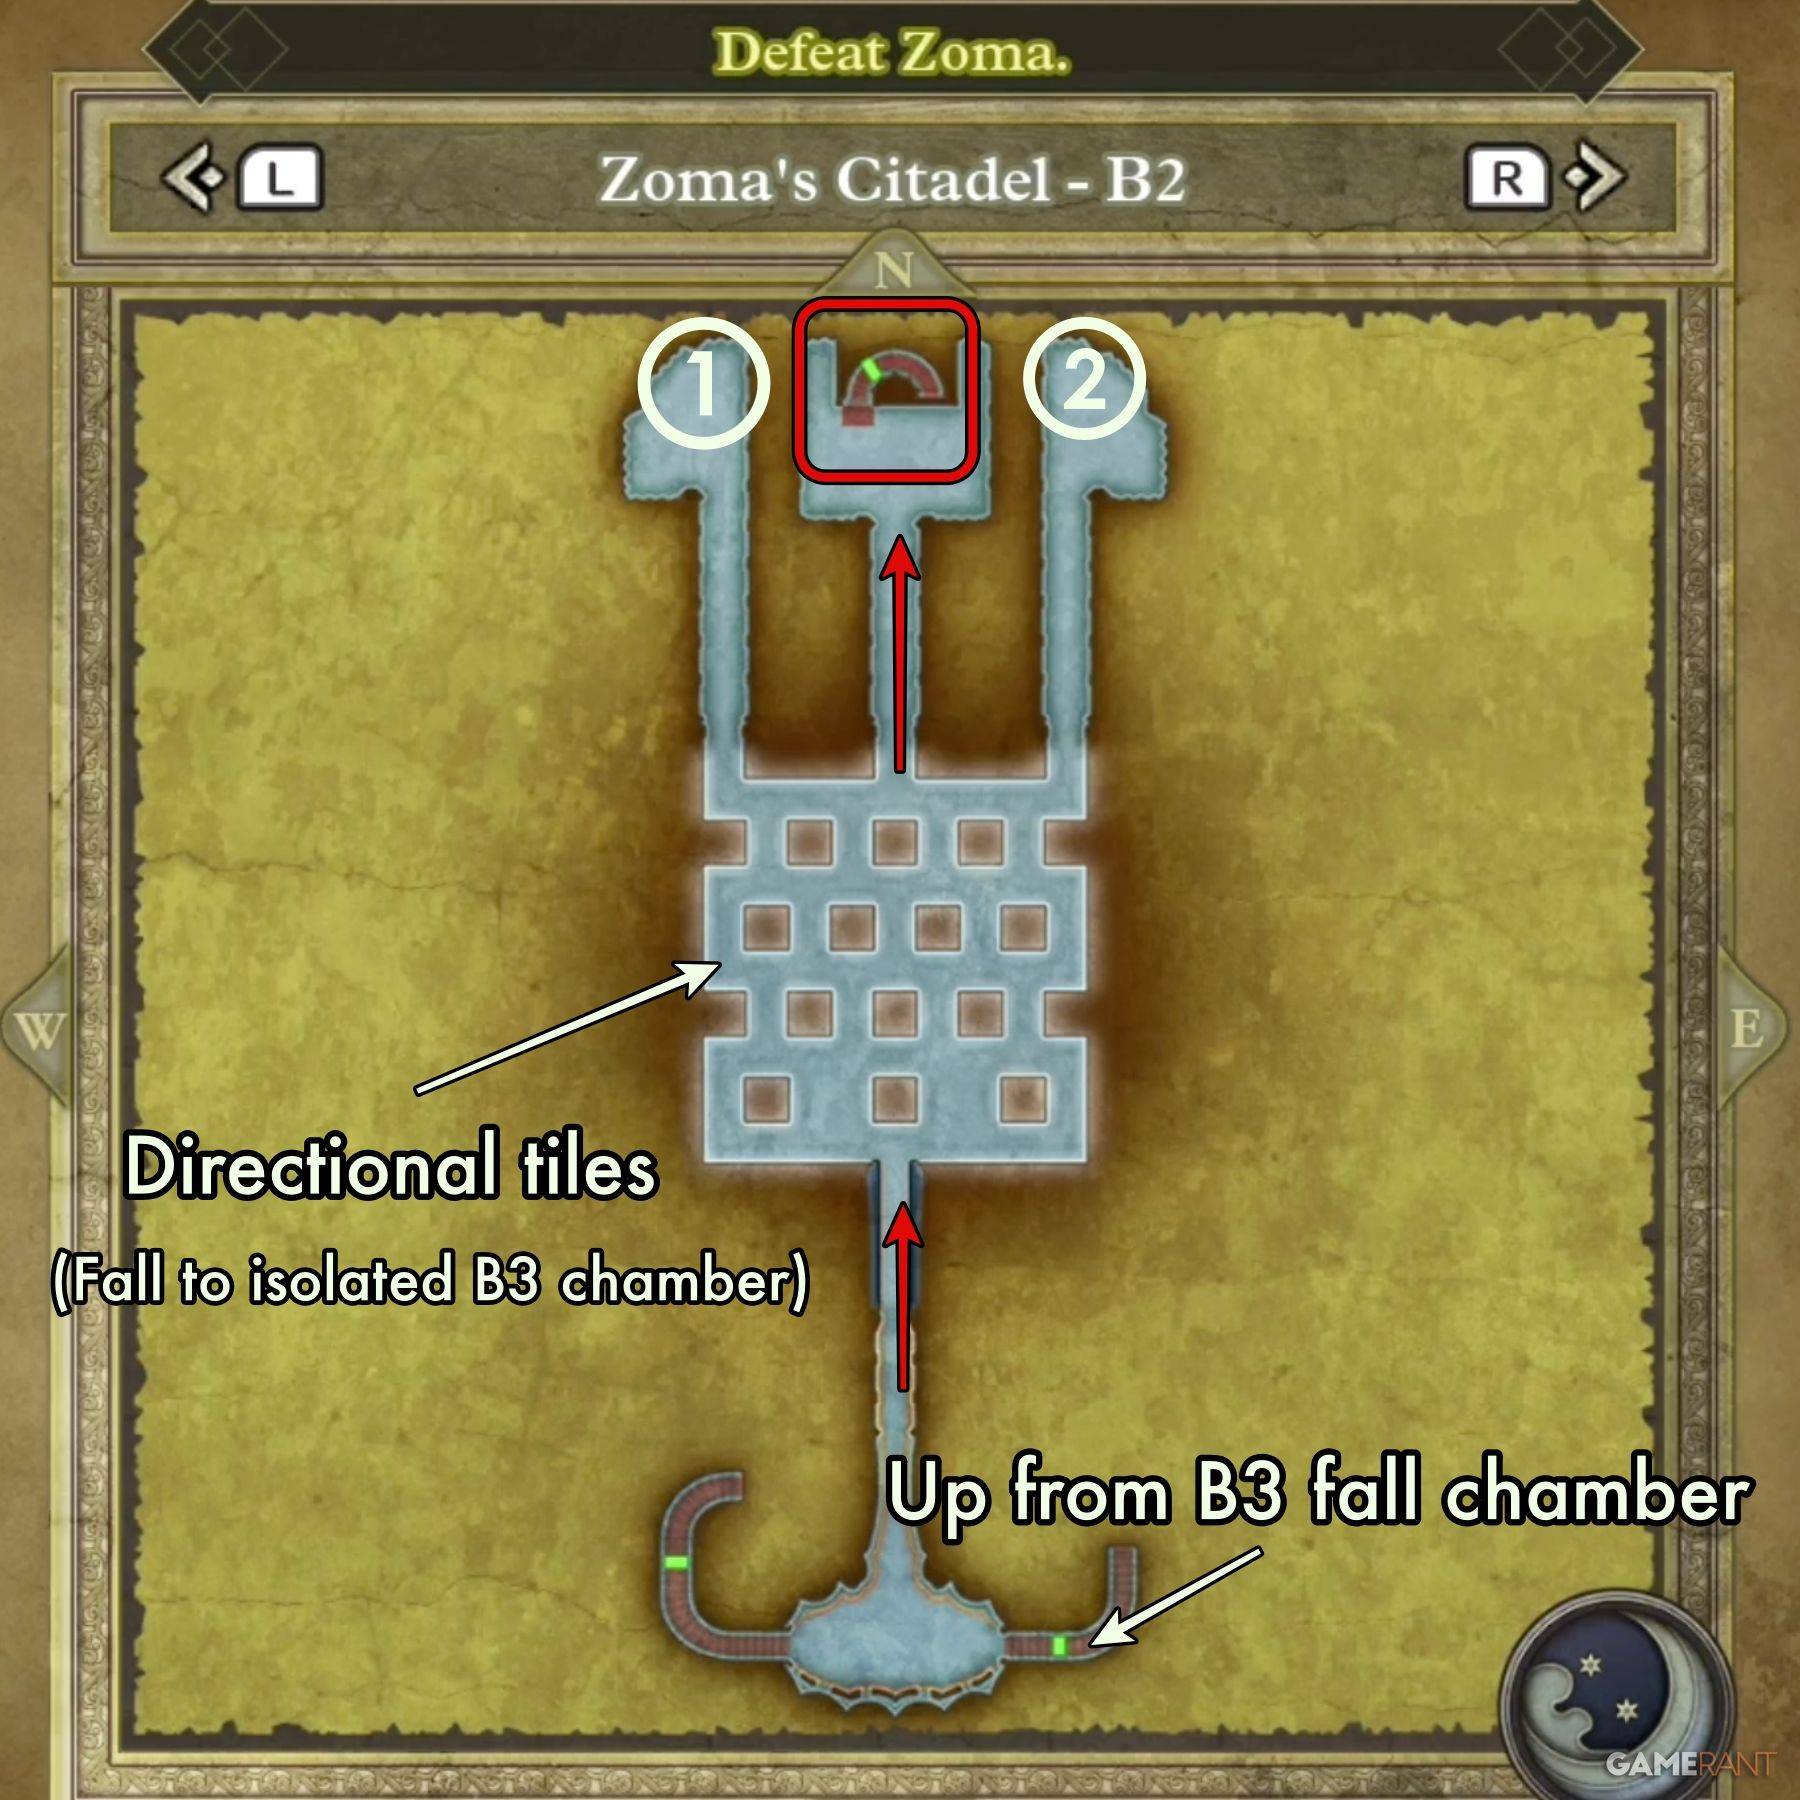
Navigate the directional tiles to reach the stairs to B3. Practice on the similar tiles in the Tower of Rubiss if needed. Remember:
Blue = North/South (left/right on D-pad depending on blue tile position)
Orange = East/West (up/down on D-pad depending on orange arrow direction)
Treasure B2: Scourge Whip, 4,989 Gold Coins.
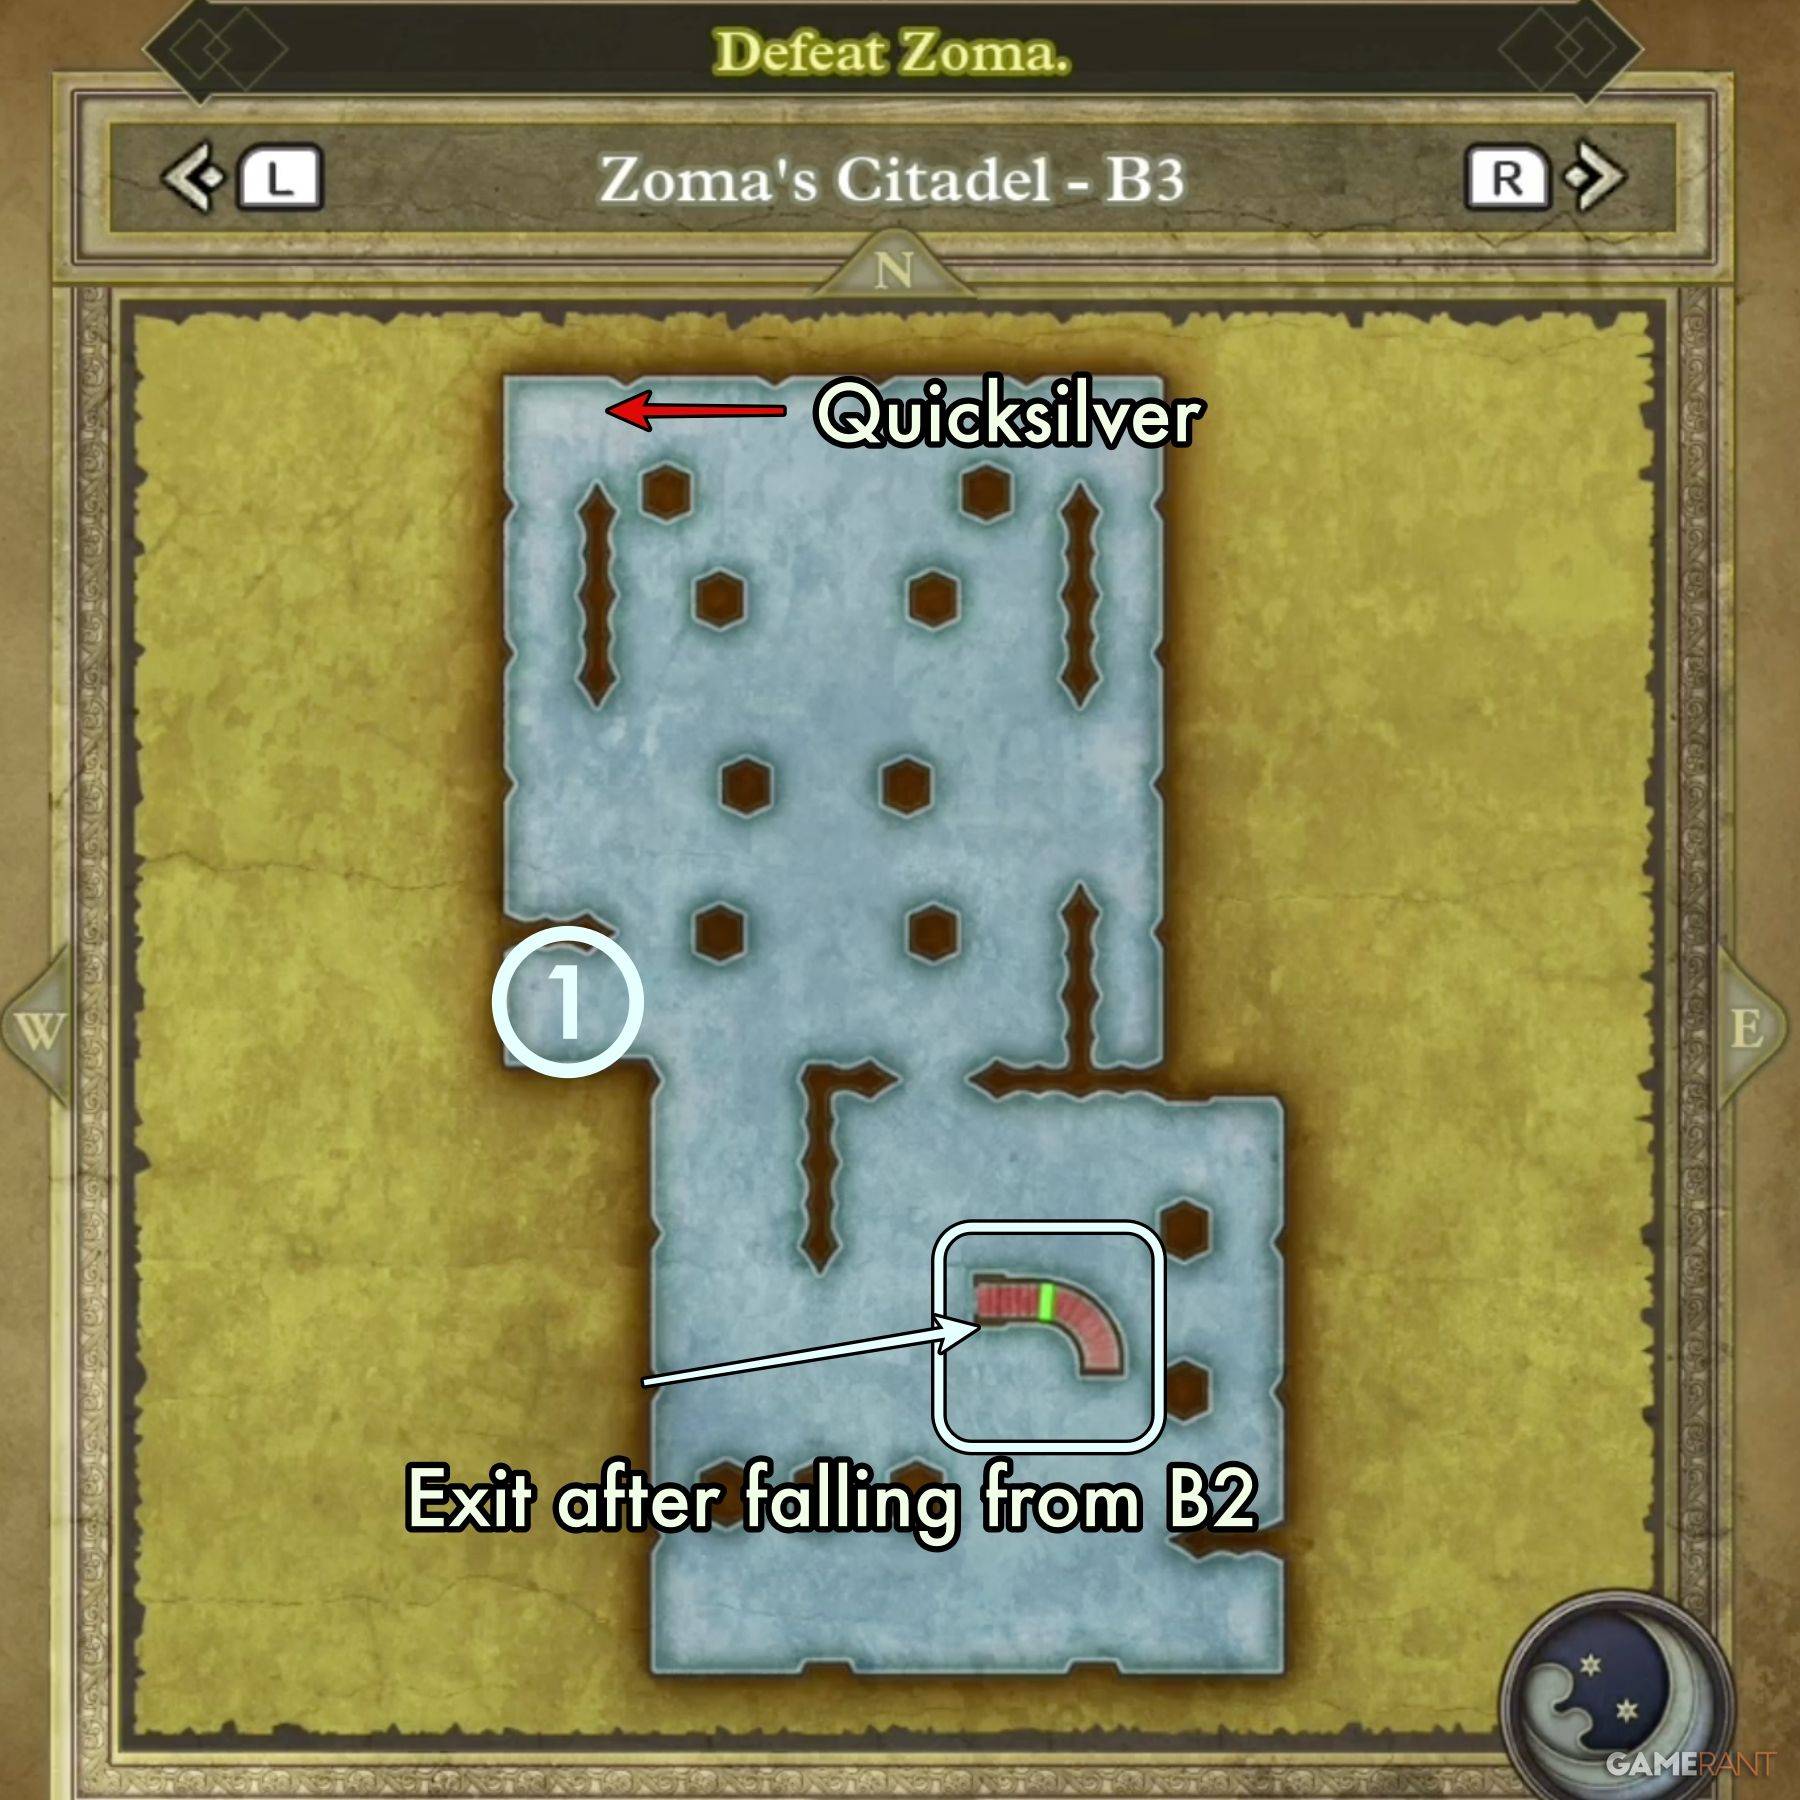
B3:
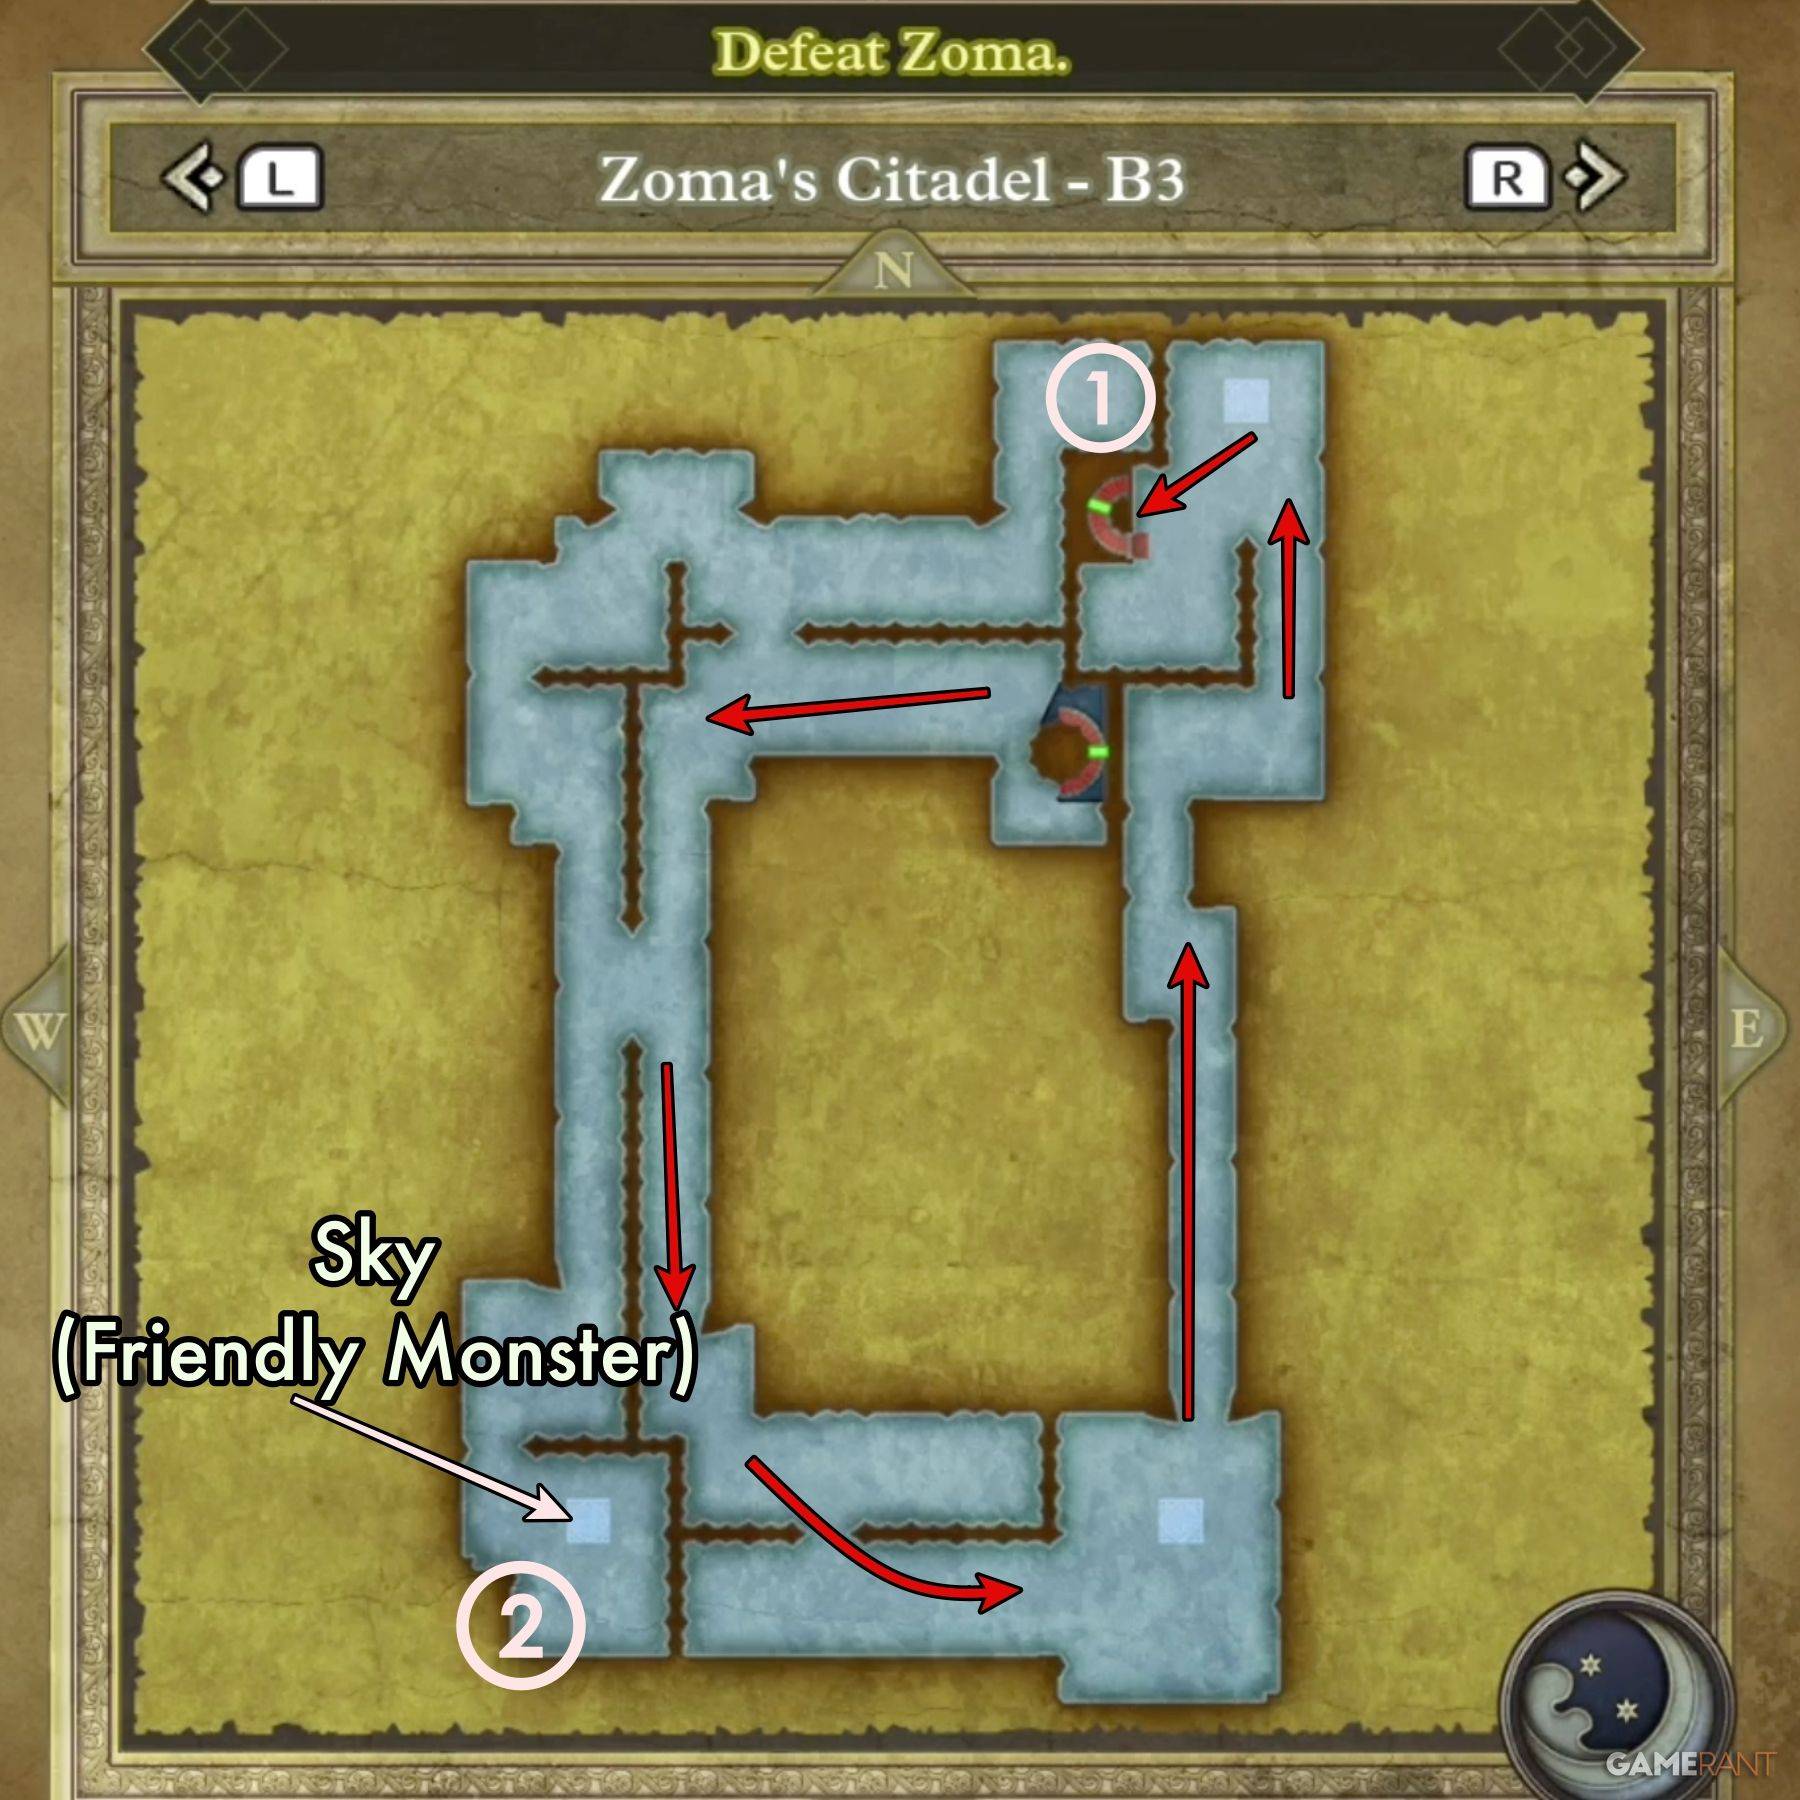
Follow the outer path. A detour leads to Sky, a friendly Soaring Scourger. Falling through holes on B2 leads to an isolated chamber with a Liquid Metal Slime.
B4:
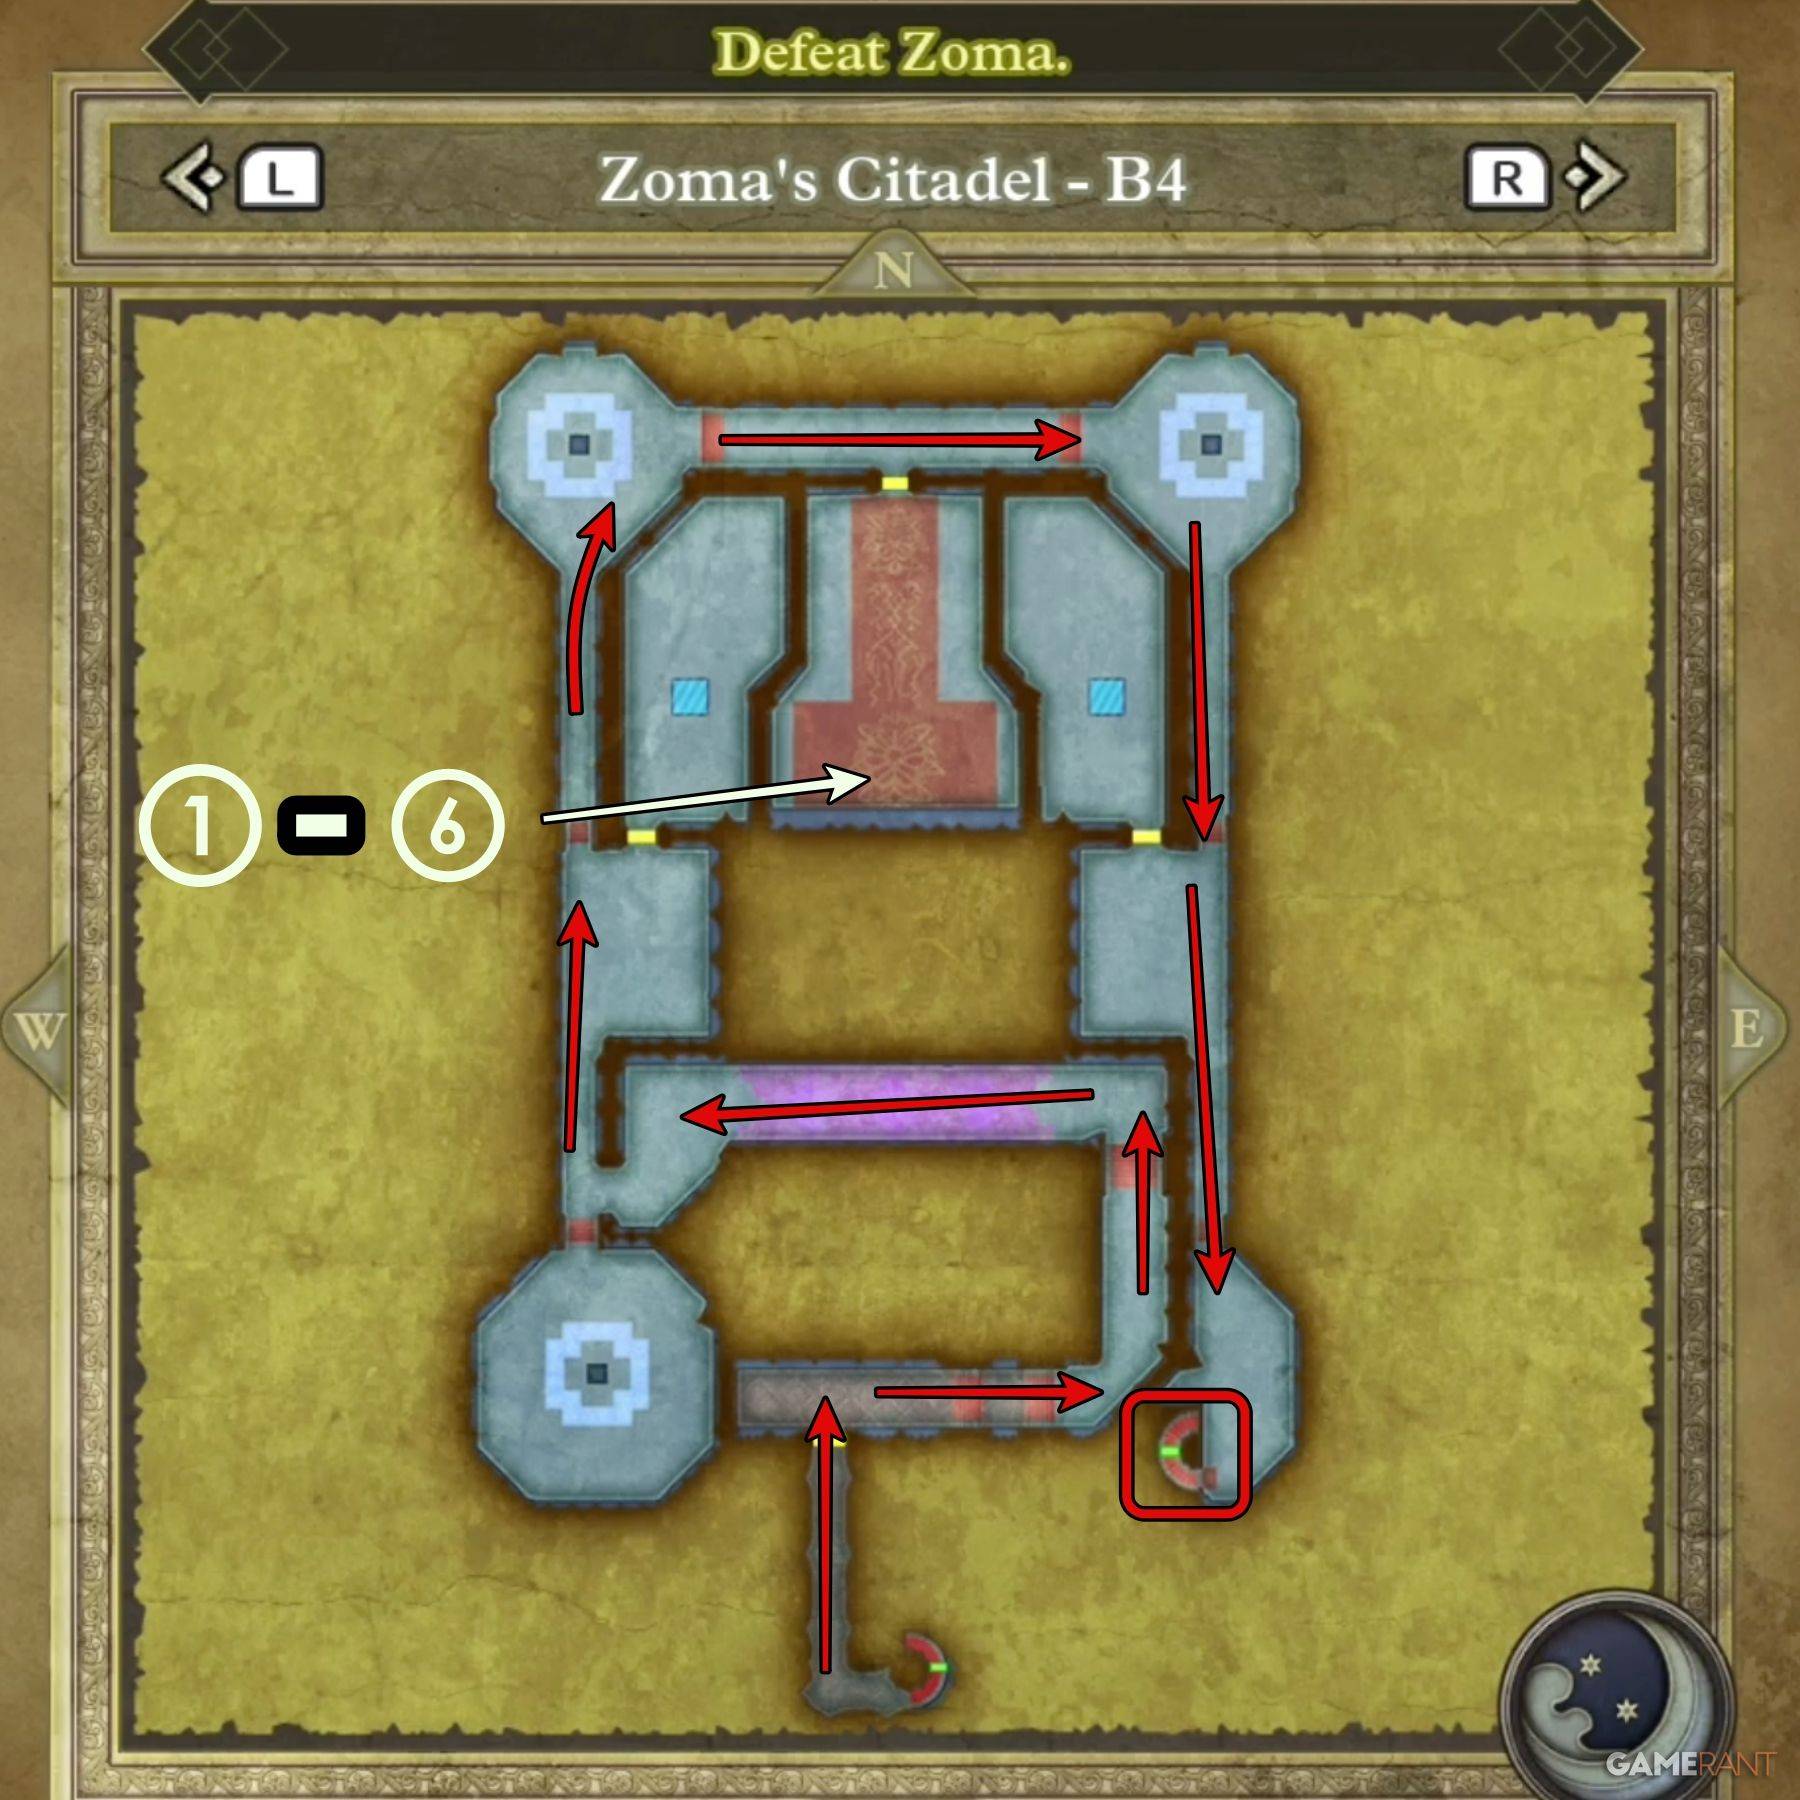
Navigate the chamber, starting from the center-south, moving upwards and around to the southeast exit. Watch the cutscene upon entry.
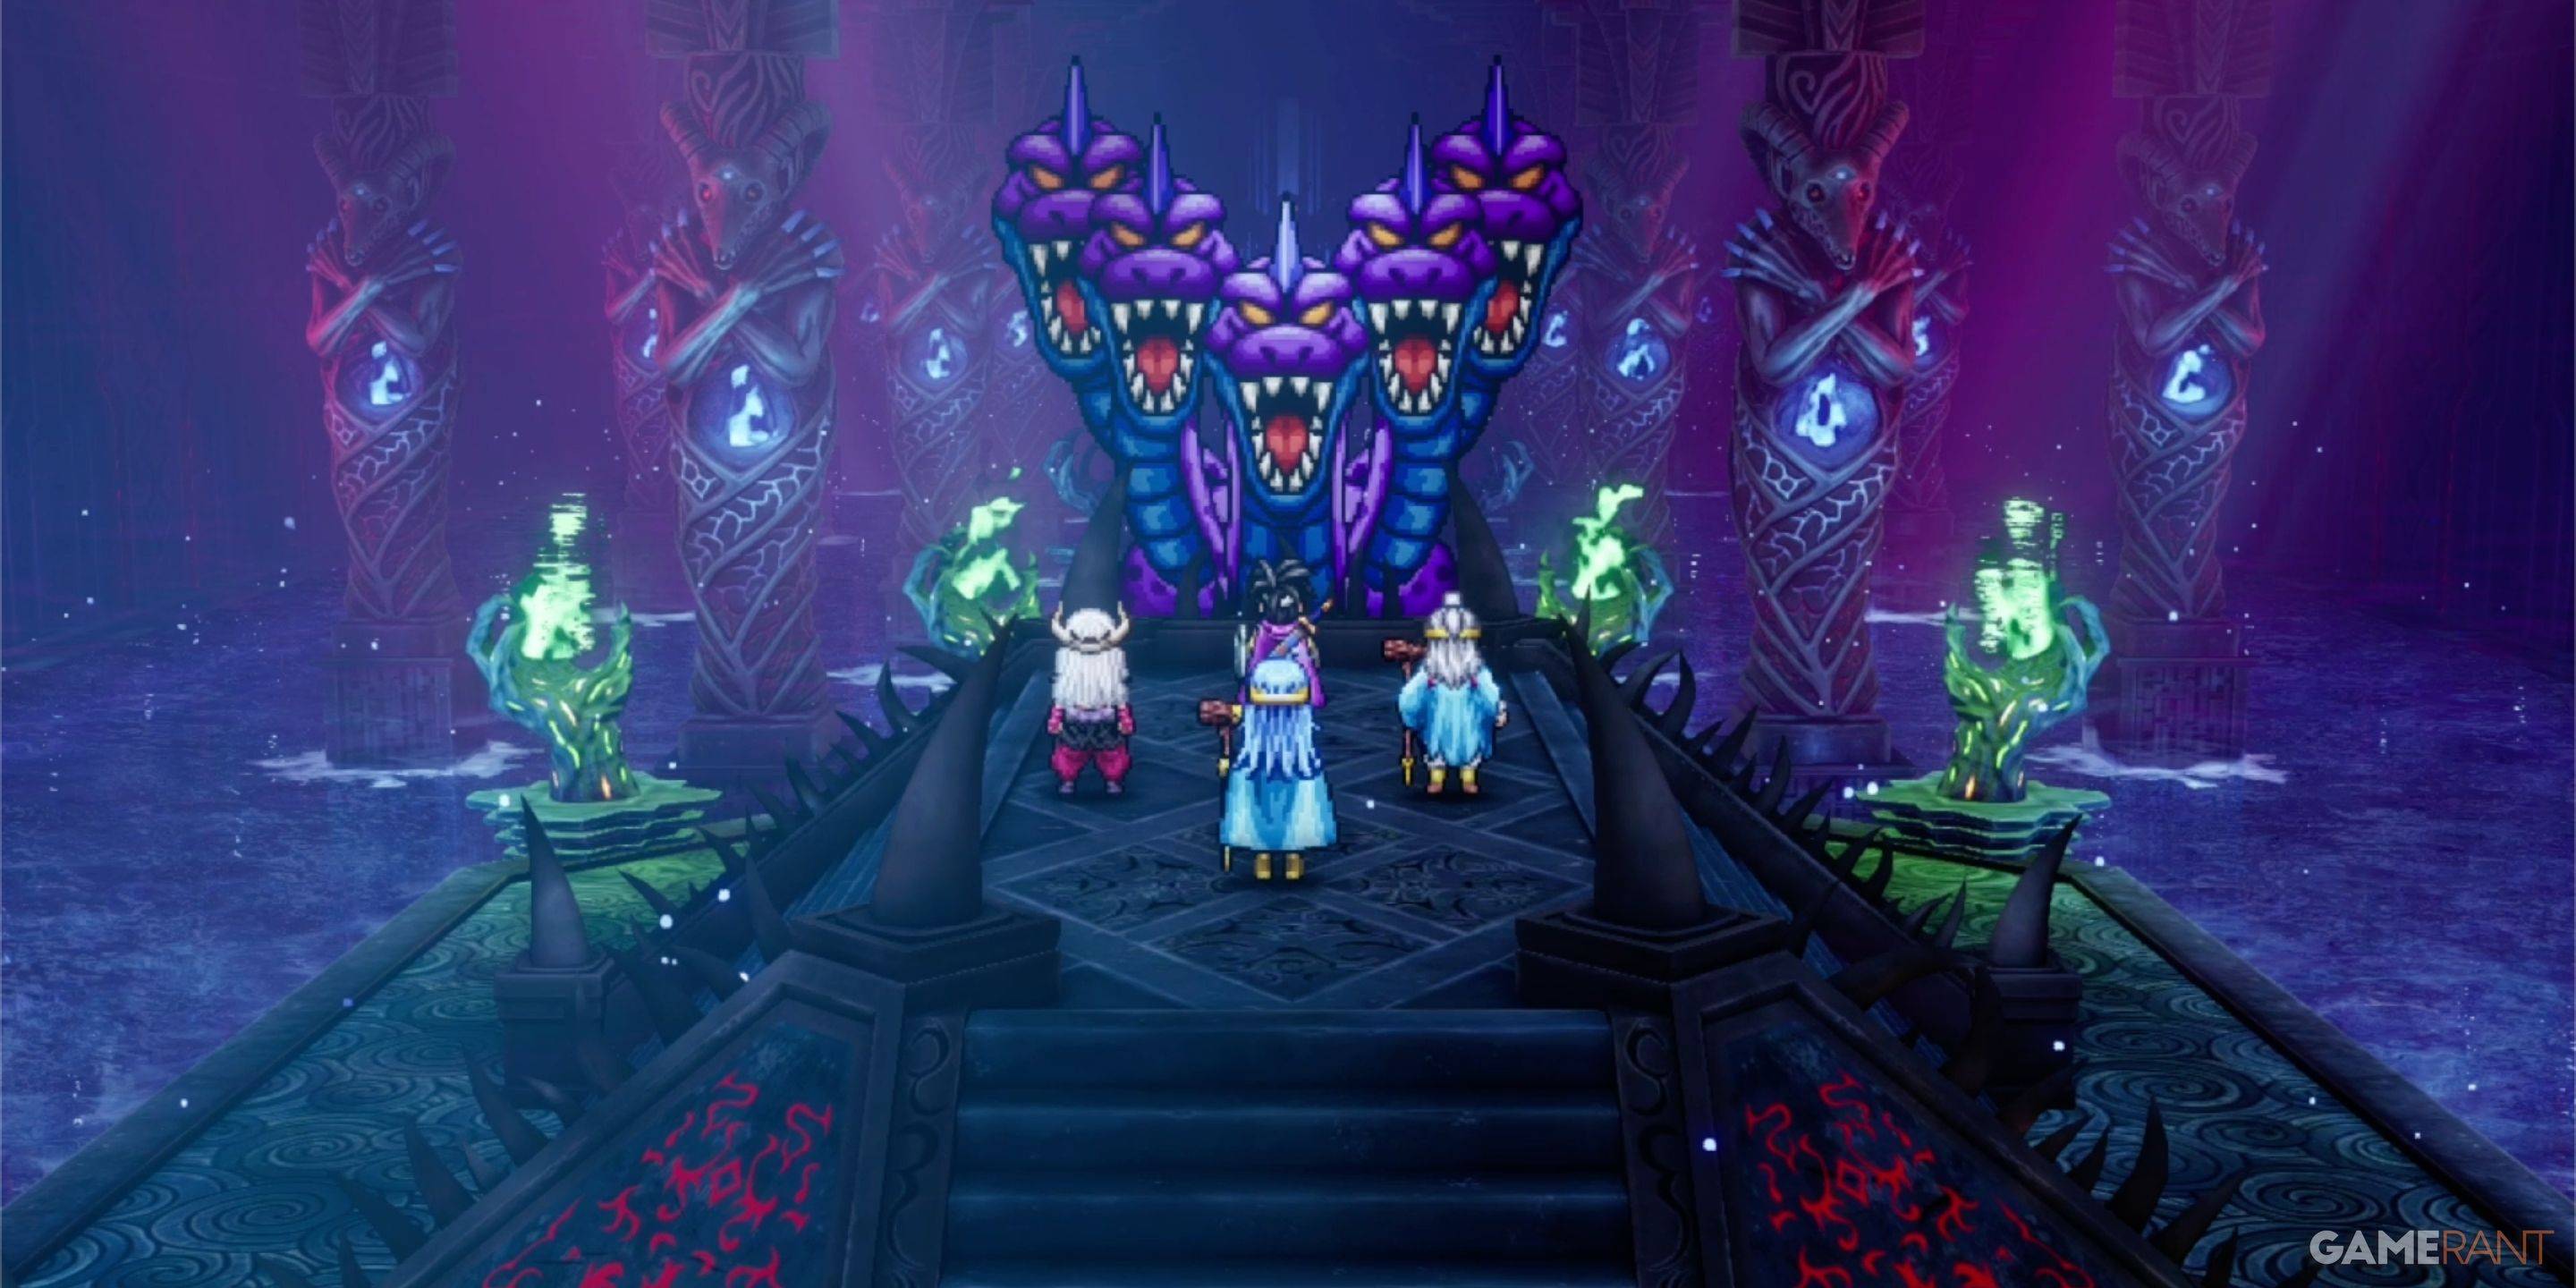
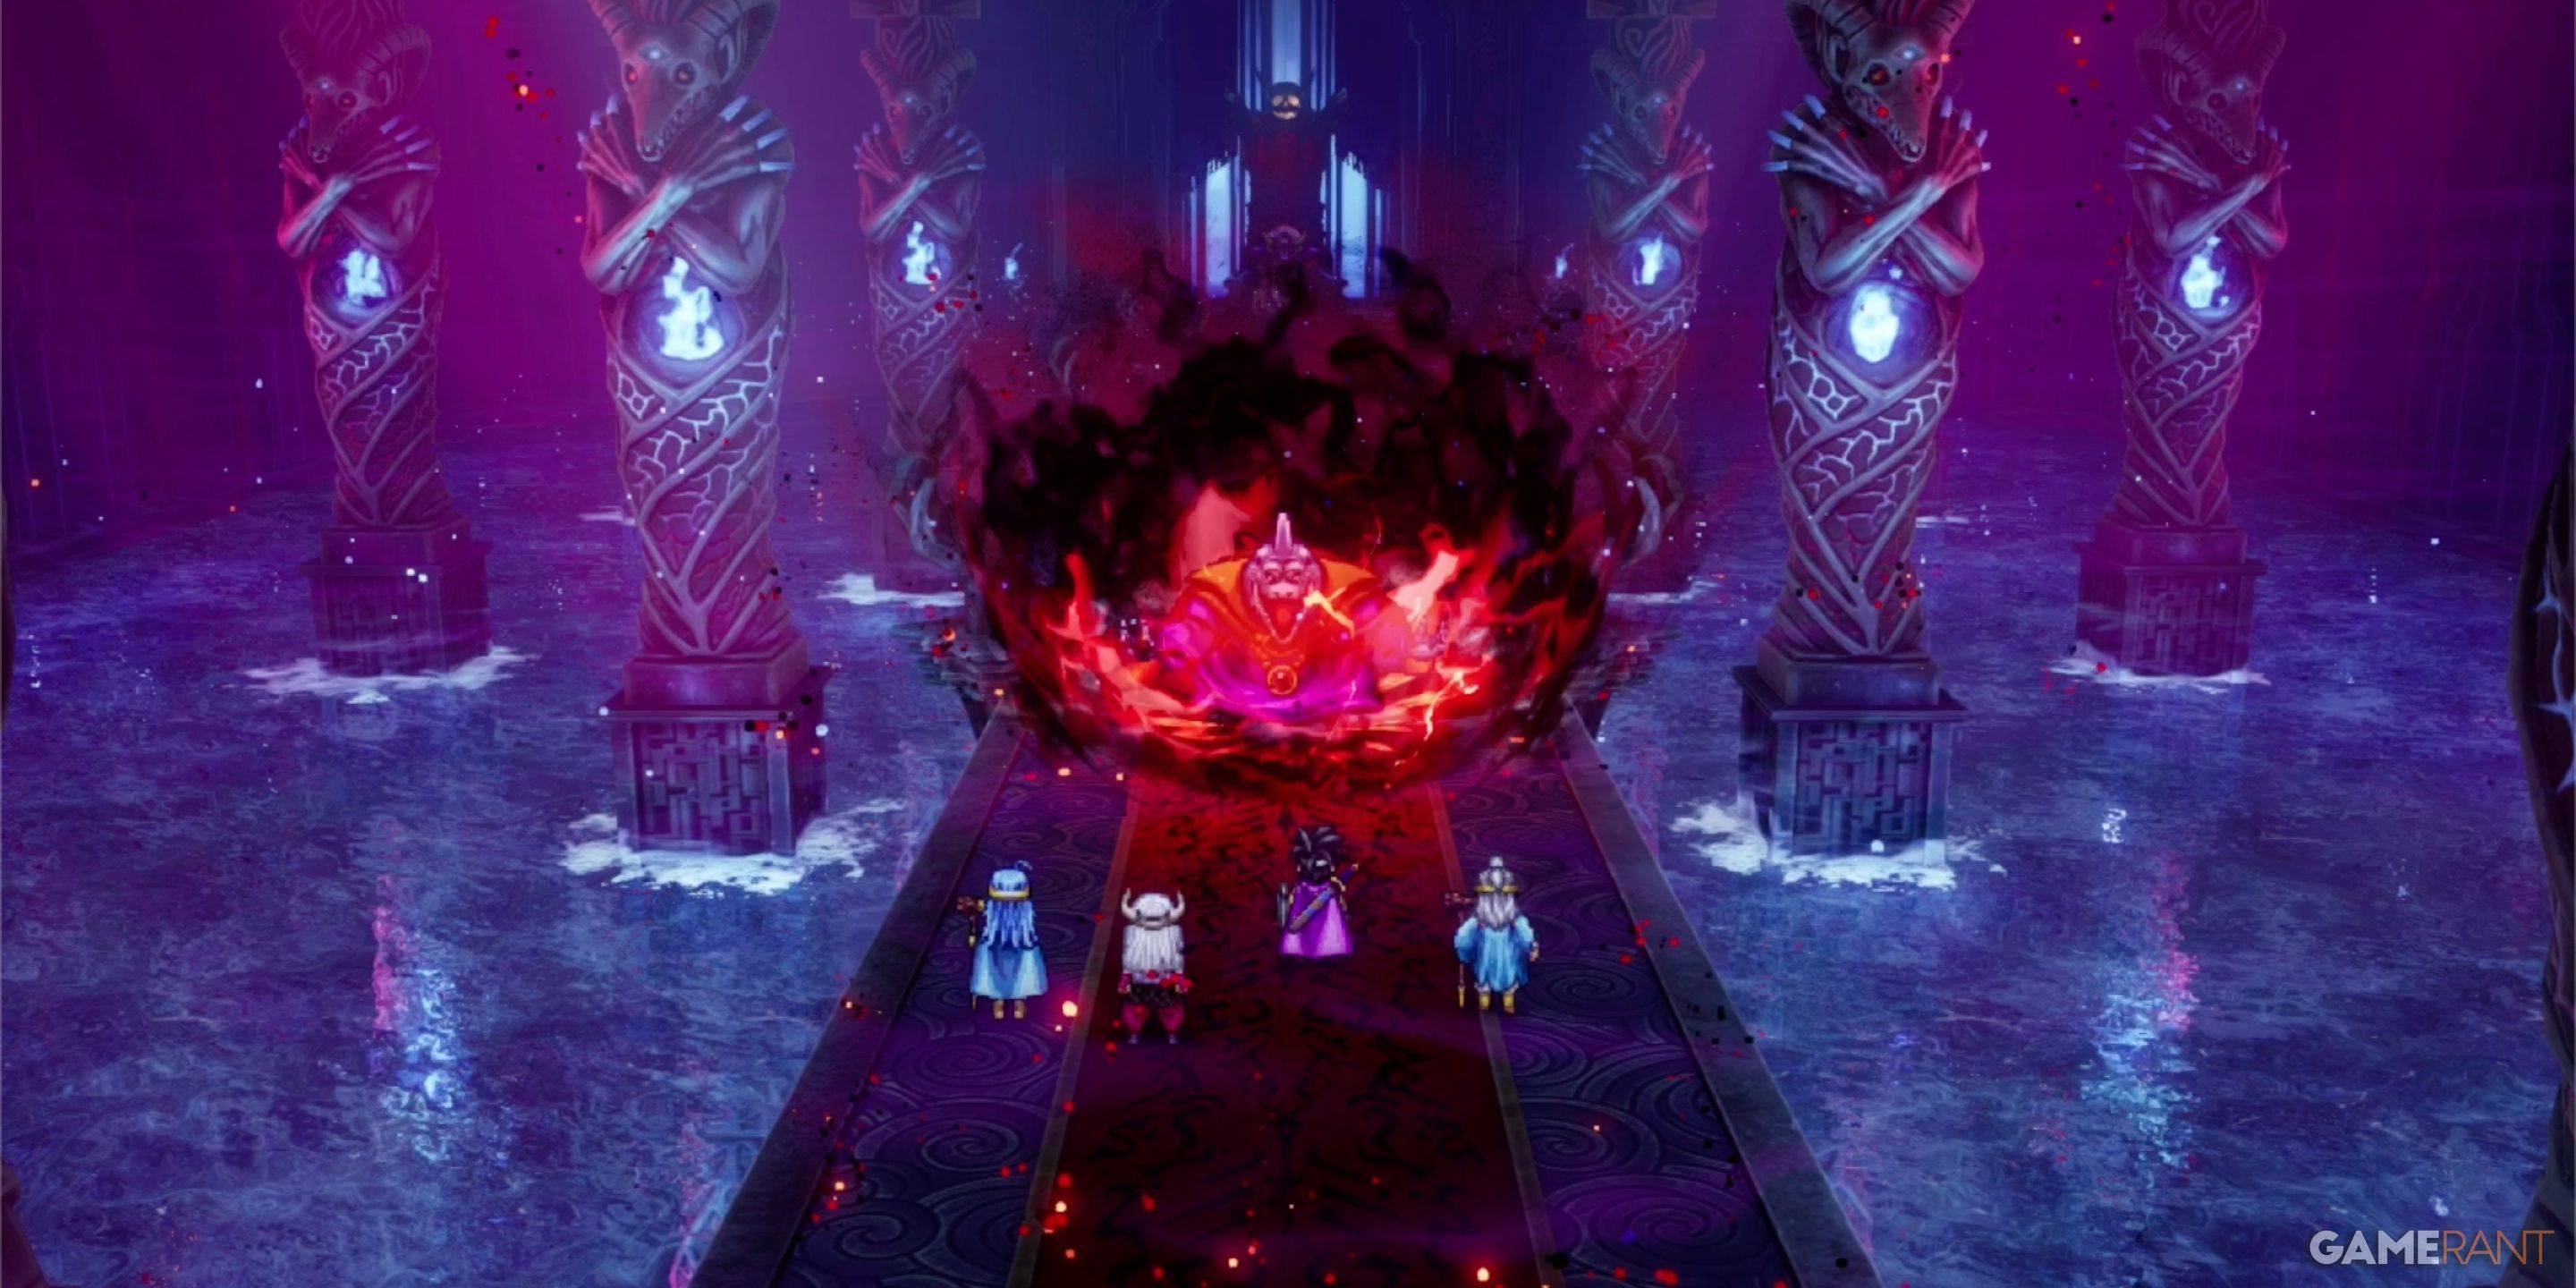
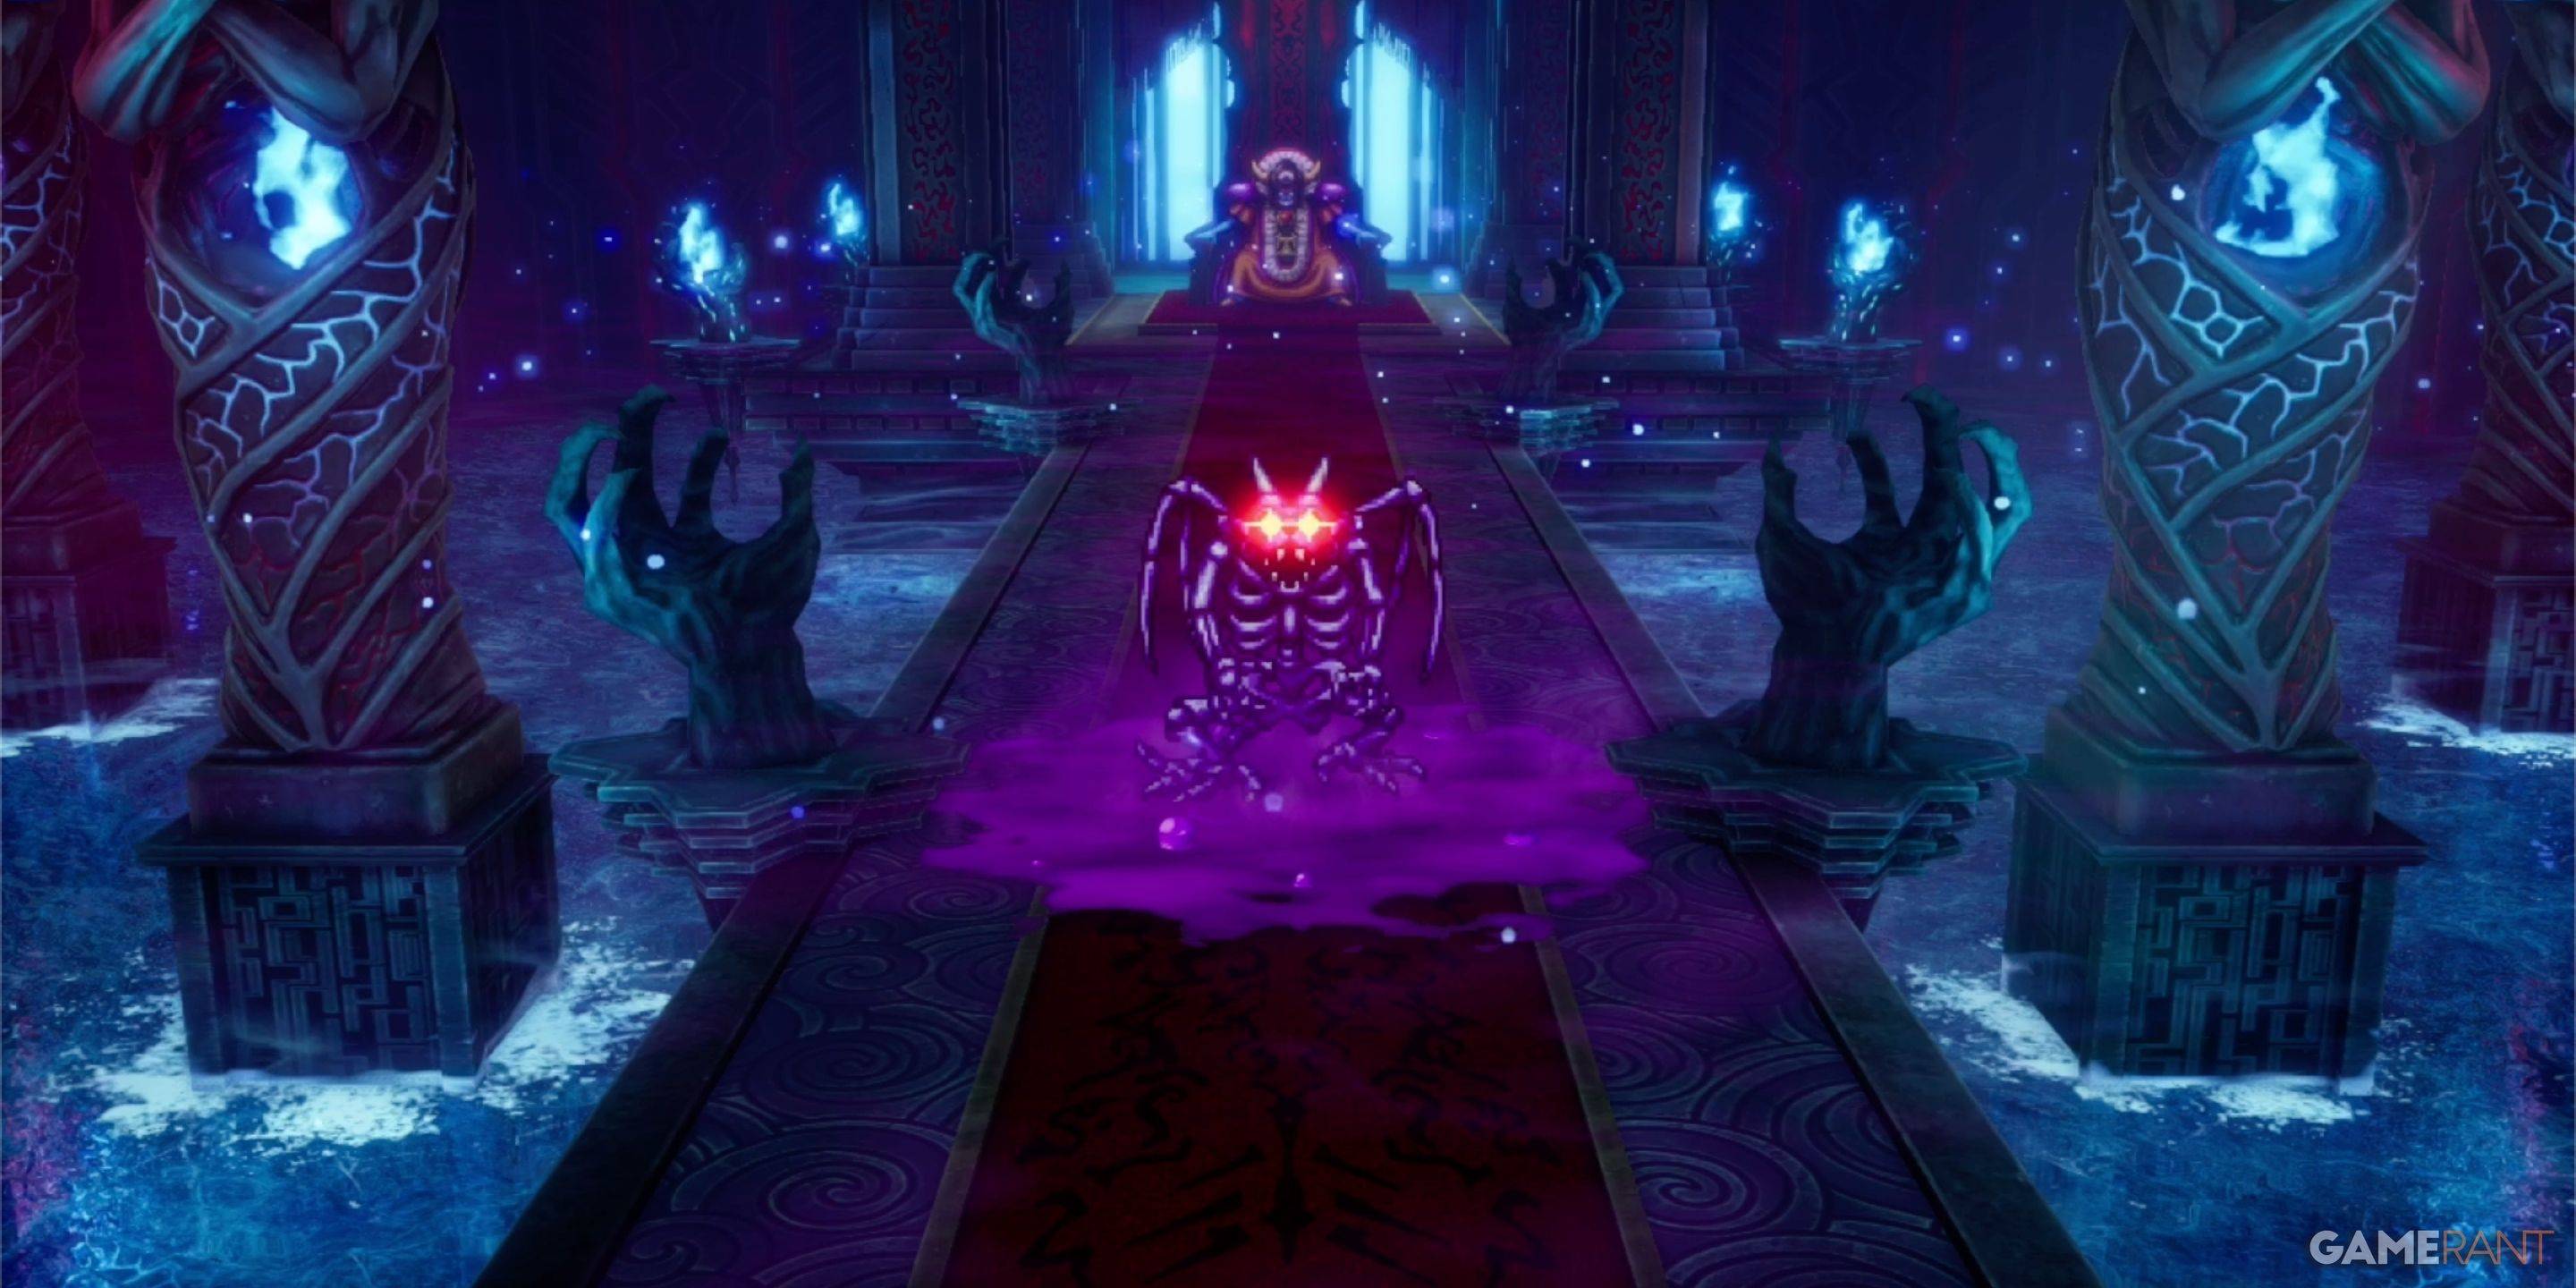
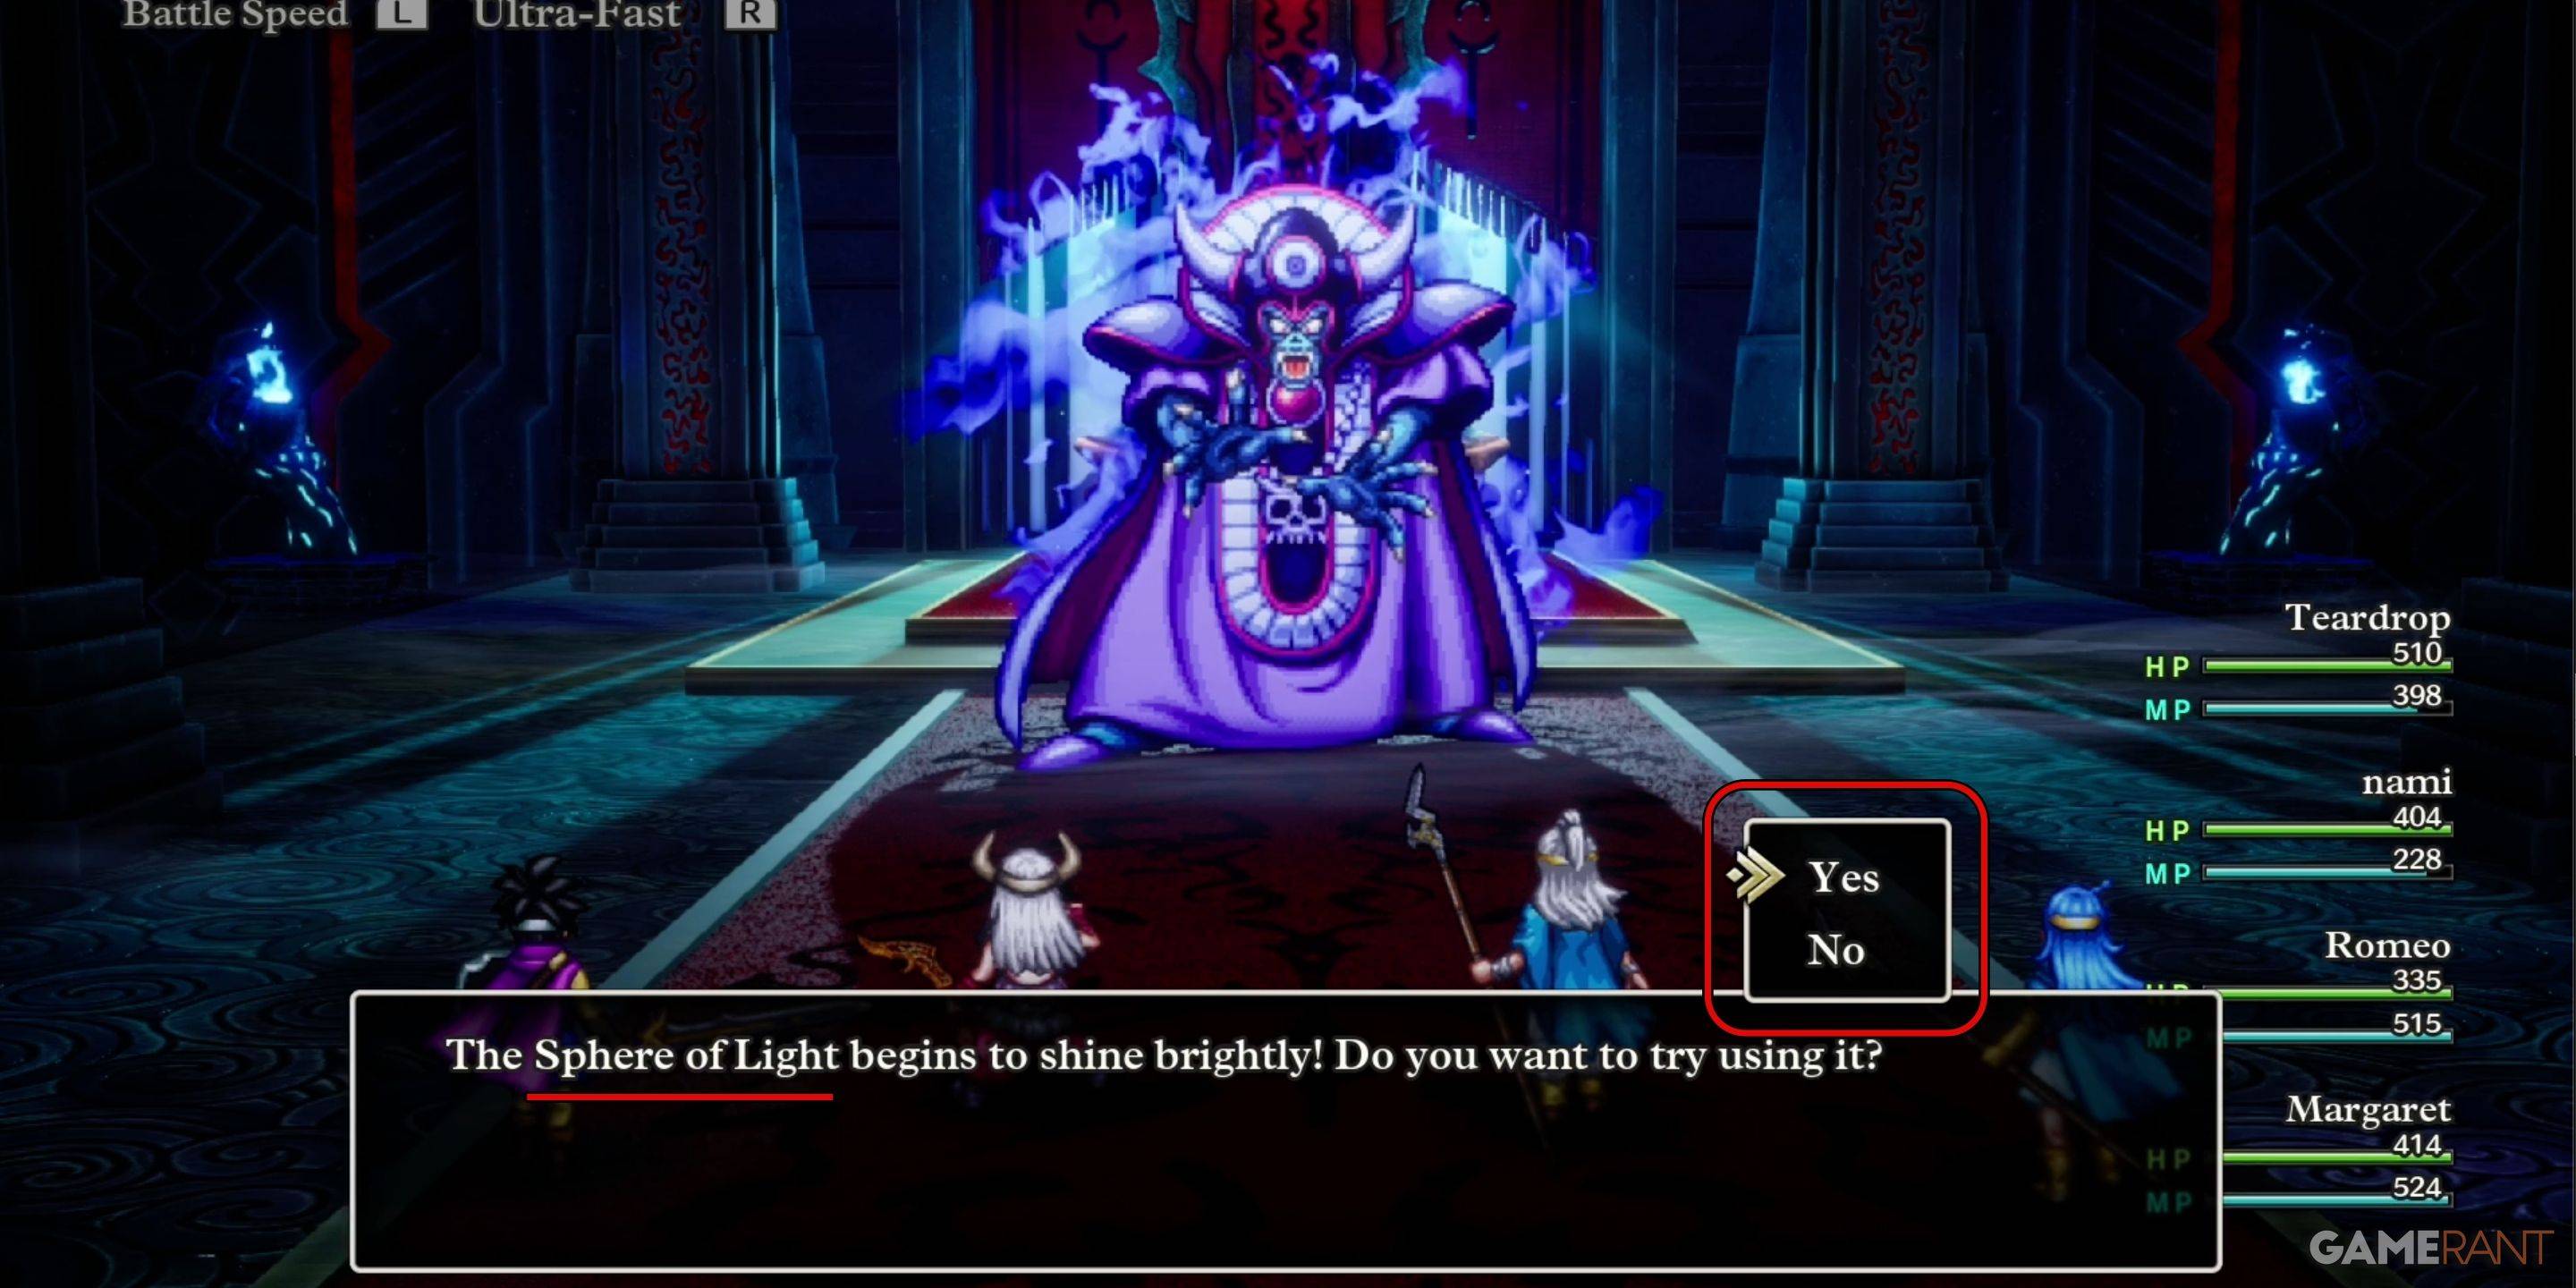
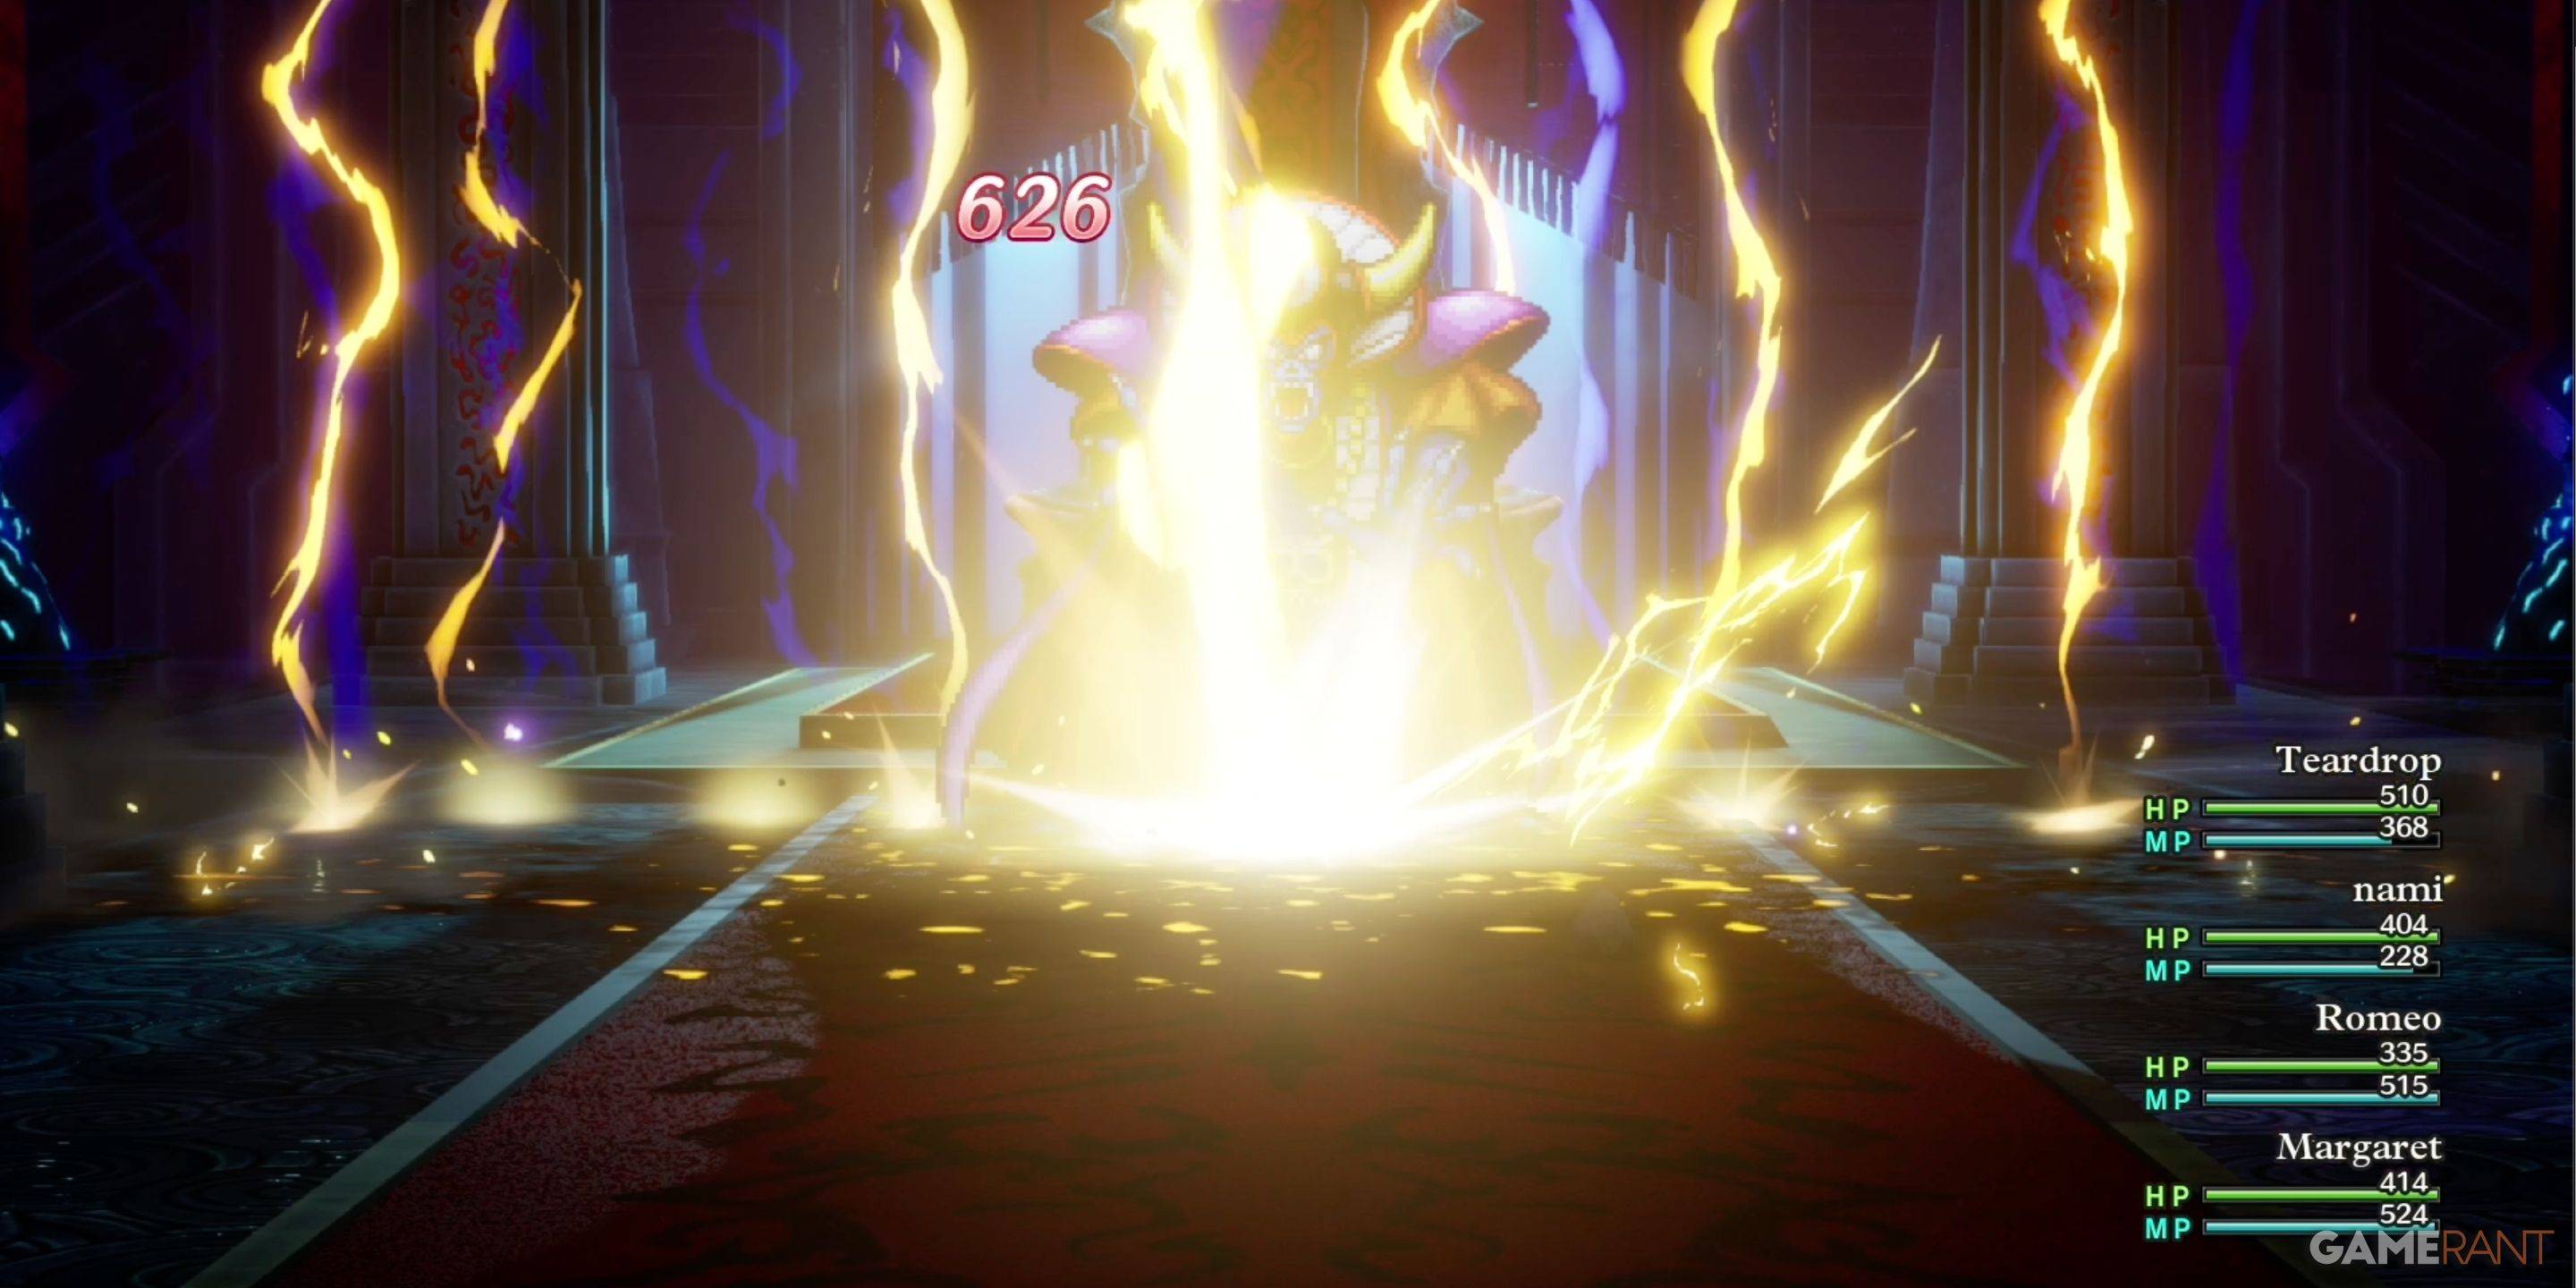
Defeating Zoma and His Minions
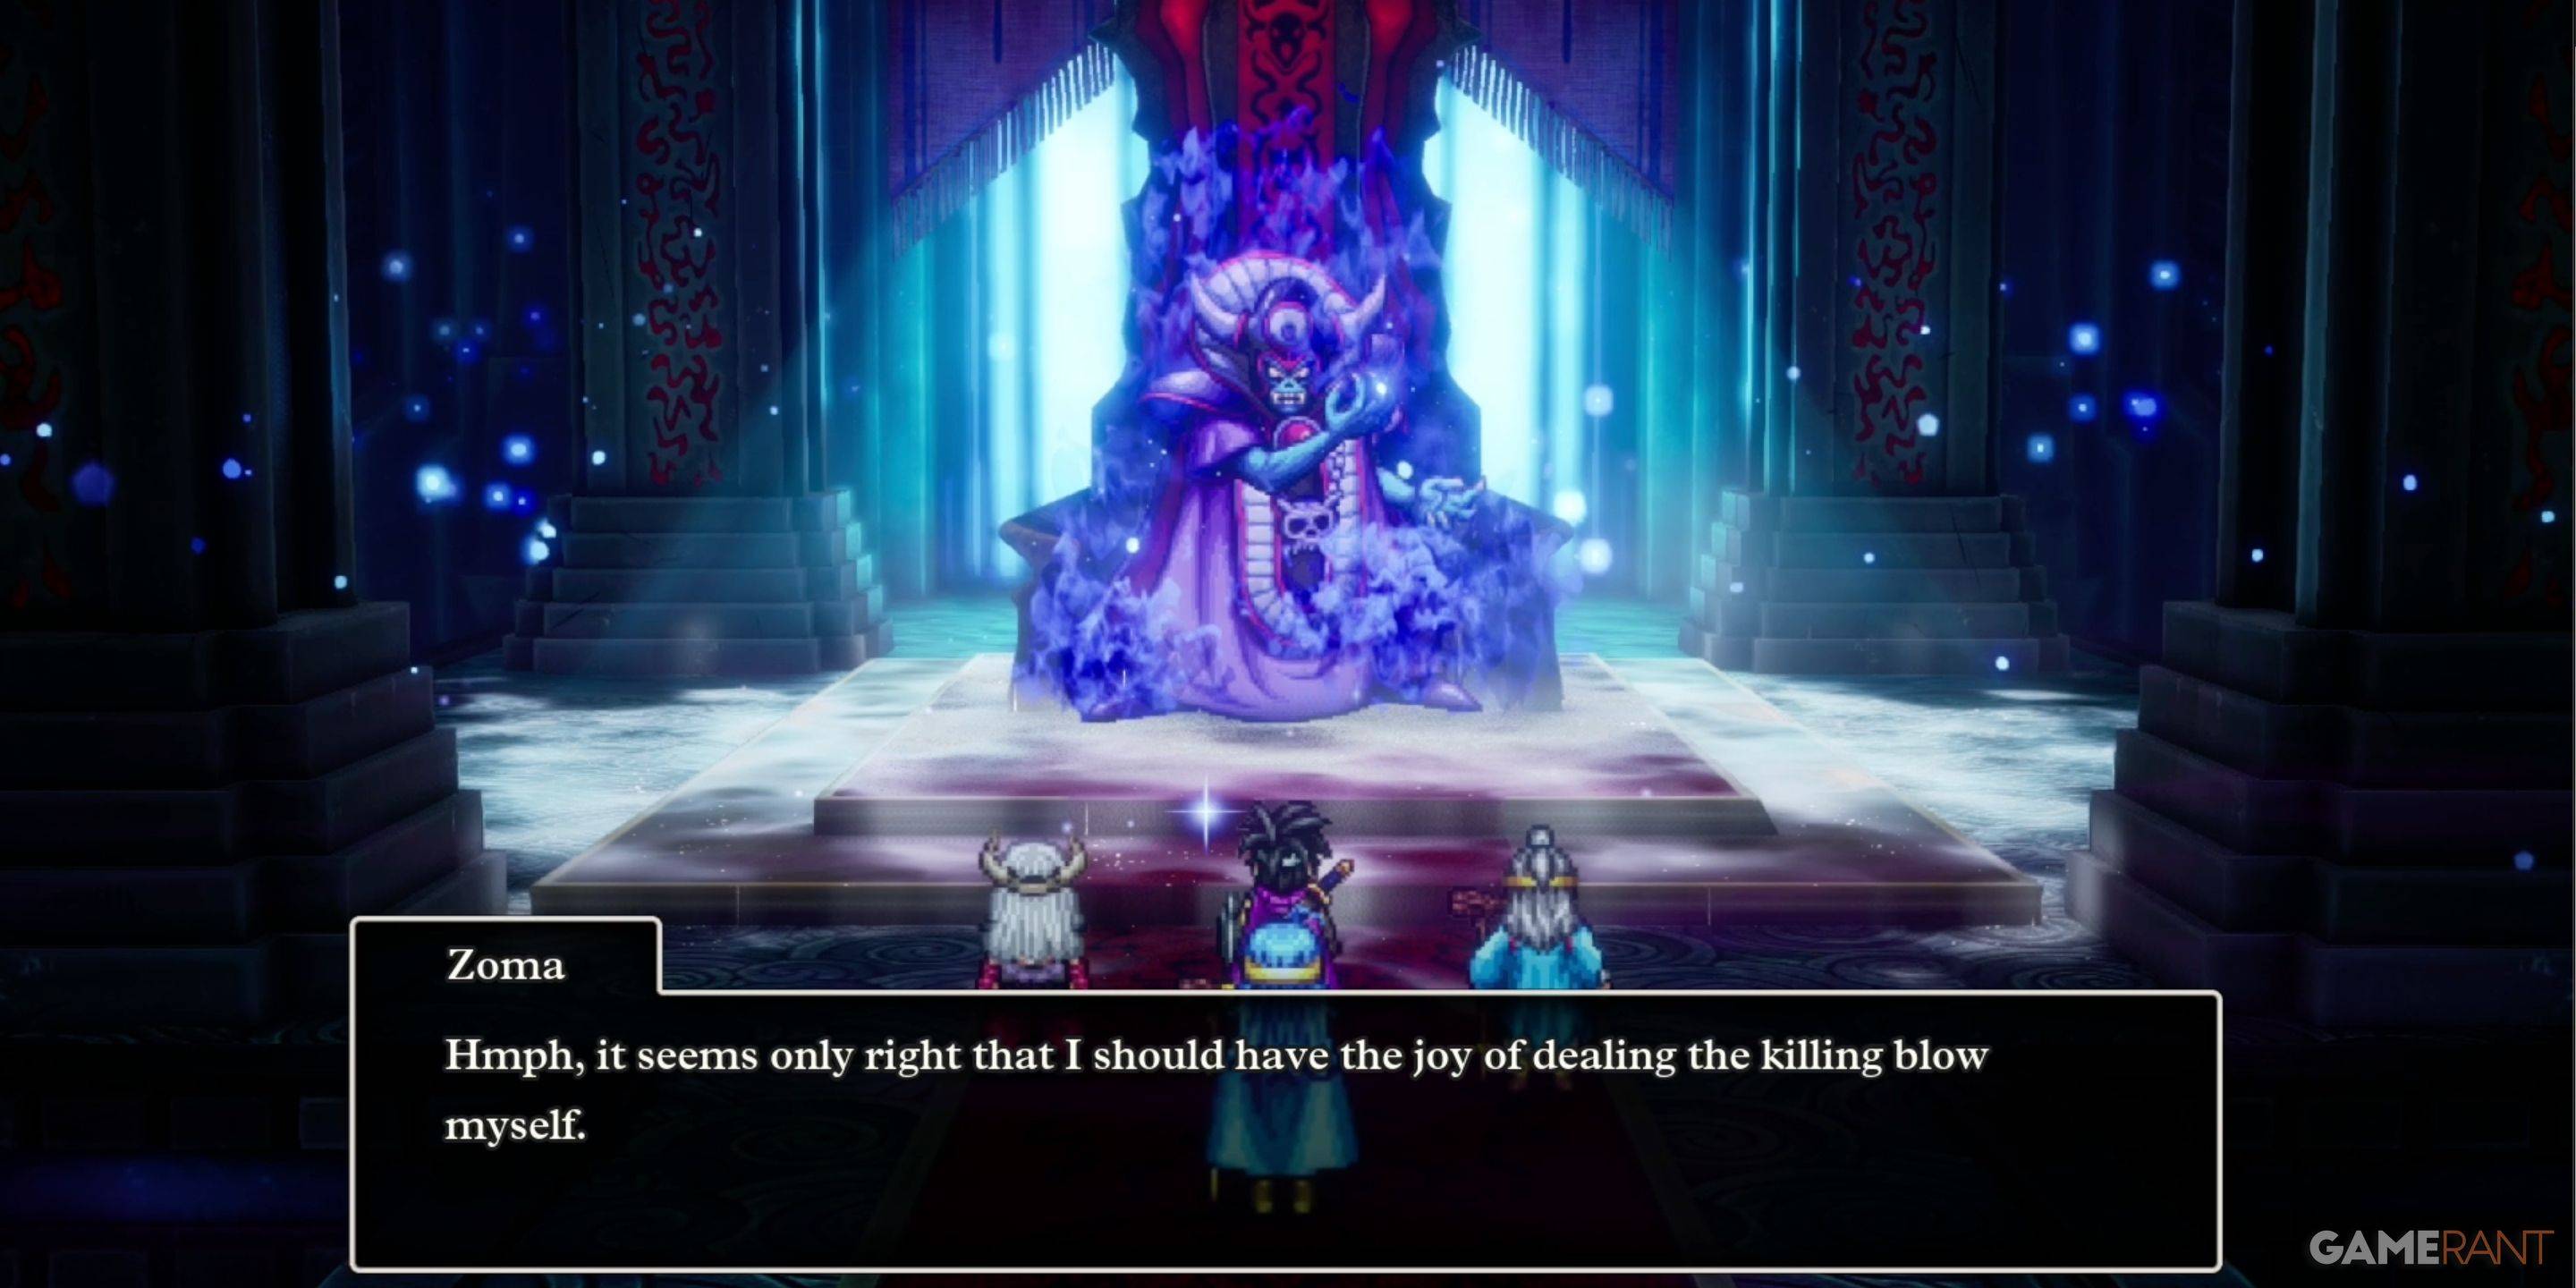
The final section is a boss gauntlet: King Hydra, Soul of Baramos, Bones of Baramos, then Zoma. You can use items between fights.
Monster List
| Monster Name | Weakness |
|---|---|
| Dragon Zombie | None |
| Franticore | None |
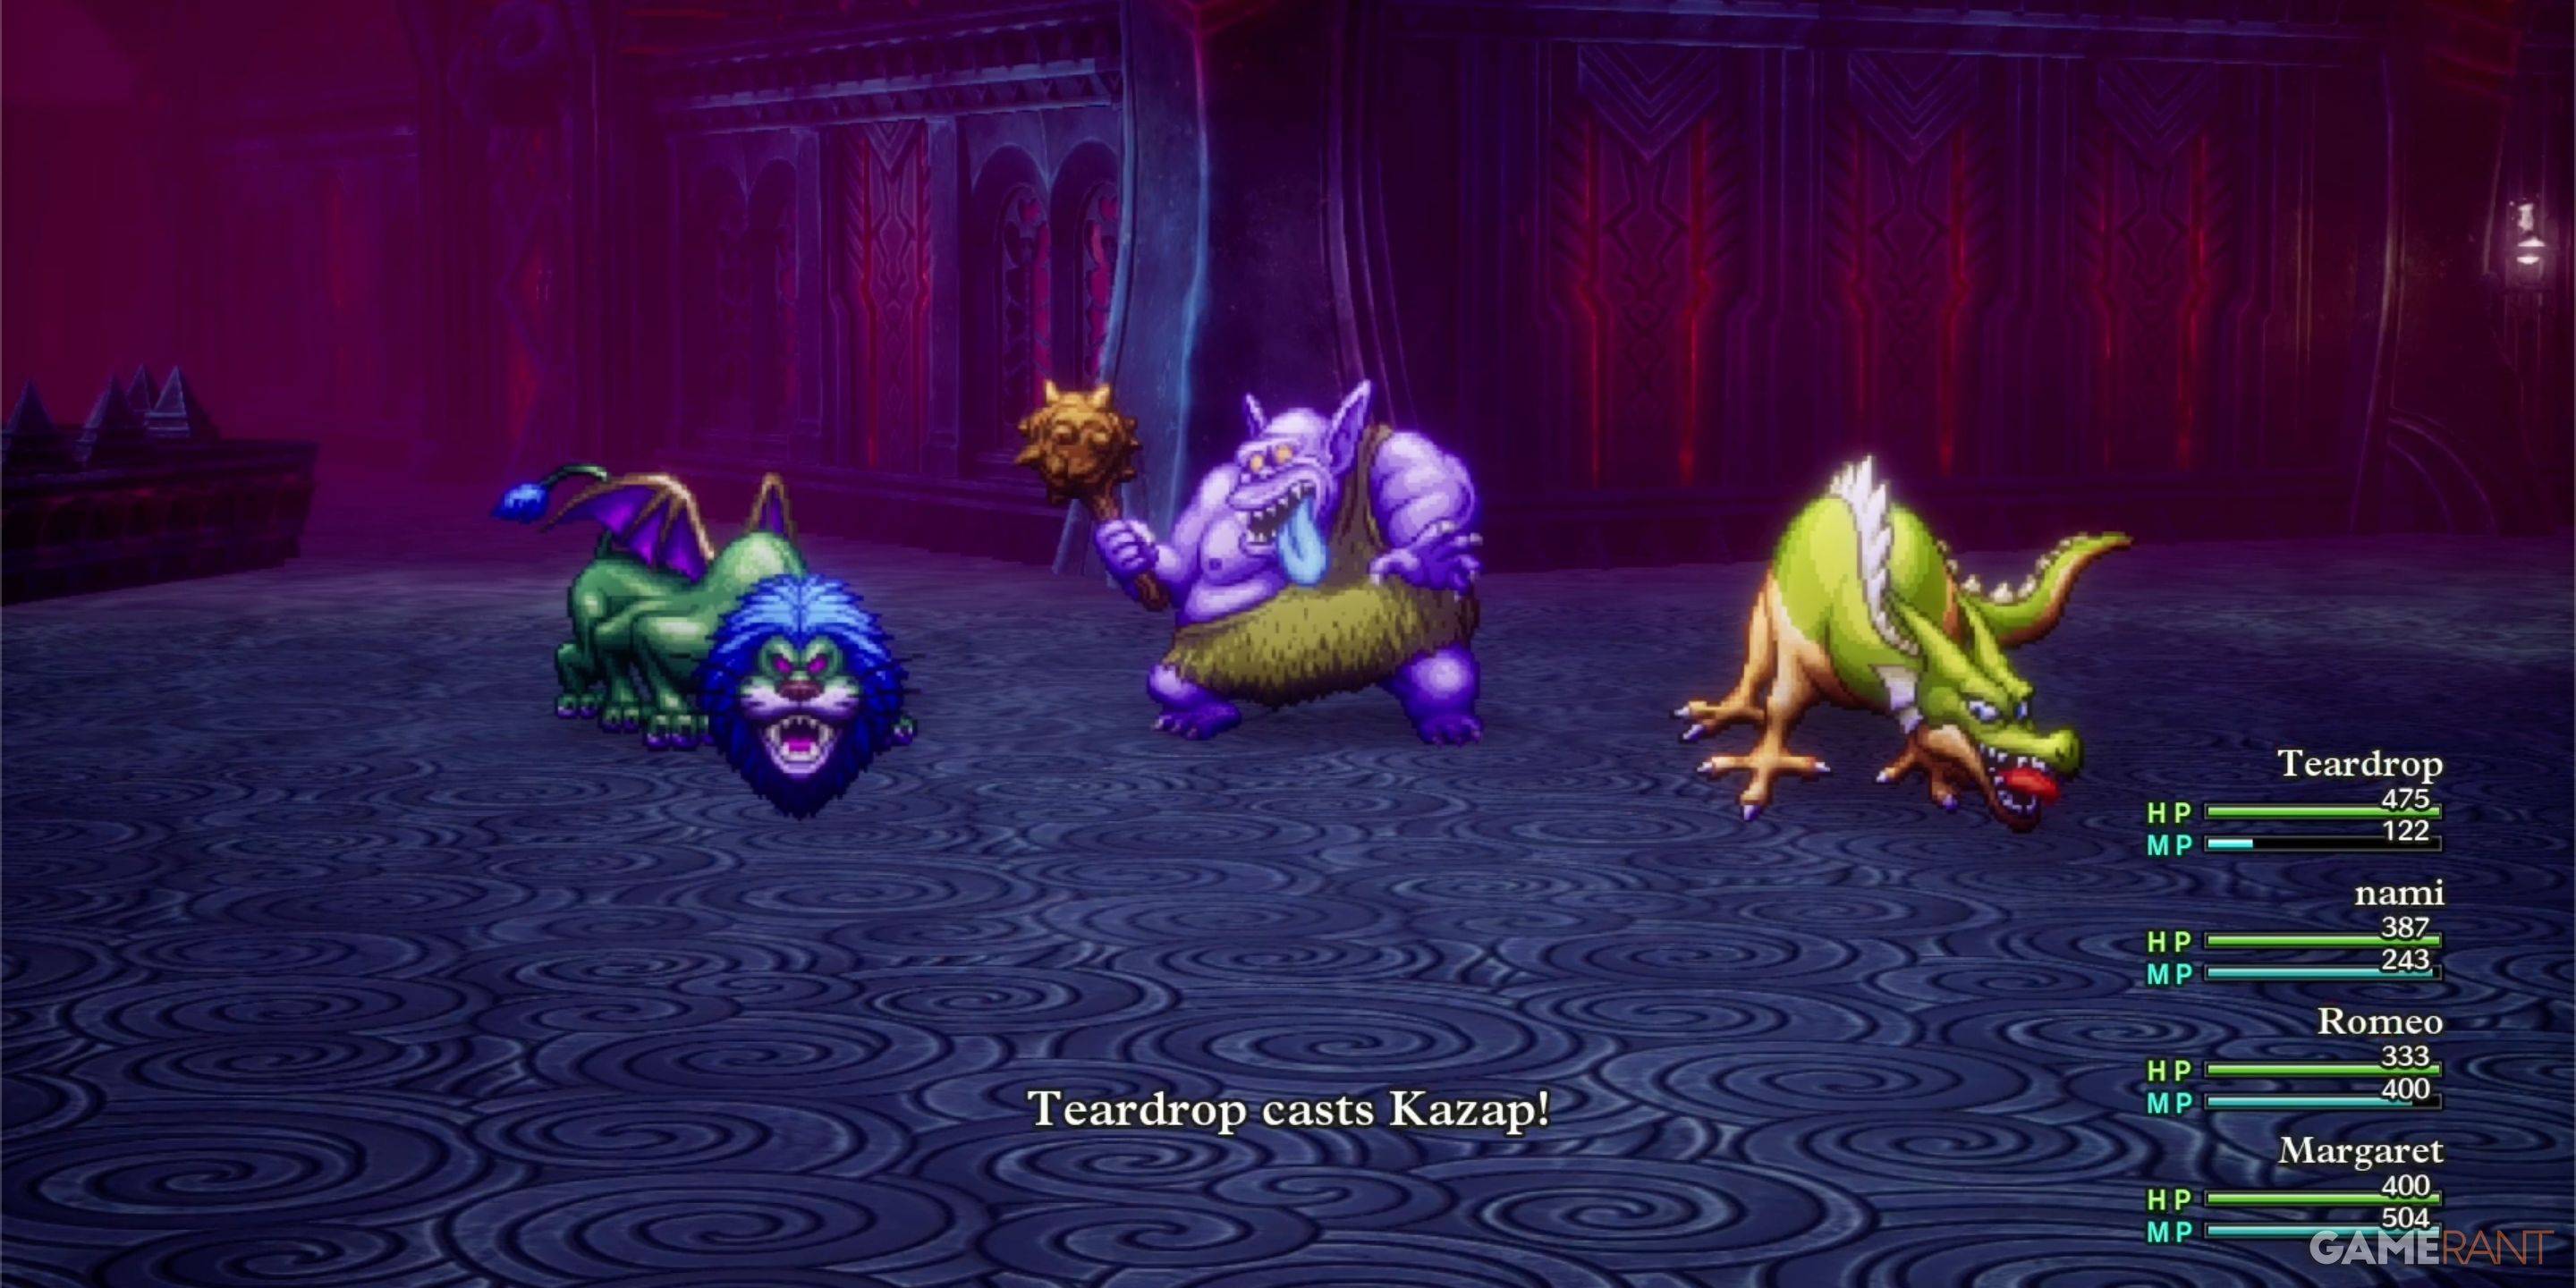
| Great Troll | Zap |
| Green Dragon | None |
| Hocus-Poker | None |
| Hydra | None |
| Infernal Serpent | None |
| One-Man Army | Zap |
| Soaring Scourger | Zap |
| Troobloovoodoo | Zap |
This guide should help you successfully navigate Zoma's Citadel and defeat Zoma in Dragon Quest 3 Remake. Remember to adapt strategies based on your party composition and equipment.