How To Enable SSH On The Steam Deck
Author: Penelope
Mar 19,2025

The Steam Deck's versatility extends beyond gaming, serving as a portable PC powerhouse. Its desktop mode opens up possibilities for remote file access, a need many users have. Leveraging the built-in Secure Shell (SSH) protocol offers a secure way to manage your Steam Deck's internal storage remotely. This guide details how to enable and use SSH on your Steam Deck.
 Enabling SSH on your Steam Deck is straightforward:
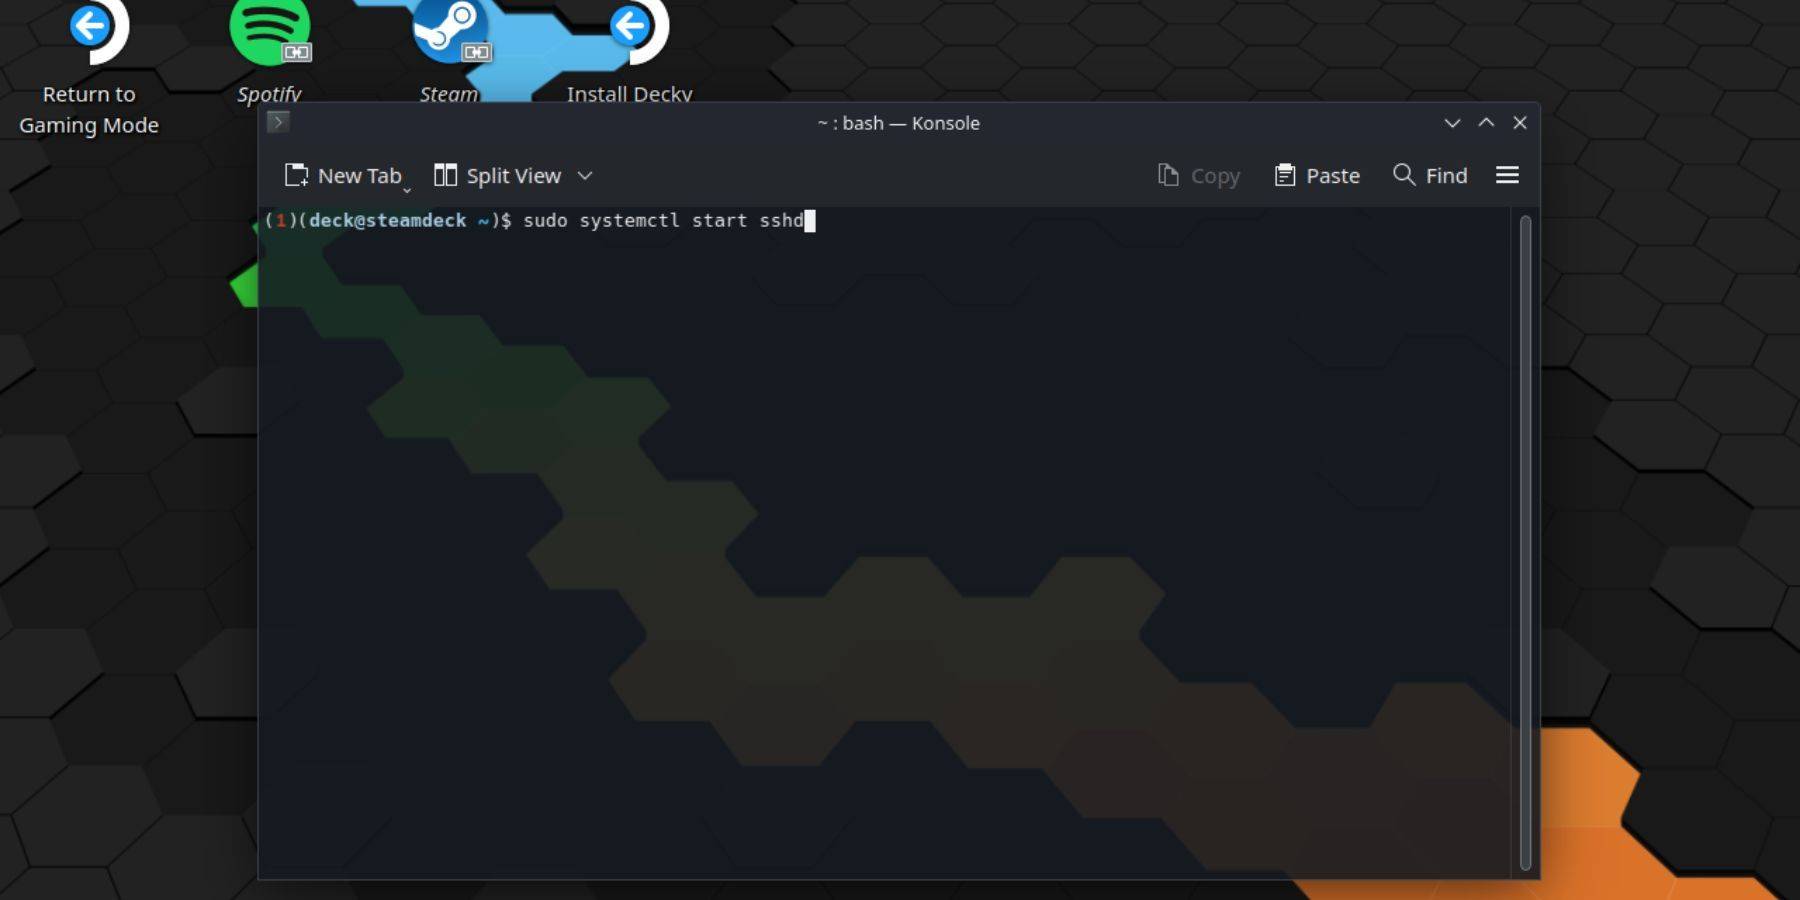
passwd. Create a strong password.sudo systemctl start sshd. To ensure SSH starts automatically after a reboot, use: sudo systemctl enable sshd.Important: Avoid altering or deleting system files to prevent OS corruption.
To disable SSH:
sudo systemctl disable sshd to prevent SSH from starting automatically on reboot, or sudo systemctl stop sshd to immediately stop the SSH service. Once SSH is enabled, you can use various third-party applications for remote access. Warpinator is a convenient option; install it on both your Steam Deck and your PC, launch it on both devices, and transfer files easily.
For Linux PC users, a third-party application isn't necessary. Simply open your file manager, enter sftp://deck@steamdeck in the address bar, and provide the password you set earlier to establish the connection.