
Stalker 2: Das Herz des Roten Waldes von Tschernobyl birgt ein wertvolles Geheimnis: die Lishchyna-Einrichtung voller hochwertiger Beute. In diesem Leitfaden erfahren Sie, wie Sie auf diese verlassene Anlage zugreifen und sie räumen, um sich eine mächtige Waffe und einen wertvollen Bauplan zu sichern.
Zugang zur Lishchyna-Einrichtung
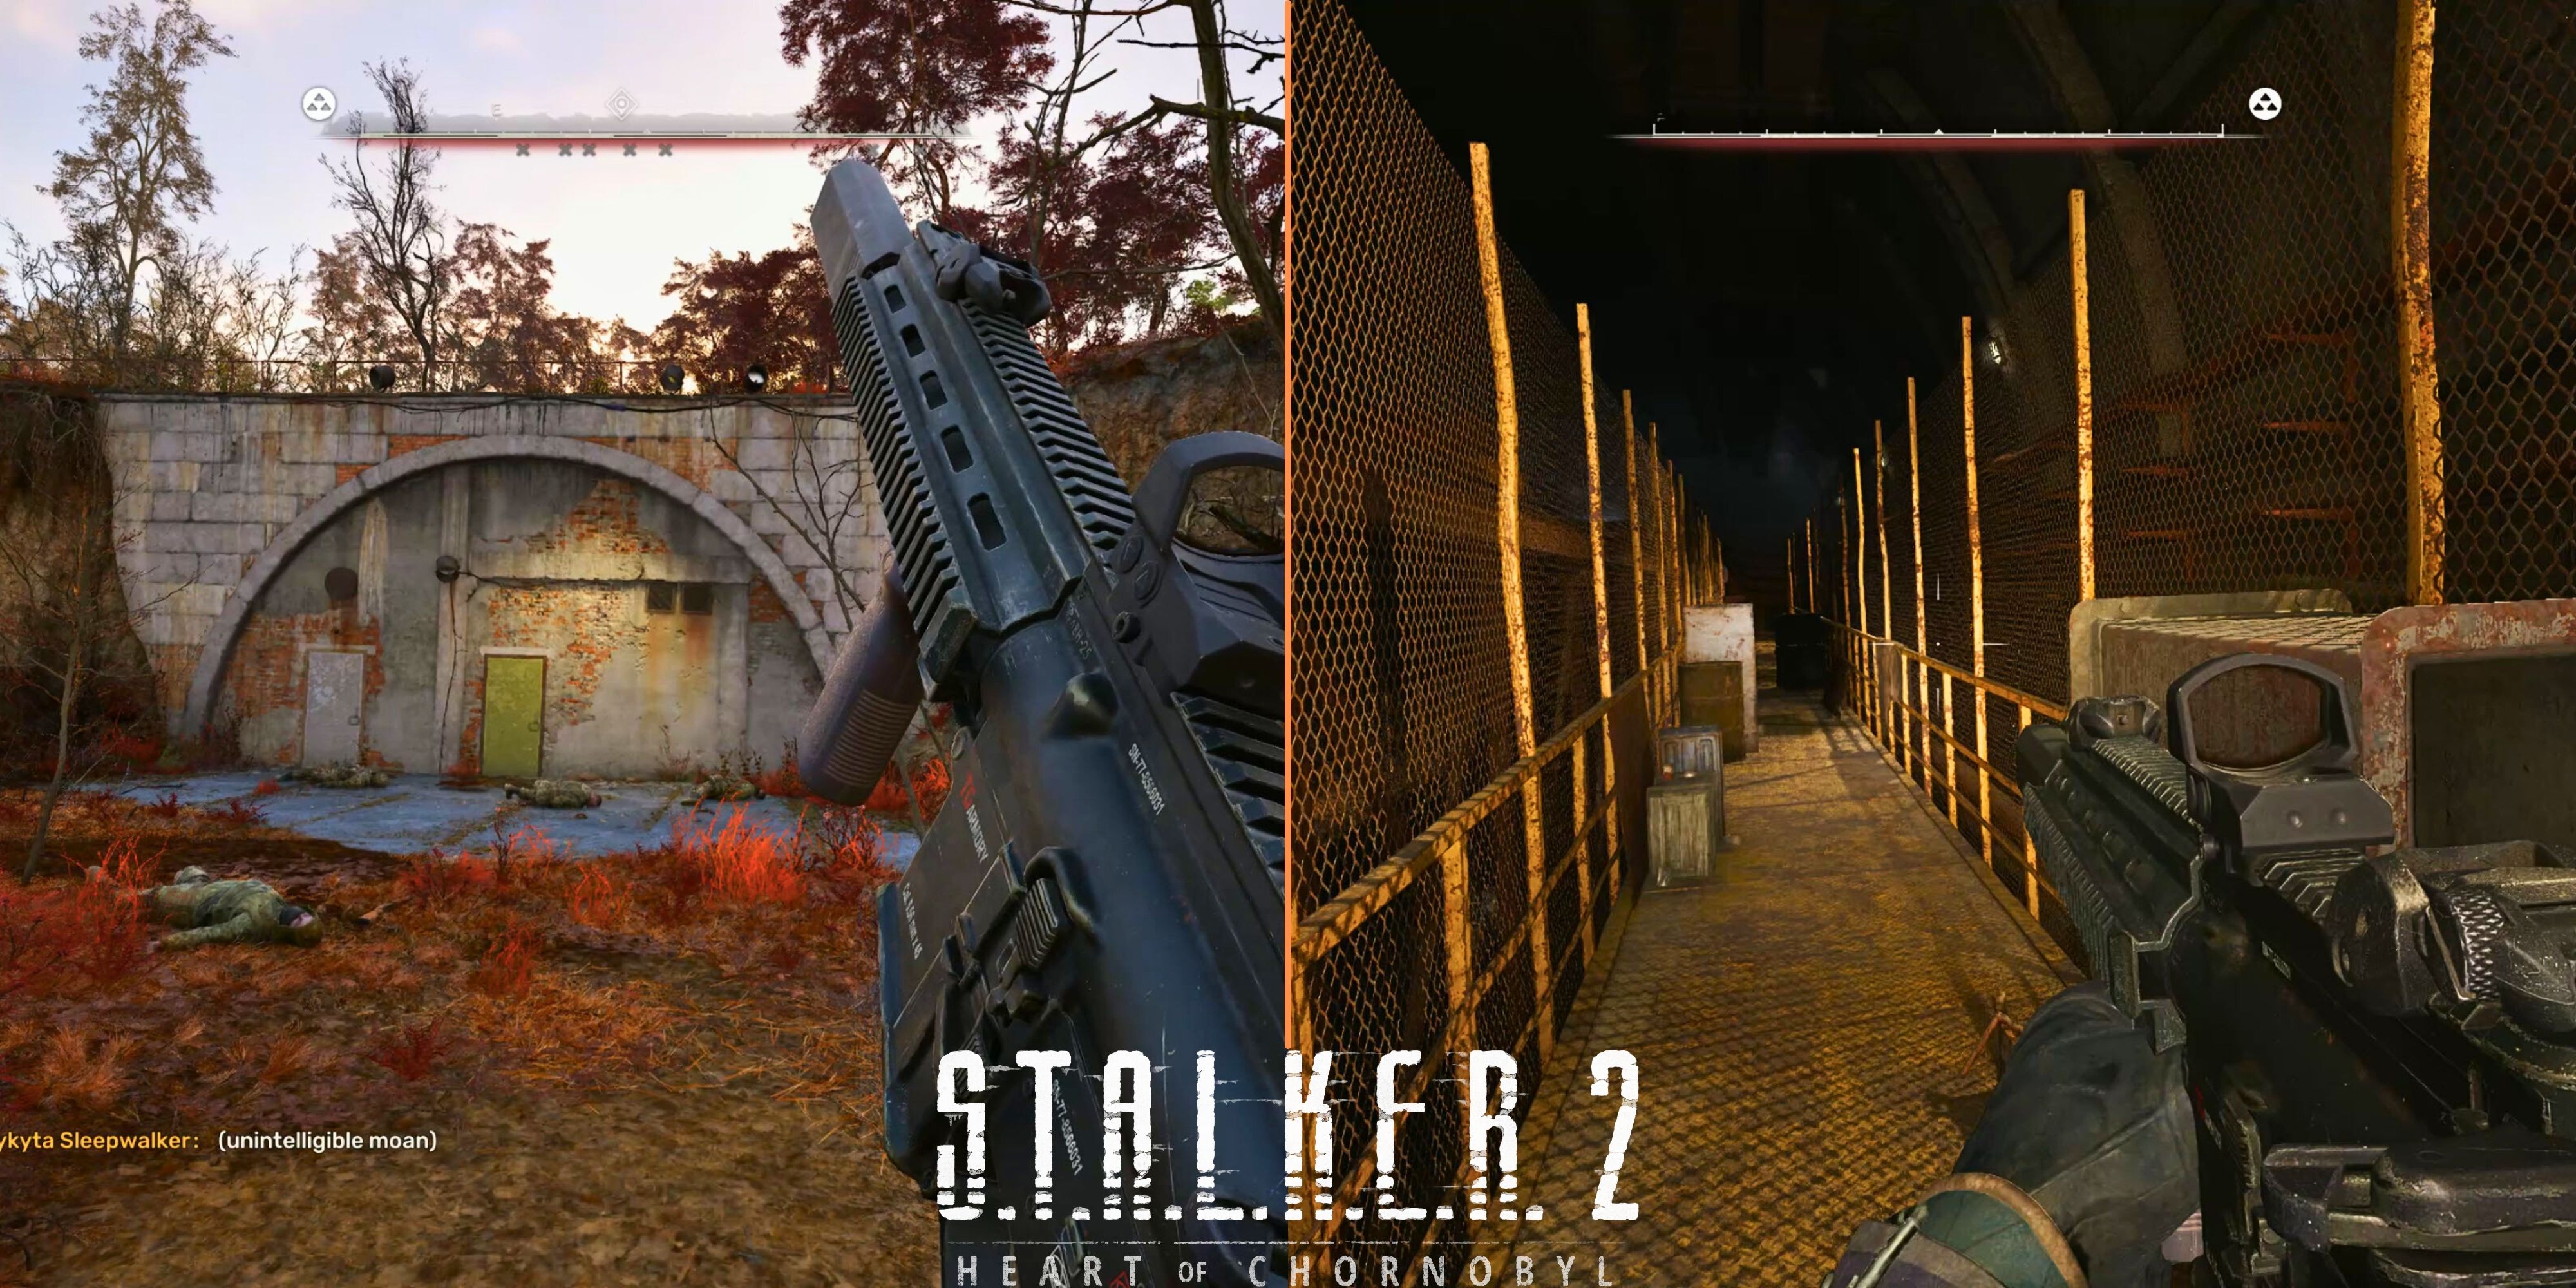
Die Lishchyna-Einrichtung liegt im östlichen Roten Wald und wird an ihrem Haupteingang von einer Horde Zombies bewacht. Beseitigen Sie diese Bedrohungen. Sie werden feststellen, dass der Eingang verschlossen ist und Sie einen Schlüssel benötigen.
Um den Schlüssel zu erhalten, gehen Sie rechts vom Haupteingang. Sie werden einen unterirdischen Unterschlupf entdecken, der ebenfalls von Zombies bewohnt wird. Besiege sie und finde den Schlüssel zusammen mit anderen nützlichen Ressourcen auf einem Schreibtisch im Inneren. Benutze den Schlüssel, um die Lishchyna-Anlage aufzuschließen, aber sei gewarnt – darin lauern noch weitere Gefahren.
Dnipro AR und Blueprint erhalten
Im Inneren kommandiert ein Controller-Mutant zombifizierte Soldaten in der Nähe des Eingangs. Neutralisieren Sie diese Feinde, steigen Sie dann zum Kontrollraum auf und eliminieren Sie den Controller. Aktiviere den roten Knopf auf der Konsole, um den Weg tiefer in die Anlage zu öffnen.
Navigieren Sie durch einen Generatorraum und einen langen Tunnel. Am anderen Ende der Anlage wartet eine weitere Gruppe zombifizierter Soldaten. Besiege sie und betrete das angrenzende kleine Büro. Im Inneren befindet sich ein Waffenschrank mit dem Dnipro-Sturmgewehr. Ein nahegelegener blauer Spind enthält den Entwurf für Plexiglas-Overlays mit Schutzbeschichtung für einen taktischen Helm.
Die Einrichtung ist außerdem reich an wertvollen Ressourcen, darunter Medikamentenkoffer, Lebensmittel und andere Verbrauchsgüter. Vergessen Sie nicht, Waffen von gefallenen Feinden einzusammeln, um sie gegen wertvolle Spielwährung zu verkaufen. Sobald Sie Ihre Beute gesichert haben, verlassen Sie die Anlage.
Welcome to the Destiny Rising Gacha Guide – your complete breakdown of how the gacha system works, including summons, pity mechanics, rate-ups, and tips to maximize your chances of pulling the best characters. Whether you're a new player or looking to optimize your gacha strategy, this guide will help you make smarter choices.
🔮 1. Understanding the Gacha System in Destiny Rising
Destiny Rising uses a standard gacha model with two main types of summons:
Standard Summon (100% Weapon/Character gacha)
Special Summon (Rate-Up Events)
All summons are randomized, and the outcome depends on pity mechanics, rate-up banners, and character/weapon rarity tiers.
🎯 2. Character & Weapon Rarity Tiers
★★★ (3-star) – Common (e.g., base weapons, filler characters)
★★★★ (4-star) – Rare (strong mid-tier units, good for early-game progression)
★★★★★ (5-star) – Epic (Legendary characters & weapons – the main goal)
💡 Note: 5-star characters and weapons are the only ones that can be fully upgraded and are essential for endgame content.
🎁 3. How Summons Work (Pity & Guaranteed Pulls)
The gacha uses a pity system to ensure fairness and prevent "bad luck" streaks.
✅ Pity Mechanics:
Pity Count: Tracks how many summons you've made since your last 5-star pull.
100% Guaranteed 5-Star: After 90 failed summons, your 100th summon is guaranteed a 5-star.
5-Star Rate-Up: During a rate-up event, if you pull a 5-star, it will always be the featured character/weapon.
No Pity on 5-Star: Once you pull a 5-star, your pity counter resets.
⚠️ Important: Your first 5-star pull is guaranteed to be a random 5-star, not necessarily the rate-up.
🎇 4. Rate-Up Events (Your Best Opportunity!)
Rate-Up events are limited-time banners that increase the drop rate for a specific 5-star character or weapon.
🔥 Rate-Up Banner Mechanics:
Increased 5-Star Rate: During a rate-up, the chance to pull the featured 5-star is significantly higher than the standard 5-star rate.
Guaranteed Rate-Up: If you don’t get the featured 5-star within 90 summons, the 100th summon is guaranteed to be the rate-up character/weapon (if on a rate-up banner).
No Guaranteed 5-Star on Rate-Up: You still need to wait 90 summons for a 5-star, but if you get one, it's 100% the featured one.
✅ Pro Tip: Always save your summons for rate-up banners. Pulling on a non-rate-up banner gives you a lower chance to get the top-tier character you want.
🛠️ 5. Summoning Strategies (Maximize Your Odds)
🎯 Best Practices:
Wait for Rate-Up Banners
Most 5-star characters are featured on limited-time banners.
Only summon during these events to maximize your chances.
Use "Pity Counter" to Plan
If you’re 90+ summons away from a 5-star, you’re "in the clear" – you’re guaranteed a 5-star on the 100th.
Use this to plan your spending (e.g., save currency for a 100-pull if you're close).
10x Summon = 100 Pulls (Costs 1000 Gems)
10x summon gives you 100 pulls in one go – great for hitting pity or ending a long streak.
Avoid Random Pulls on Non-Rate-Up Banners
The odds of getting your desired 5-star are much lower when not on a rate-up.
Track Your Pity (Use a Gacha Tracker App)
Many players use tools like Gacha Tracker, Gacha Guide, or Spreadsheet to log summons and plan.
🎁 6. Free & Bonus Summon Tips
Daily Login Rewards: Often include free 10x summons (check the event calendar).
Event Milestones: Completing quests can earn you free gacha tickets or currency.
New Player Events: First 30 days often include 1000+ free summons – use them wisely!
Anniversary/Seasonal Events: Great for getting free 5-star characters or pity resets.
💡 Pro Tip: Use free summons first on rate-up banners to maximize value.
🎮 7. Who Should You Pull?
Character Type
Best For
5-star Character (Rate-Up)
Endgame content, story, visuals, and team synergy
4-star Character
Early/mid-game filler, good for progression
5-star Weapon
Boosts damage and abilities of a 5-star character (e.g., "Soulcleaver" for DPS)
🔥 Golden Rule: Only pull a 5-star if it fits your team or fills a major role (e.g., main DPS, healer, tank).
📊 Summary: Your Gacha Checklist
✅ Wait for a rate-up banner before spending on summons
✅ Use 10x summons to reach pity (90–100 pulls)
✅ Save currency for when your pity is high (90+ pulls)
✅ Track your pulls using a gacha tracker app
✅ Use free summons on rate-up banners first
✅ Only pull 5-stars you actually need for team composition
🌟 Final Advice
Don’t overspend on gacha – it’s a game, not a life investment.
Be patient – the pity system ensures you’ll get a 5-star eventually.
Enjoy the journey – many players end up with amazing characters after 100–200 summons.
🎯 Pro Tip: If you're aiming for a specific 5-star, wait for the banner. The game is designed so you’ll get it eventually — just plan smart.
✨ Remember: In Destiny Rising, your destiny isn’t just luck — it’s strategy.
Good luck, Commander. The stars await your summon.
🌌 Keep rising.