7 Days To Die Infested: четкие миссии: подробное руководство
Это руководство подробно описывает сложные, но полезные миссии Infested Clear в 7 Days To Die. Эти миссии предлагают значительный прирост опыта, ценную добычу и редкие награды, но требуют тщательного планирования и выполнения.
Начинаем четкую миссию по Заражённым
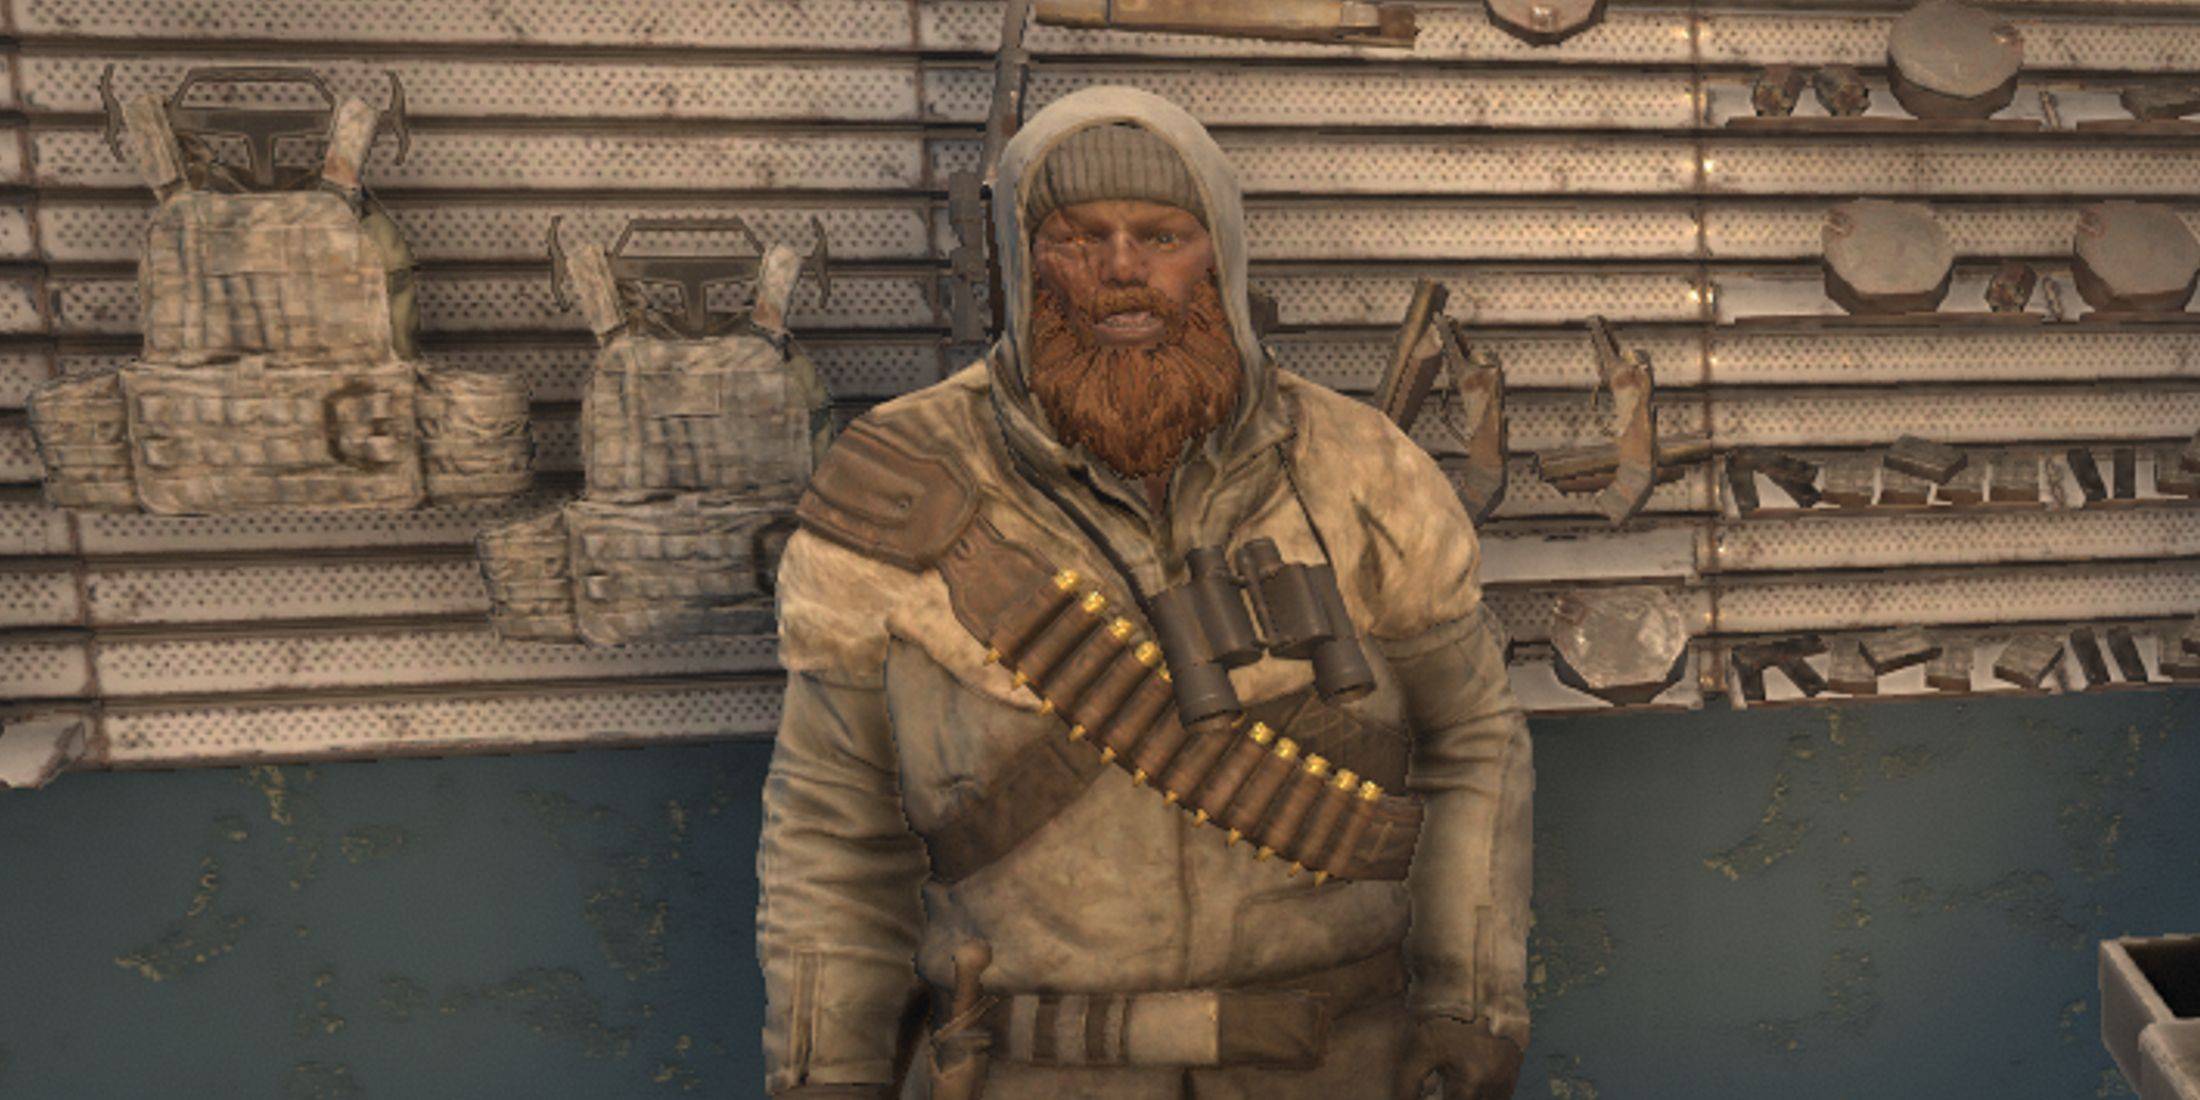
Для начала посетите одного из пяти торговцев (Ректа, Джен, Боба, Хью или Джо). Сложность миссии зависит от уровня (выше уровень = сложнее) и биома (Пустошь сложнее, чем Лес). Заражённые миссии открываются на уровне 2, требуя выполнения 10 миссий уровня 1. Ожидайте увеличения количества зомби и более жестких разновидностей (радиационных, полицейских, диких). Миссии уровня 6 являются самыми сложными, но предлагают лучшие награды для хорошо подготовленных игроков. Цель остается неизменной: уничтожить всех врагов в обозначенной зоне.
Выполнение ясной миссии «Заражённые»
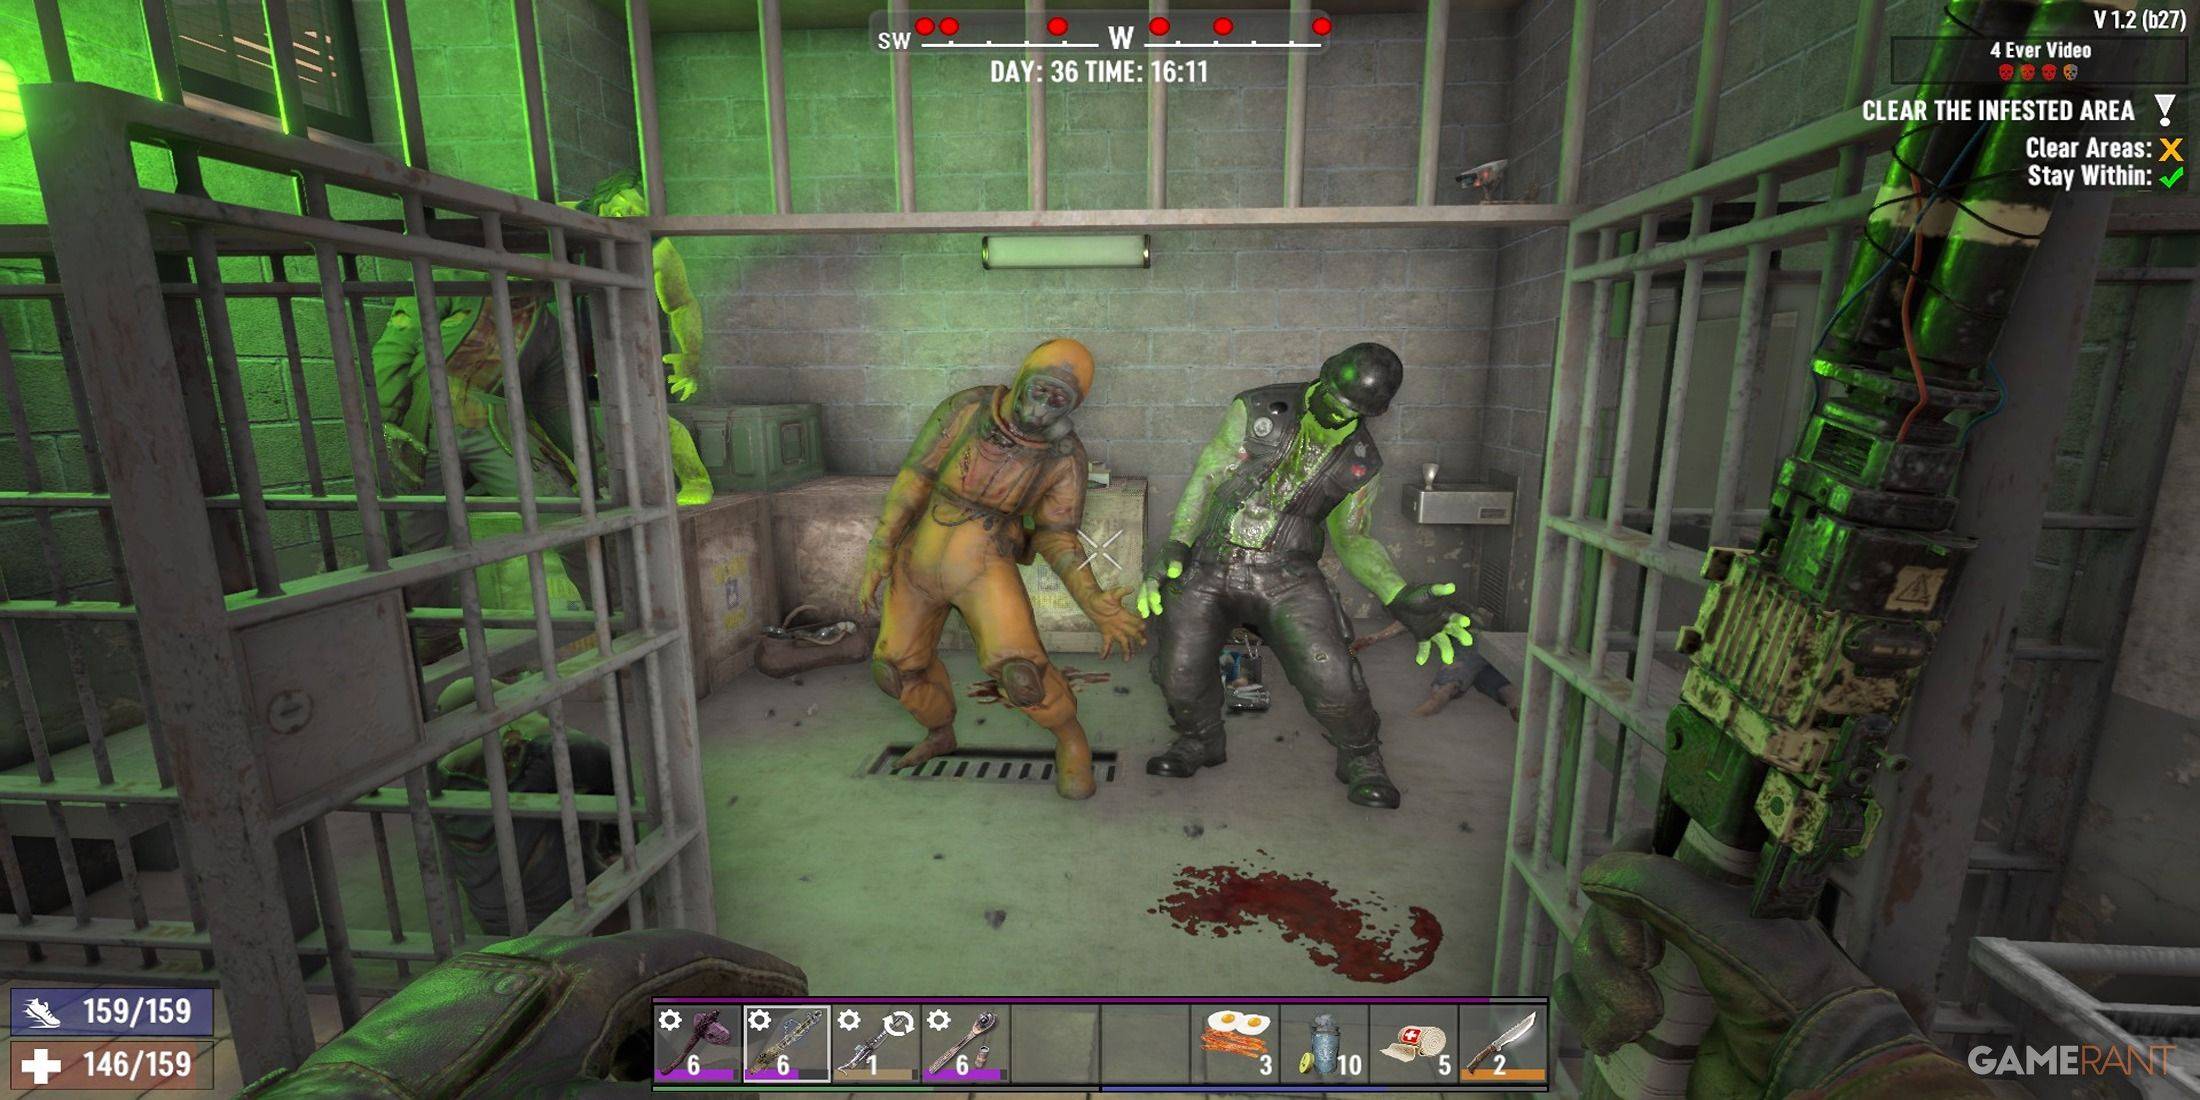
Достигнув точки интереса (POI), активируйте маркер миссии. Покидание зоны или смерть приведет к провалу миссии. POI часто вызывают события (например, обрушение полов, засады). Чтобы избежать этого, избегайте очевидных, хорошо освещенных дорожек. Используйте строительные блоки, чтобы создавать альтернативные маршруты или обходить ловушки.
Зомби обозначаются на экране красными точками; более крупные точки означают более близкую близость. Отдавайте приоритет выстрелам в голову. Помните об особых типах зомби:
| Zombie Type | Abilities | Countermeasures |
|---|---|---|
| Cops | Spit toxic vomit, explode when injured | Maintain distance, use cover before they spit. Avoid blast radius. |
| Spiders | Jump long distances | Listen for their screech before they jump; prepare for quick headshots. |
| Screamers | Summon other zombies | Prioritize eliminating them to prevent overwhelming hordes. |
| Demolition Zombies | Carry explosive packages | Avoid hitting their chests to prevent detonation; run if the explosive activates. |
Последняя комната обычно содержит добычу высокого уровня, а также большое количество зомби. Прежде чем войти, убедитесь, что вы полностью вылечены, оружие заряжено и прочно, и вы знаете путь отхода.
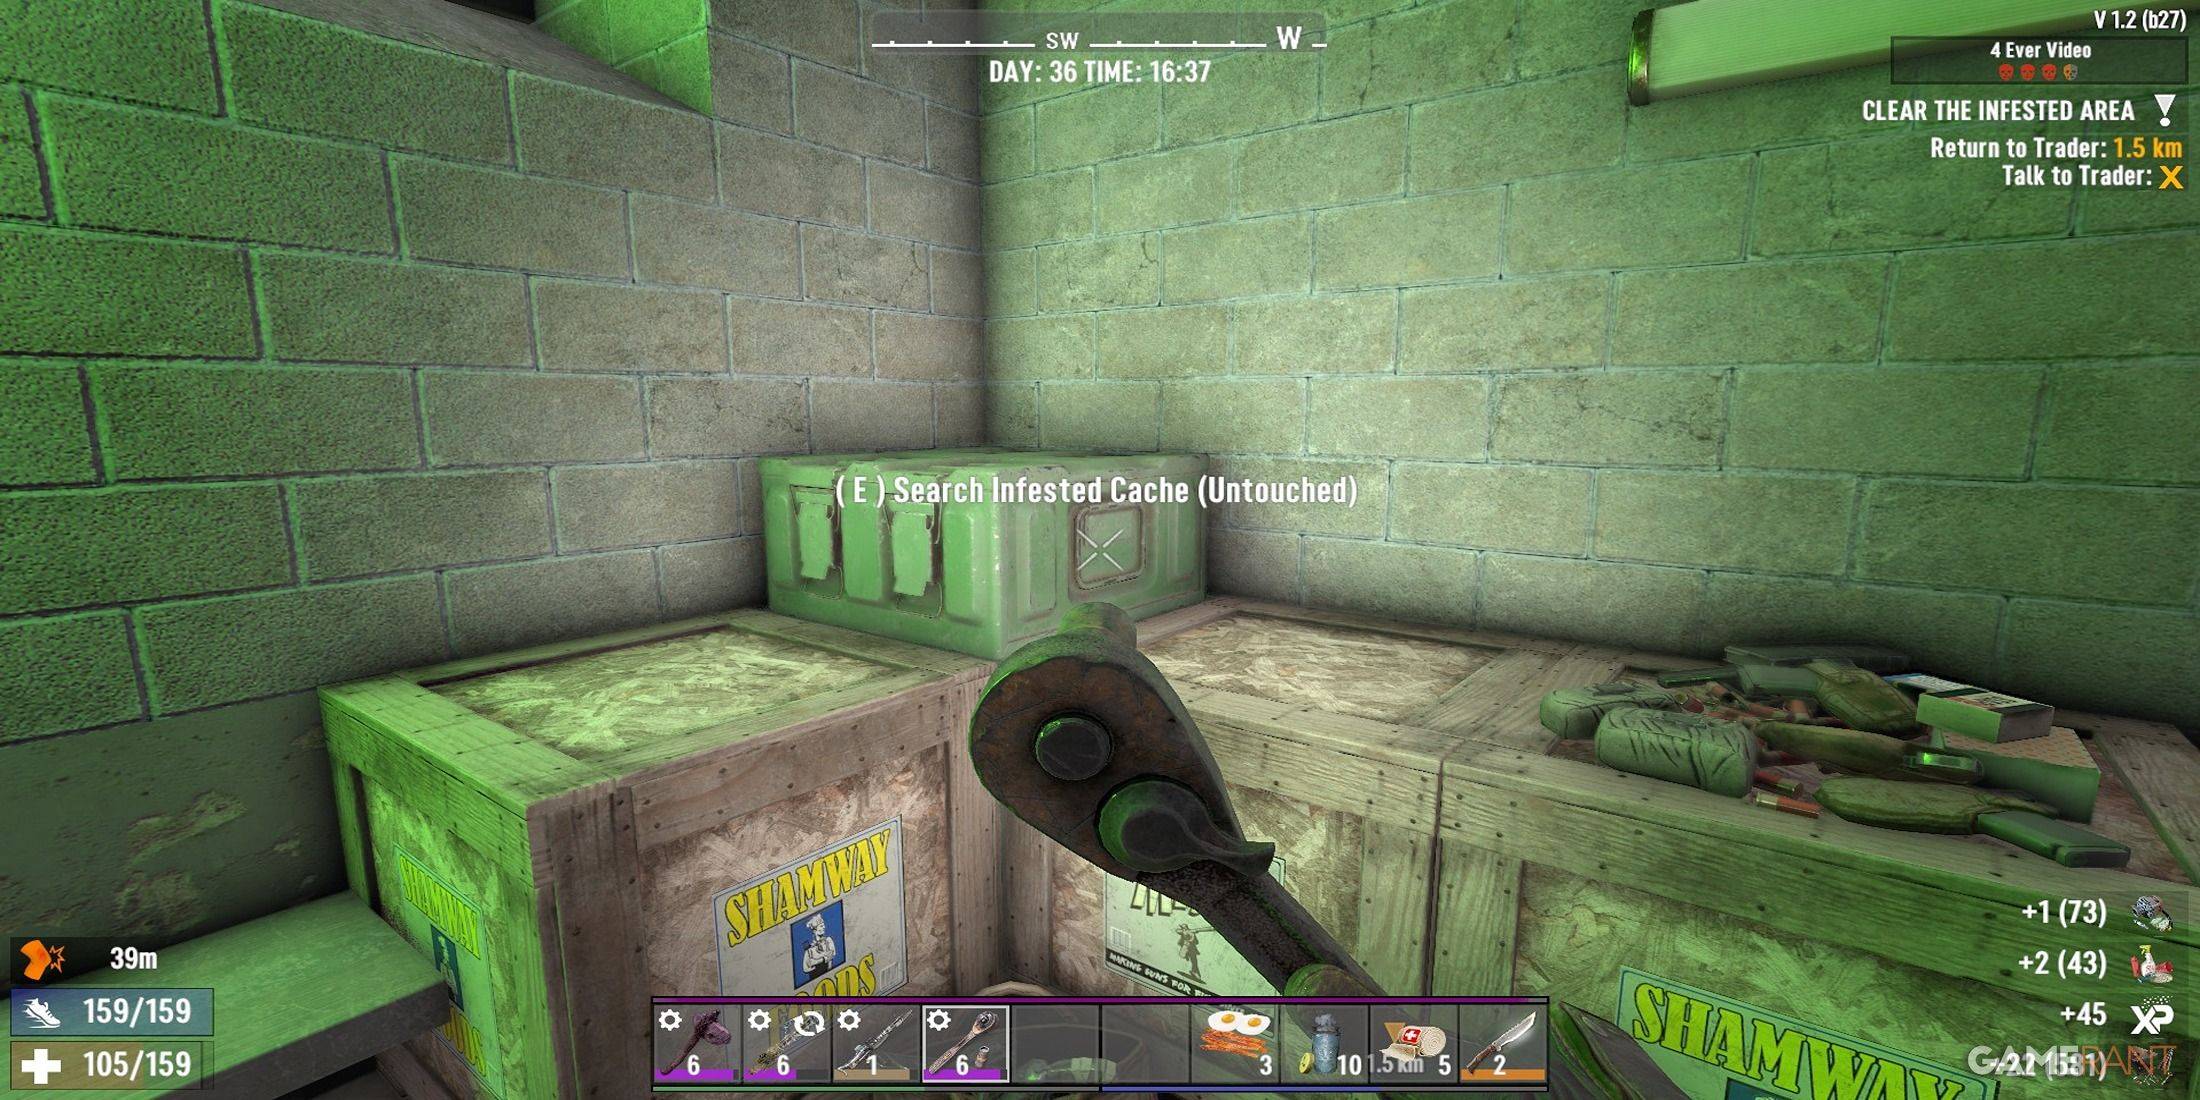
После уничтожения зомби доложите об этом торговцу. Не забудьте собрать Заражённый тайник, содержащий ценные боеприпасы, журналы и другие высококачественные предметы.
Награды за прохождение миссии «Заражённые»
Награды выбираются случайным образом, но зависят от этапа игры, этапа добычи (усиливается умением Lucky Looter и модом «Охотник за сокровищами»), уровнем миссии и выбором перков. Настоятельно рекомендуется использовать перк «Отважный искатель приключений», который увеличивает награды Герцога и позволяет выбрать два варианта наград на 4-м уровне. Продавайте ненужные предметы торговцу за дополнительный опыт.
Welcome to the Destiny Rising Gacha Guide – How Summons, Pity, and Rate-Up Work! Whether you're new to gacha systems or a returning player looking to optimize your summoning strategy, this guide breaks down everything you need to know to maximize your chances, avoid burnout, and get your dream characters (or weapons) efficiently.
🌟 What Is Destiny Rising?
Destiny Rising is a gacha RPG (RPG with randomized character/weapon pulls) where players collect powerful units (heroes) and weapons to build strong teams, progress through story content, and compete in events.
The core gameplay loop revolves around summoning (gacha) to obtain 4★ and 5★ characters and weapons.
🔑 1. How the Gacha System Works
🎯 Summon Types
There are typically three main summon types:
Standard Summon (Main Banner) – For 5★ characters and weapons.
Character Rate-Up Banner – A featured 5★ character (e.g., "Caelum the Radiant") has a higher chance to appear (e.g., 2x base rate).
Weapon Rate-Up Banner – Features a 5★ weapon (e.g., "Soulflame Longsword") with increased spawn rate.
💡 Pro Tip: Always use Rate-Up Banners when you want a specific 5★ character or weapon. The odds are significantly better.
🎲 2. Summon Mechanics Explained
✅ Base Rates (Approximate – Varies by Game)
Pull Type
Base Rate (Est.)
5★ Character
0.6%
5★ Weapon
0.6%
4★ Character
5.1%
4★ Weapon
5.1%
3★ (Common)
89.2%
⚠️ Important: These are base rates. The actual chance increases due to pity mechanics.
🔁 3. Pity System – Your Best Friend
The pity system ensures you won’t go forever without a 5★. Here’s how it works:
🎯 5★ Pity (Guaranteed 5★)
After 90 summons, you are guaranteed a 5★.
The 90th summon is always 5★.
You cannot get a 5★ before 90 if you haven’t had one yet.
🔄 Reset: Pity is reset when you get a 5★. So if you pull a 5★ on summon #75, your next pity counter starts from 0.
🌟 5★ Pity on Rate-Up Characters
On a Rate-Up Banner, you get a higher chance to pull the featured 5★.
After 90 summons, you get a 100% guaranteed 5★, and if you haven’t pulled the featured 5★, you might get it as a "pity" 5★.
🎯 Rate-Up Pity Bonus: In many gacha systems, if you haven’t pulled the featured 5★ character, on your 90th summon, you’re guaranteed to get that specific character (not random). This is called "Featured 5★ Pity".
⚠️ Note: This varies by game. Always check the official Banner Details to confirm.
🎉 4. How to Use Rate-Up Banners Smartly
✅ When to Summon on a Rate-Up Banner
You want the featured 5★ (e.g., a 5★ healer, DPS, or tank).
You’ve already pulled a 5★ character and want a better one.
You're saving up for a full team build.
❌ When to Avoid
Don’t waste summons if you already have the featured 5★.
Don’t spend money if you don’t like the banner theme (no reward = no return).
Avoid pulling on a non-rate-up banner unless you’re okay with a random 5★.
💡 Best Practice: Use 0–89 summons on rate-up banners to increase your chance of getting the featured 5★. Then, if you miss it, wait for pity on a new banner.
📊 5. Summoning Strategies (Pro Tips)
🛠️ 1. Save for Pity
Never spend money on a single summon with no pity.
Wait until 70–80 summons to start spending, so you’re close to 90 and less likely to "waste" a pull.
🛠️ 2. Use Gacha Coins (Free/Event) Wisely
Free gacha coins (from login, events, quests) are better spent on rate-up banners.
Do not use them on non-rate-up banners unless you’re okay with a random 5★.
🛠️ 3. Track Your Pity
Use a gacha tracker app (e.g., Gacha Tracker, Genshin Impact Gacha Simulator) to log your pulls.
Know your current pity, rate-up character, and next guaranteed 5★.
🛠️ 4. Double-Check Banner Details
Look for:
Featured 5★ character (on a rate-up banner).
Pity counter reset on new banners.
Special summon items (e.g., "Crown of Destiny" – boosts 5★ rate on that banner).
❓ Common Questions
🔹 Q: Can I get a 5★ before 90 summons?
Yes – but it’s random and not guaranteed.
🔹 Q: Is the featured 5★ guaranteed on 90th summon?
Only if you’re on a rate-up banner and haven’t pulled it yet. Many games use 100% featured 5★ at 90.
🔹 Q: Should I keep summoning if I already have a 5★?
Yes – if you’re aiming for a specific 5★, or want to upgrade to 5★ version (e.g., 5★ version of a 4★ character).
🔹 Q: How long until I get a 5★ if I keep summoning?
Guaranteed by 90 – so always plan your gacha budget around that.
🧠 Final Tips
✅ Always use rate-up banners when you want a 5★.
✅ Track your pity – don’t rely on memory.
✅ Don’t spend all your coins on one banner – save for when you're close to 90.
✅ Wait for a featured 5★ if you’re trying to build a team.
✅ Avoid FOMO – you’ll get your dream character eventually.
🌈 Summary
Feature
Key Info
90-Pull Pity
Guaranteed 5★ on 90th summon
Rate-Up Banner
Better chance at featured 5★ (often 2x)
Pity on Banner
Often guarantees the featured 5★ at 90
Best Strategy
Use rate-up banners, track pity, wait for 90
🎯 Remember: Gacha is about patience and planning. With the right strategy, you’ll get your dream character – and maybe even a legendary 5★ weapon.
Keep summoning, keep hoping, and may the pity be ever in your favor!
🔔 For the latest banner info, check the official Destiny Rising website or in-game gacha section. Always read the rules before summoning!
Got a question about a specific character or weapon? Drop it below and I’ll help you plan your next summon! 😊