Stalker 2: すべてのアーティファクトのリストとそれらの入手方法
著者: Sadie
Jan 07,2025

Stalker 2: アーティファクトの栽培と場所に関する包括的なガイド
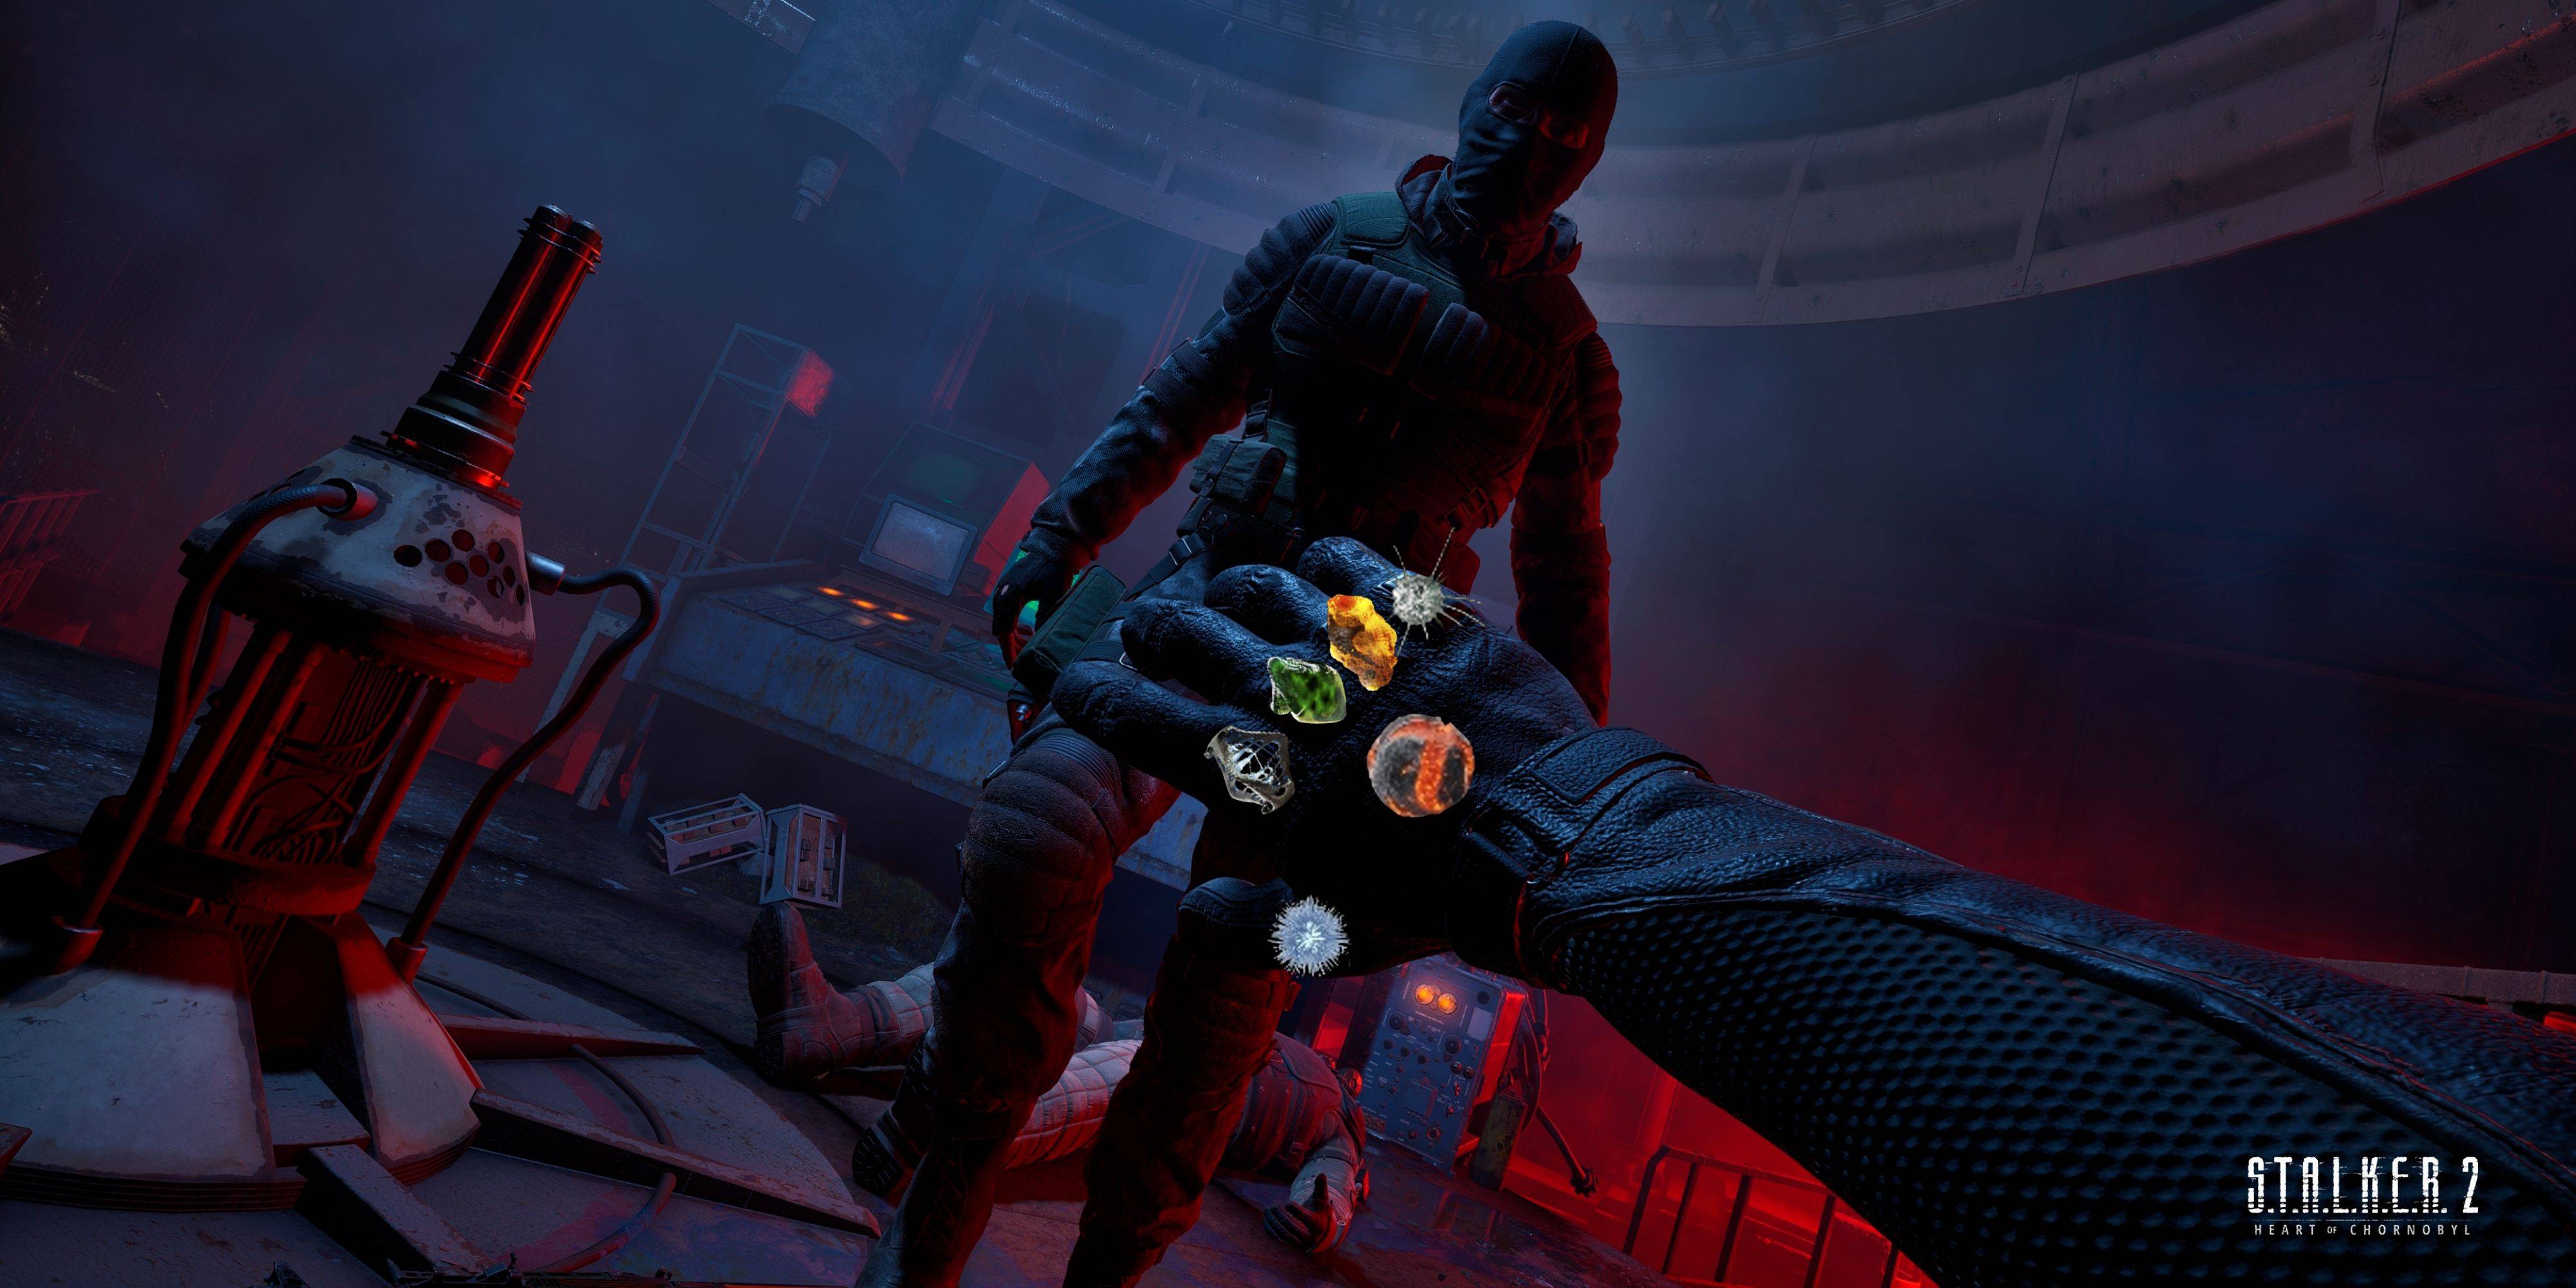
Stalker 2 では、プレイスタイルを強化するために特定のステータス ボーナスを持つアーティファクトを入手することが重要です。 ただし、各アーティファクトは特定の元素異常にリンクされているため、すべてが同じ場所で見つかるわけではありません。このガイドでは、アーティファクトのタイプとそれに対応する異常ゾーンを詳しく説明することでプロセスを簡素化します。
Stalker 2 のすべてのアーティファクトとその場所
Stalker 2 には、さまざまなレアリティ (伝説/神話に共通) の 75 以上のアーティファクトが含まれています。一部はクエストを通じて入手できますが、ほとんどは特定の異常ゾーンを栽培する必要があります。 次の表は、すべてのアーティファクトとその場所をリストしたものです:
| アーティファクトのレア度 | アーティファクト名 | 効果 | 場所 |
|---|---|---|---|
| 伝説 | ハイパーキューブ | 最大熱、放射線、および出血耐性 | 熱異常 |
| コンパス | 最大放射線量と物理的保護 | 重力異常 | |
| リキッドロック | 最大の放射線および化学物質からの保護 | 酸異常<🎜> | |
| サンダーベリー | 最大放射線量と耐久性 | 電気異常 | |
| 奇妙なボール | 銃弾によるダメージを軽減します (特に静止中) | ザリシャ付近のブルバ異常 | |
| 奇妙なボルト | チャージされたボルトは異常ダメージを軽減します | ヤニウで竜巻異常 | |
| 奇妙な花 | プレイヤーの匂いをマスクし、検出率を低下させます | ザリシャ北のケシ畑 | |
| 奇妙な木の実 | 時間の経過とともに出血が治ります | 冷却塔地域の火災旋風異常 | |
| 奇妙な鍋 | 空腹感を大幅に軽減します | 焼けた森林地域の霧の異常 | |
| 奇妙な水 | 耐荷重が増加します (~40KG) | ザトン地域のワンダリングライト異常 | |
| バブル | 中程度の電波保護 | 酸異常<🎜> | |
| バッテリー | 微弱放射線と耐久性 | 電気異常 | |
| 空洞 | 微弱放射線、耐出血性、体重への影響 | 熱異常 | |
| チョコレートバー | 微弱放射線と電気的保護 | 電気異常 | |
| クラスト | 弱い放射線と化学物質からの保護 | 酸異常<🎜> | |
| 弱い熱防御と放射線 | 熱異常 | ||
| 弱い電波保護 | 酸異常<🎜> | ||
| 弱い熱防御と放射線 | 熱異常 | ||
| 弱い熱防御と放射線 | 熱異常 | ||
| 弱い熱防御と放射線 | 熱異常 | ||
| 微弱放射線と電気的保護 | 電気異常 | ||
| 微弱放射線と体重への影響 | 重力異常 | ||
| 弱い放射線と化学物質からの保護 | 酸異常<🎜> | クラゲ | |
| 重力異常 | |||
| リラ | 微弱放射線、耐出血性、体重への影響 | 熱異常 | |
| 肉のかたまり | 弱い放射線と化学物質からの保護 | 酸異常<🎜> | |
| マイカ | 弱い電波保護 | 酸異常<🎜> | |
| カビ | 弱い放射線と化学物質からの保護 | 酸異常<🎜> | |
| 弱い放射線、耐久性、物理的保護 | 重力異常 | ||
| 弱い放射線、耐出血性、および電気的保護 | 電気異常 | ||
| 微弱放射線と耐久性 | 重力異常 | ||
| 弱い放射線、出血耐性、耐久性 | 電気異常 | ||
| 微弱放射線と耐久性 | 電気異常 | ||
| 微弱放射線 | 酸異常<🎜> | ||
| 弱い電波保護 | 酸異常<🎜> | スノーフレーク | |
| 電気異常 | 線香花火 | ||
| 電気異常 | スピナー | ||
| 熱異常 | ステーキ | ||
| 熱異常 | ストーンブラッド | ||
| 重力異常 | ストーンハート | ||
| 重力異常 | とげ | ||
| 酸異常<🎜> | 旋風 | ||
| 重力異常 | レンチ | ||
| 重力異常 | 珍しい | 壊れた岩 | |
| 重力異常 | 繊毛虫 | ||
| 化学的異常 | デッドスポンジ | ||
| 熱異常 | クラウン | ||
| 重力異常 | 欠陥 | ||
| 熱異常 | ハエトリソウ | ||
| 重力異常 | |||
| 金魚 | 微弱放射線と体重の影響 | 重力異常 | |
| ハープ | 中放射線、弱い出血耐性、電気保護 | 電気異常 | |
| コロボック | 中程度の放射線と化学物質からの保護 | 電気異常 | |
| ランタン | 中程度の放射線と電気的保護 | 電気異常 | |
| Magma | 熱保護は弱い、放射線と重量の影響は中程度 | 熱異常 | |
| ママのビーズ | 強い放射線と中程度の出血耐性 | 熱異常 | |
| 月光 | 中程度の放射線と電気的保護 | 電気異常 | |
| プラズマ | 中程度の熱保護と放射線 | 熱異常 | |
| ショップクラス | 中程度の放射線、弱い出血耐性と耐久性 | 電気異常 | |
| 魂 | 中程度の放射線と耐久性 | 電気異常 | |
| 春 | 中程度の放射線と重量の影響 | 重力異常 | |
| 観光客の朝食 | 中程度の放射線と化学物質からの保護 | 酸異常 | |
| ウニ | 中程度の電波保護 | 酸異常 | |
| レア | クレスト | 強い放射線と耐久性 | 電気異常 |
| 悪魔のキノコ | 強力な放射線と化学物質からの保護 | 酸異常 | |
| 花芽 | 強い放射線、中程度の耐久性、物理的保護 | 重力異常 | |
| グレア | 強力な放射線と電気的保護 | 電気異常 | |
| マジックキューブ | 最大放射線量と強力な物理的保護 | 重力異常 | |
| ミートライター | 強力な熱保護と放射線 | 熱異常 | |
| ナイトスター | 強い放射線と重量の影響 | 重力異常 | |
| ペリクル | 強力な放射線と化学物質からの保護 | 化学的異常 | |
| Petal | 強い放射線と出血耐性 | 熱異常 | |
| カツオ | 強力な電波保護 | 化学的異常 | |
| ヒトデ | 強い放射線、中程度の出血耐性と耐久性 | 電気異常 | |
| トーチ | 中程度の熱保護、強力な放射線と重量効果 | 熱異常 |
この表は、ストーカー 2: チェルノブイリ中心部 のすべてのアーティファクトの詳細を示しています。ターゲット アーティファクトに関連付けられた異常タイプを忘れずに特定し、そのゾーンをファームします。 失敗した場合はリロードするために、異常ゾーンに近づく前にクイック セーブを使用することを検討してください。 高度なアーティファクト検出器 (Veles または Bear) を使用すると、確率が大幅に向上します。
Welcome to the Destiny Rising Gacha Guide – your ultimate resource to understand how the gacha system works, including summons, pity mechanics, and rate-up banners. Whether you're a new player or trying to optimize your pulls, this guide breaks down everything you need to know to make informed decisions.
🔑 1. Understanding Destiny Rising’s Gacha System
Destiny Rising uses a standard gacha model common in mobile RPGs, featuring:
Standard Banner (Normal Summon) – For non-rate-up characters.
Rate-Up Banner (Special Summon) – Features 5-star (★★★★★) characters with higher drop rates.
Pity System – Ensures you don’t get "lucked out" forever.
Guarantee Mechanics – Critical to maximizing value.
🎯 2. Summon Mechanics: How It Works
✅ Single Summon (1x Summon)
Cost: 120 Stamina (or 60 Gems, depending on currency used)
Result: 1 random character (or weapon) from the current banner.
5-star (★★★★★): 0.6% base chance (on standard banners).
4-star (★★★★): 5.1% base chance.
3-star (★★★): 94.3% base chance.
💡 Note: On rate-up banners, the 5-star rate for specific characters increases dramatically.
🔥 3. Rate-Up Banners: The Key to Getting Your Favorite Character
🎁 What Is a Rate-Up Banner?
A limited-time banner that boosts the drop rate of 1–2 specific 5-star characters.
These characters have a higher base chance (e.g., 1.5%–2.0%) vs. the standard 0.6%.
📌 Example:
Banner Name: “The Eternal Guardian – Althea” (Rate-Up)
Rate-Up 5-Star: Althea (★★★★★)
Rate-Up Chance: 2.0% (vs. 0.6% standard)
Other 5-stars: Still possible, but less likely.
✅ Pro Tip: Always check the banner details before pulling — only the rate-up characters are boosted.
🧩 4. Pity System: Your Safety Net
Destiny Rising uses a pity system to prevent endless bad luck. Here’s how it works:
🌟 Pity 1: 5-Star Guarantee
After 90 summons without a 5-star, the 91st summon is guaranteed to be 5-star.
This is true for all banners (standard or rate-up).
Pity is not reset by switching banners.
⚙️ Pity 2: Rate-Up Guarantee (Pity 2)
After 70 summons without a rate-up 5-star, the next 5-star (on a rate-up banner) is guaranteed to be the rate-up character.
This means:
If you’ve pulled 70 summons and haven’t gotten the rate-up 5-star, your next 5-star will be them.
Pity 2 does not apply on standard banners.
✅ Why It Matters:
Rate-up banners are worth waiting for to avoid wasting summons.
If you’re after a specific 5-star, wait until pity 2 kicks in.
📊 5. How to Use Pity & Rate-Up Strategically
✅ Best Pulling Strategy (For Rate-Up Characters)
Step
Action
1
Start pulling on a rate-up banner.
2
Track your summons.
3
At 70 summons, you’re guaranteed to get the rate-up 5-star on your next 5-star pull.
4
At 90 summons, you’re guaranteed a 5-star, regardless of type.
5
Pull until you get the rate-up 5-star, or accept it at 90 if you’re not aiming for it.
❌ Common Mistakes to Avoid
Pulling on a non-rate-up banner just to "save" pity (it doesn’t help).
Assuming rate-up increases apply to all 5-stars (they only boost the highlighted ones).
Forgetting that pity carries over between banners.
💰 6. Currency Management: Gems, Stamina, and Events
🪙 Stamina (Free Daily)
Max: 300
1 summon = 120 stamina
You can do 2 full 10-pull sets (20 summons) per day.
Not enough for 90-pull pity run → use gems for bulk.
💎 Gems (Paid)
Best for full 90-pull pity runs.
10-pull = 600 gems (standard cost)
10-pull bundles often offer discounts.
💡 Tip: Wait for free 10-pull events or double-gem days to maximize value.
🎁 7. Bonus: Events & Free Pulls
Welcome Events: 10 free summons for new players.
Anniversary/Seasonal Events: Free 10-pull banners or extra pity.
Special Promotions: Guaranteed 5-star on first 50 pulls (check official Discord/website).
📢 Always check official channels for limited-time offers.
✅ Final Tips: How to Win the Gacha
Always use rate-up banners when targeting a 5-star.
Wait until 70 summons on a rate-up banner to guarantee your target.
Track your summon count with a spreadsheet or app.
Avoid pulling on standard banners unless you’re okay with a random 5-star.
Use gems wisely — save for full 90-pull runs or guaranteed 5-star events.
🎉 Summary
Feature
Details
5-Star Base Chance (Standard)
0.6%
5-Star Rate-Up Chance
1.5%–2.0% (for selected characters)
Pity 1 (5-star guarantee)
90th summon
Pity 2 (Rate-Up guarantee)
70th summon on rate-up banner
Best Strategy
Pull on rate-up banner → wait for pity 2 or 90-pull
🎯 Remember: The gacha is luck-based, but pity and rate-ups make it fair. Use the system, not fight it.
Good luck, summoner! May the stars guide your pulls.
✨ “Destiny Rising isn’t just about luck — it’s about timing, strategy, and knowing when to pull.”
📌 Need help tracking pity? Use a free gacha tracker app like:
Gacha Tracker (iOS/Android)
Google Sheets template (search “Destiny Rising Gacha Tracker”)
Let me know if you want a custom spreadsheet template or help choosing your next rate-up banner! 🎮