Hyper Light Breaker: How To Lock-On Target
Author: Christopher
Mar 04,2025

Mastering Hyper Light Breaker's Targeting System: Lock-On vs. Free Cam
Hyper Light Breaker's lock-on mechanic, while powerful, isn't always the best approach. This guide clarifies how to use it effectively and when to switch to the free camera. Many game mechanics remain unintuitive, adding to the challenge. Understanding the lock-on system is key to efficient gameplay.
How to Target Enemies
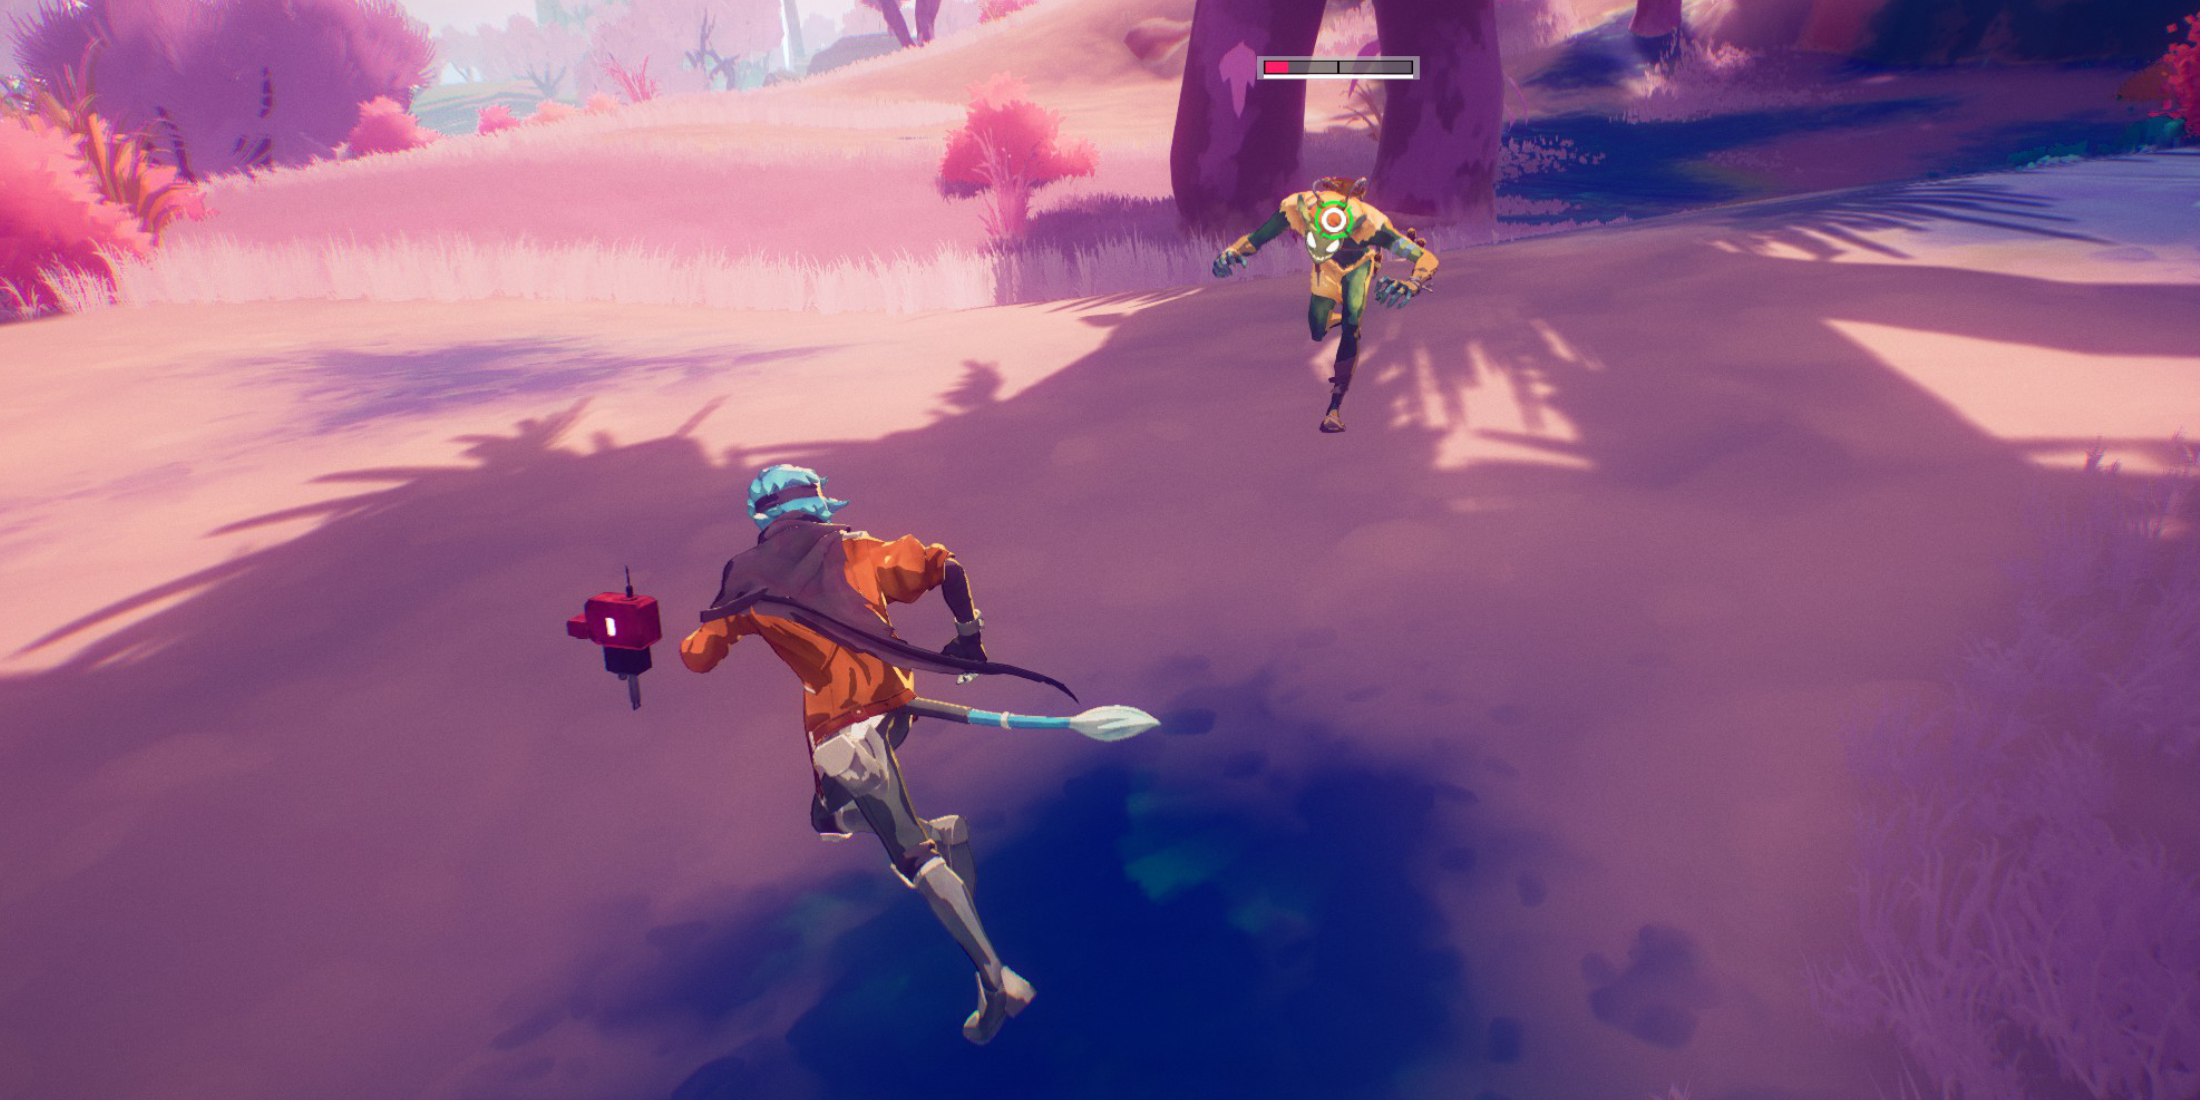 To lock onto an enemy, center your view on them and press the right analog stick (R3). The game usually identifies the nearest target, except within dense enemy groups. A reticle will appear, and the camera zooms slightly.
Line of sight isn't required; on-screen visibility and proximity are sufficient. Locking on alters character movement, centering the target. Movement tends to become circular around the target, and fast-moving enemies can cause rapid camera shifts, potentially affecting movement input.
To switch targets while locked on, use the right analog stick to select the nearest in-range enemy. Pressing the right analog stick again cancels the lock-on, reverting to the default third-person camera. The lock-on also automatically disengages if you move too far from the target.
When to Lock-On vs. Free Cam
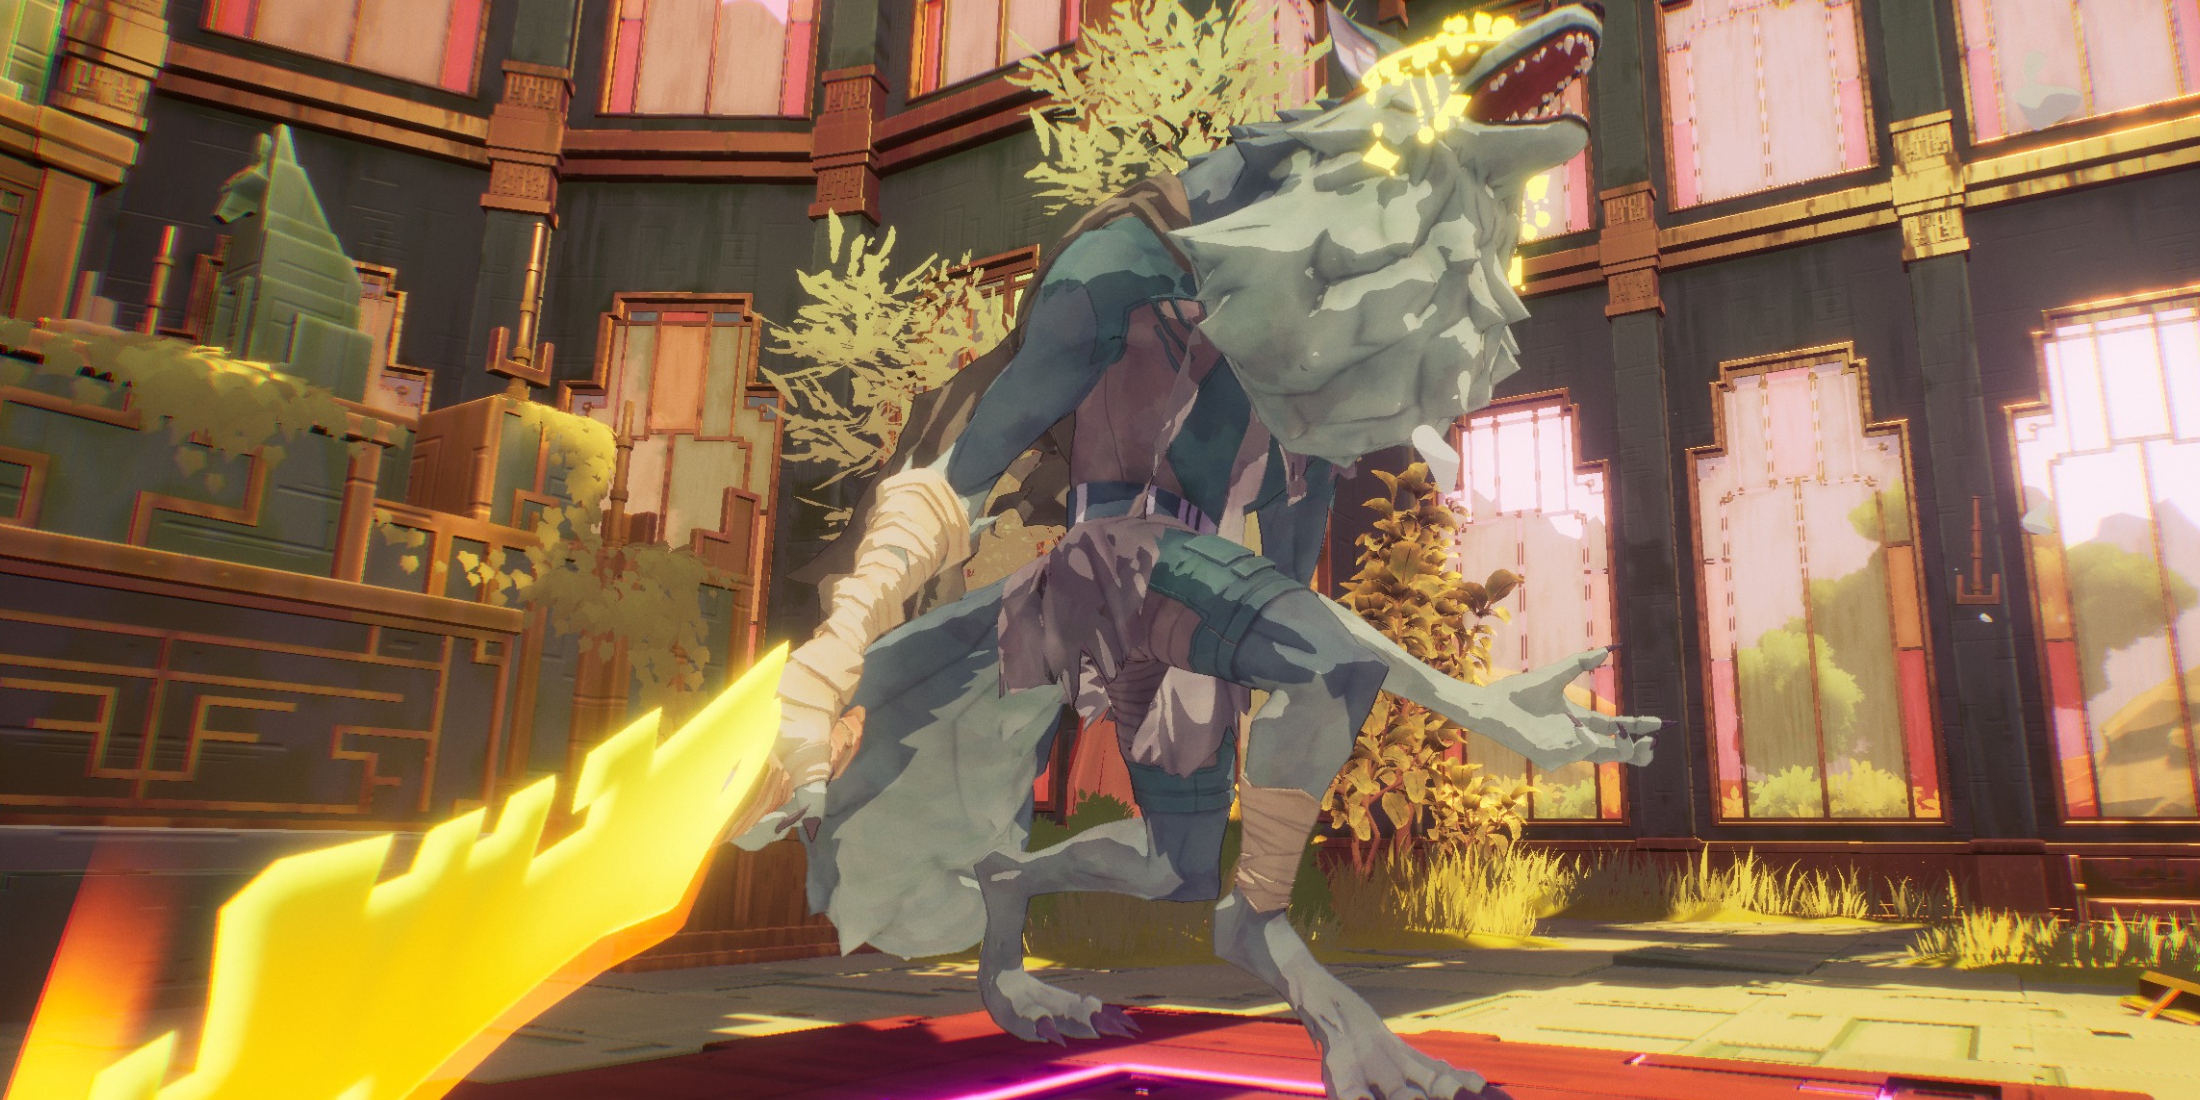 Lock-on excels in one-on-one encounters, such as boss fights or against powerful (yellow health bar) enemies, after clearing weaker foes. The focused camera leaves you vulnerable to flanking attacks from other enemies.
Free cam is generally superior. Against multiple enemies or weak, easily dispatched foes, lock-on is unnecessary and restricts your situational awareness.
Against mini-bosses or bosses, clear surrounding enemies first, then lock-on for focused damage. Cancel the lock-on if more enemies appear, resuming focus once the area is clear.
For example, during Extraction, multiple enemy waves precede a mini-boss. Maintain free cam until weaker enemies are eliminated, then lock-on to the mini-boss for efficient takedown.